This was the first computer I tore down… the HP G62, on July 13, 2018. I have found it very interesting, though HP has published a service guide serving as the basis of this tear down and rebuilding process. Here’s a quick look on what happened before tearing it down.
Several months ago, my parent found out that his computer doesn’t boot up normally and the display is broken, plus there are some serious overheating problems that caused constant thermal shutdowns. In order to fix all issues, I decided to tear it down and have a look inside. Before getting started, let’s see the exterior of the laptop.
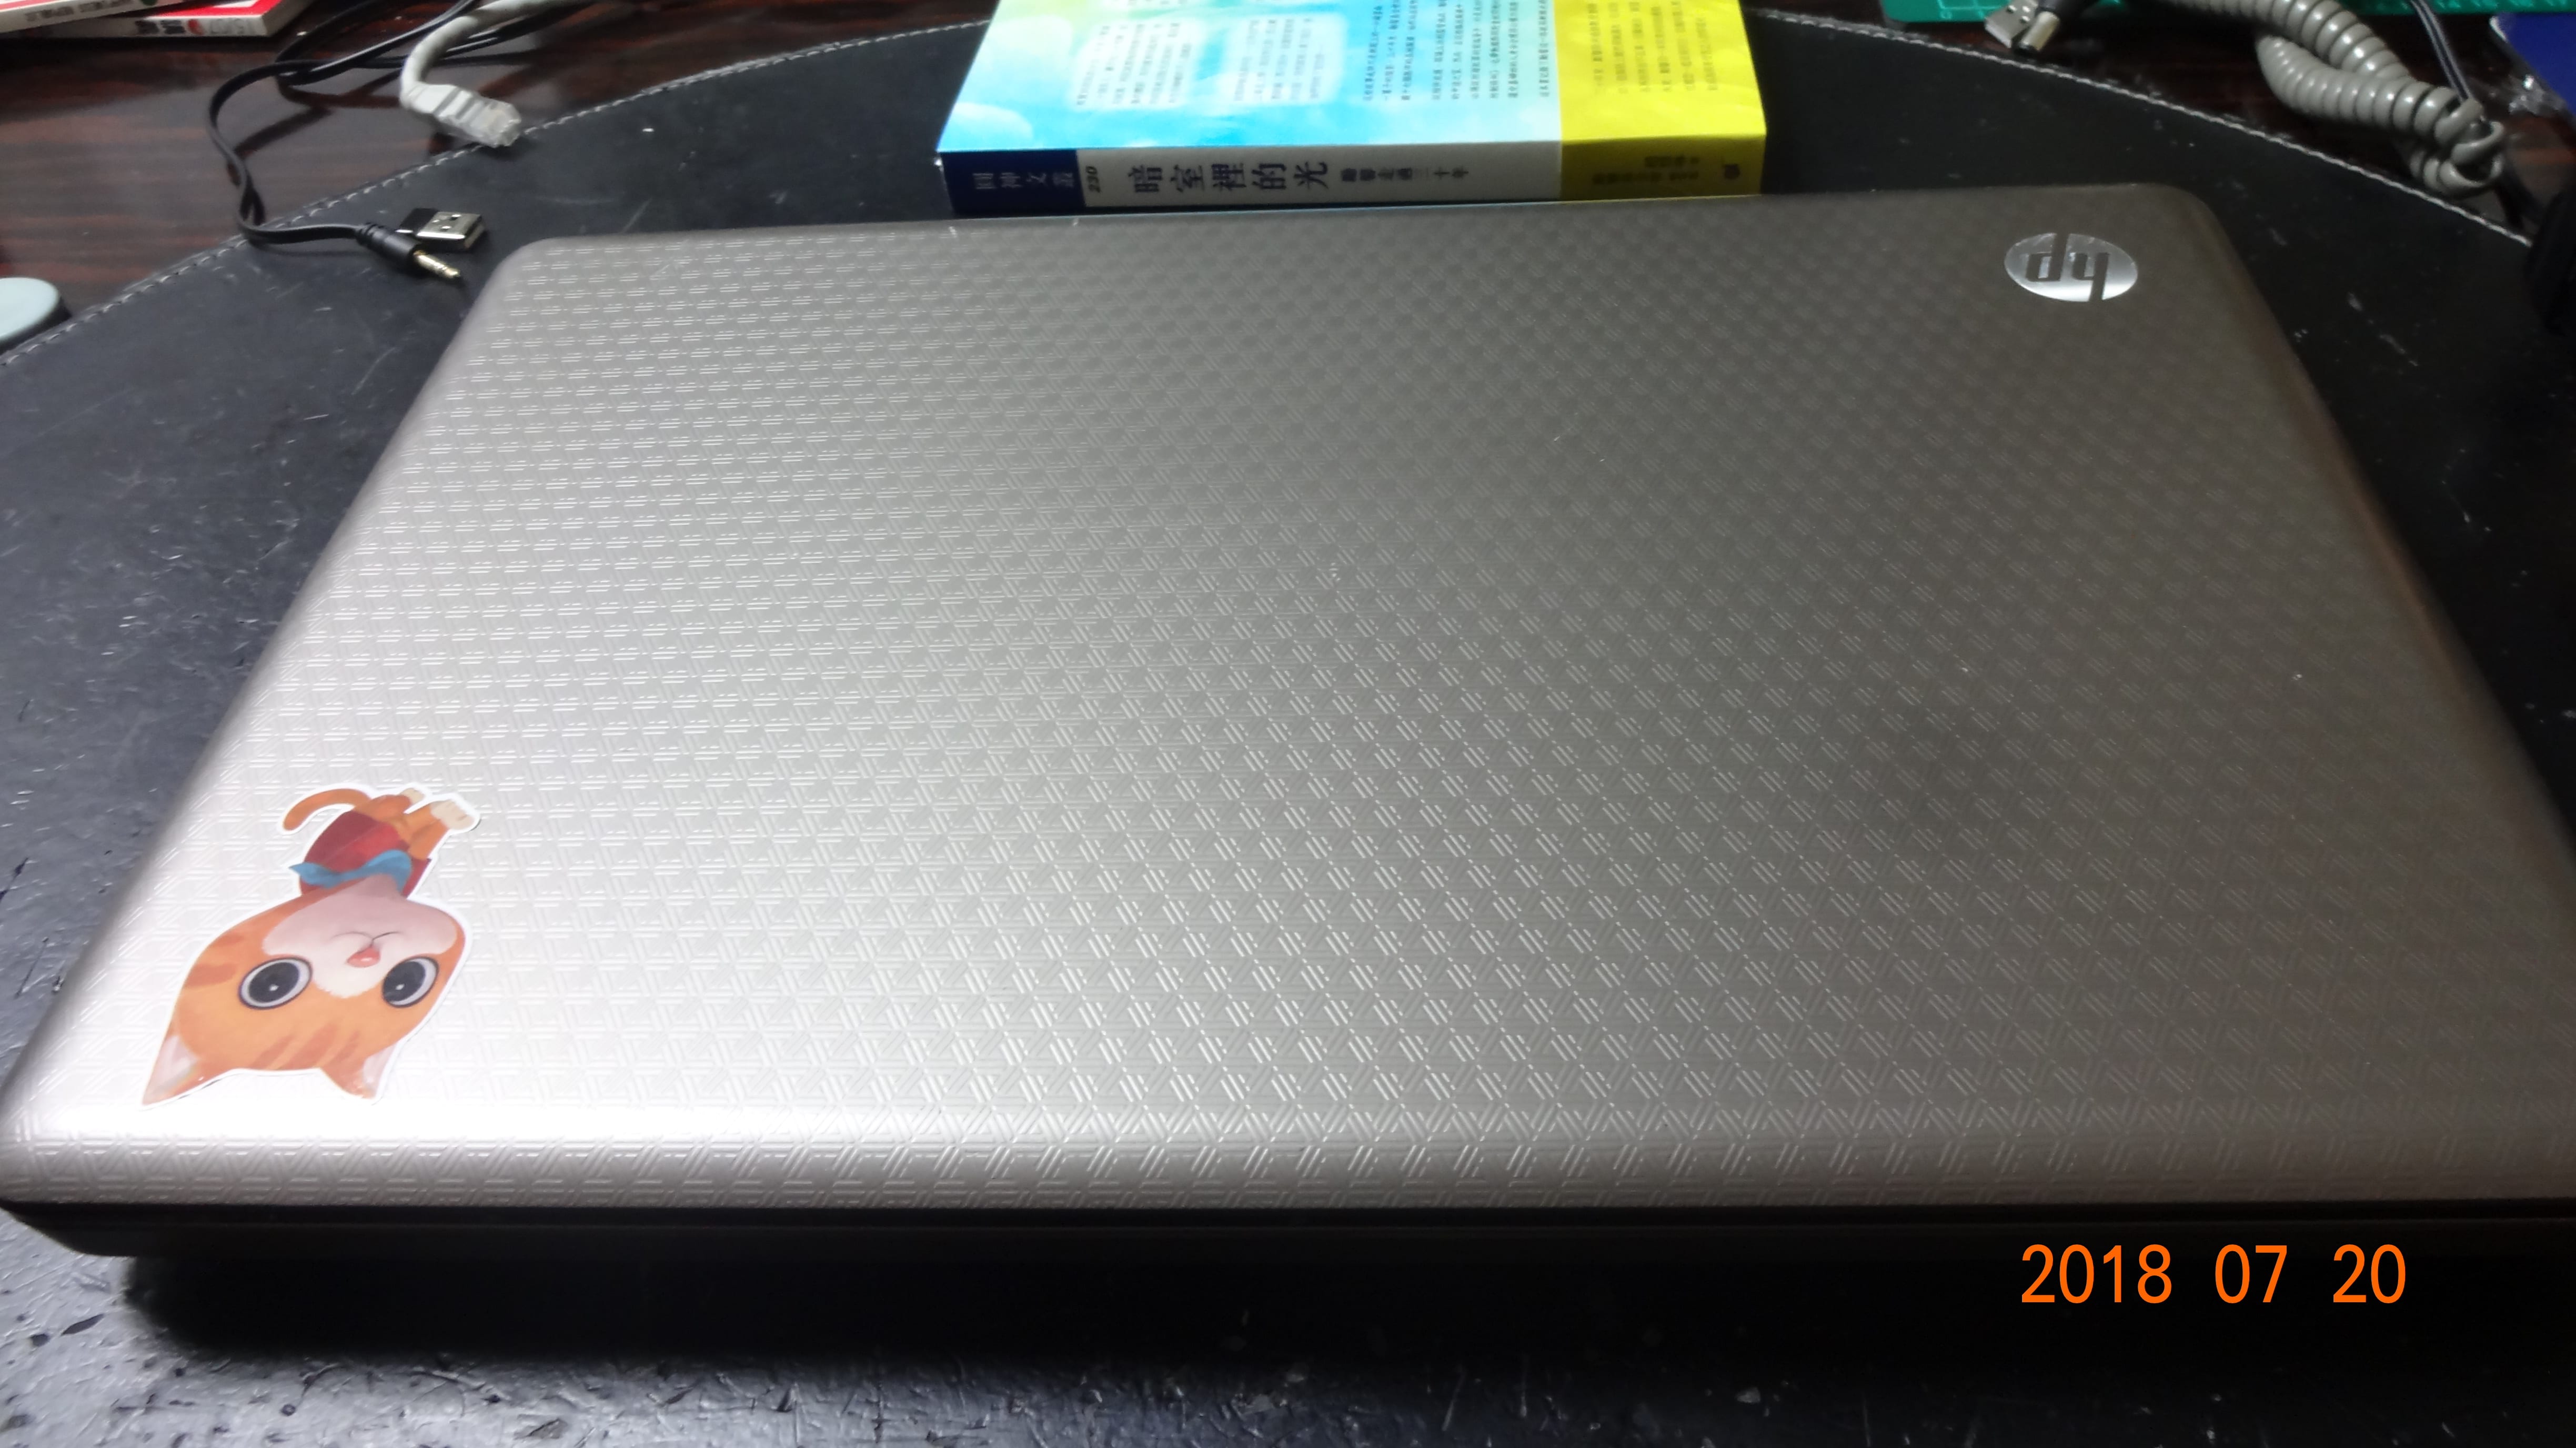 Laptop with lid closed.
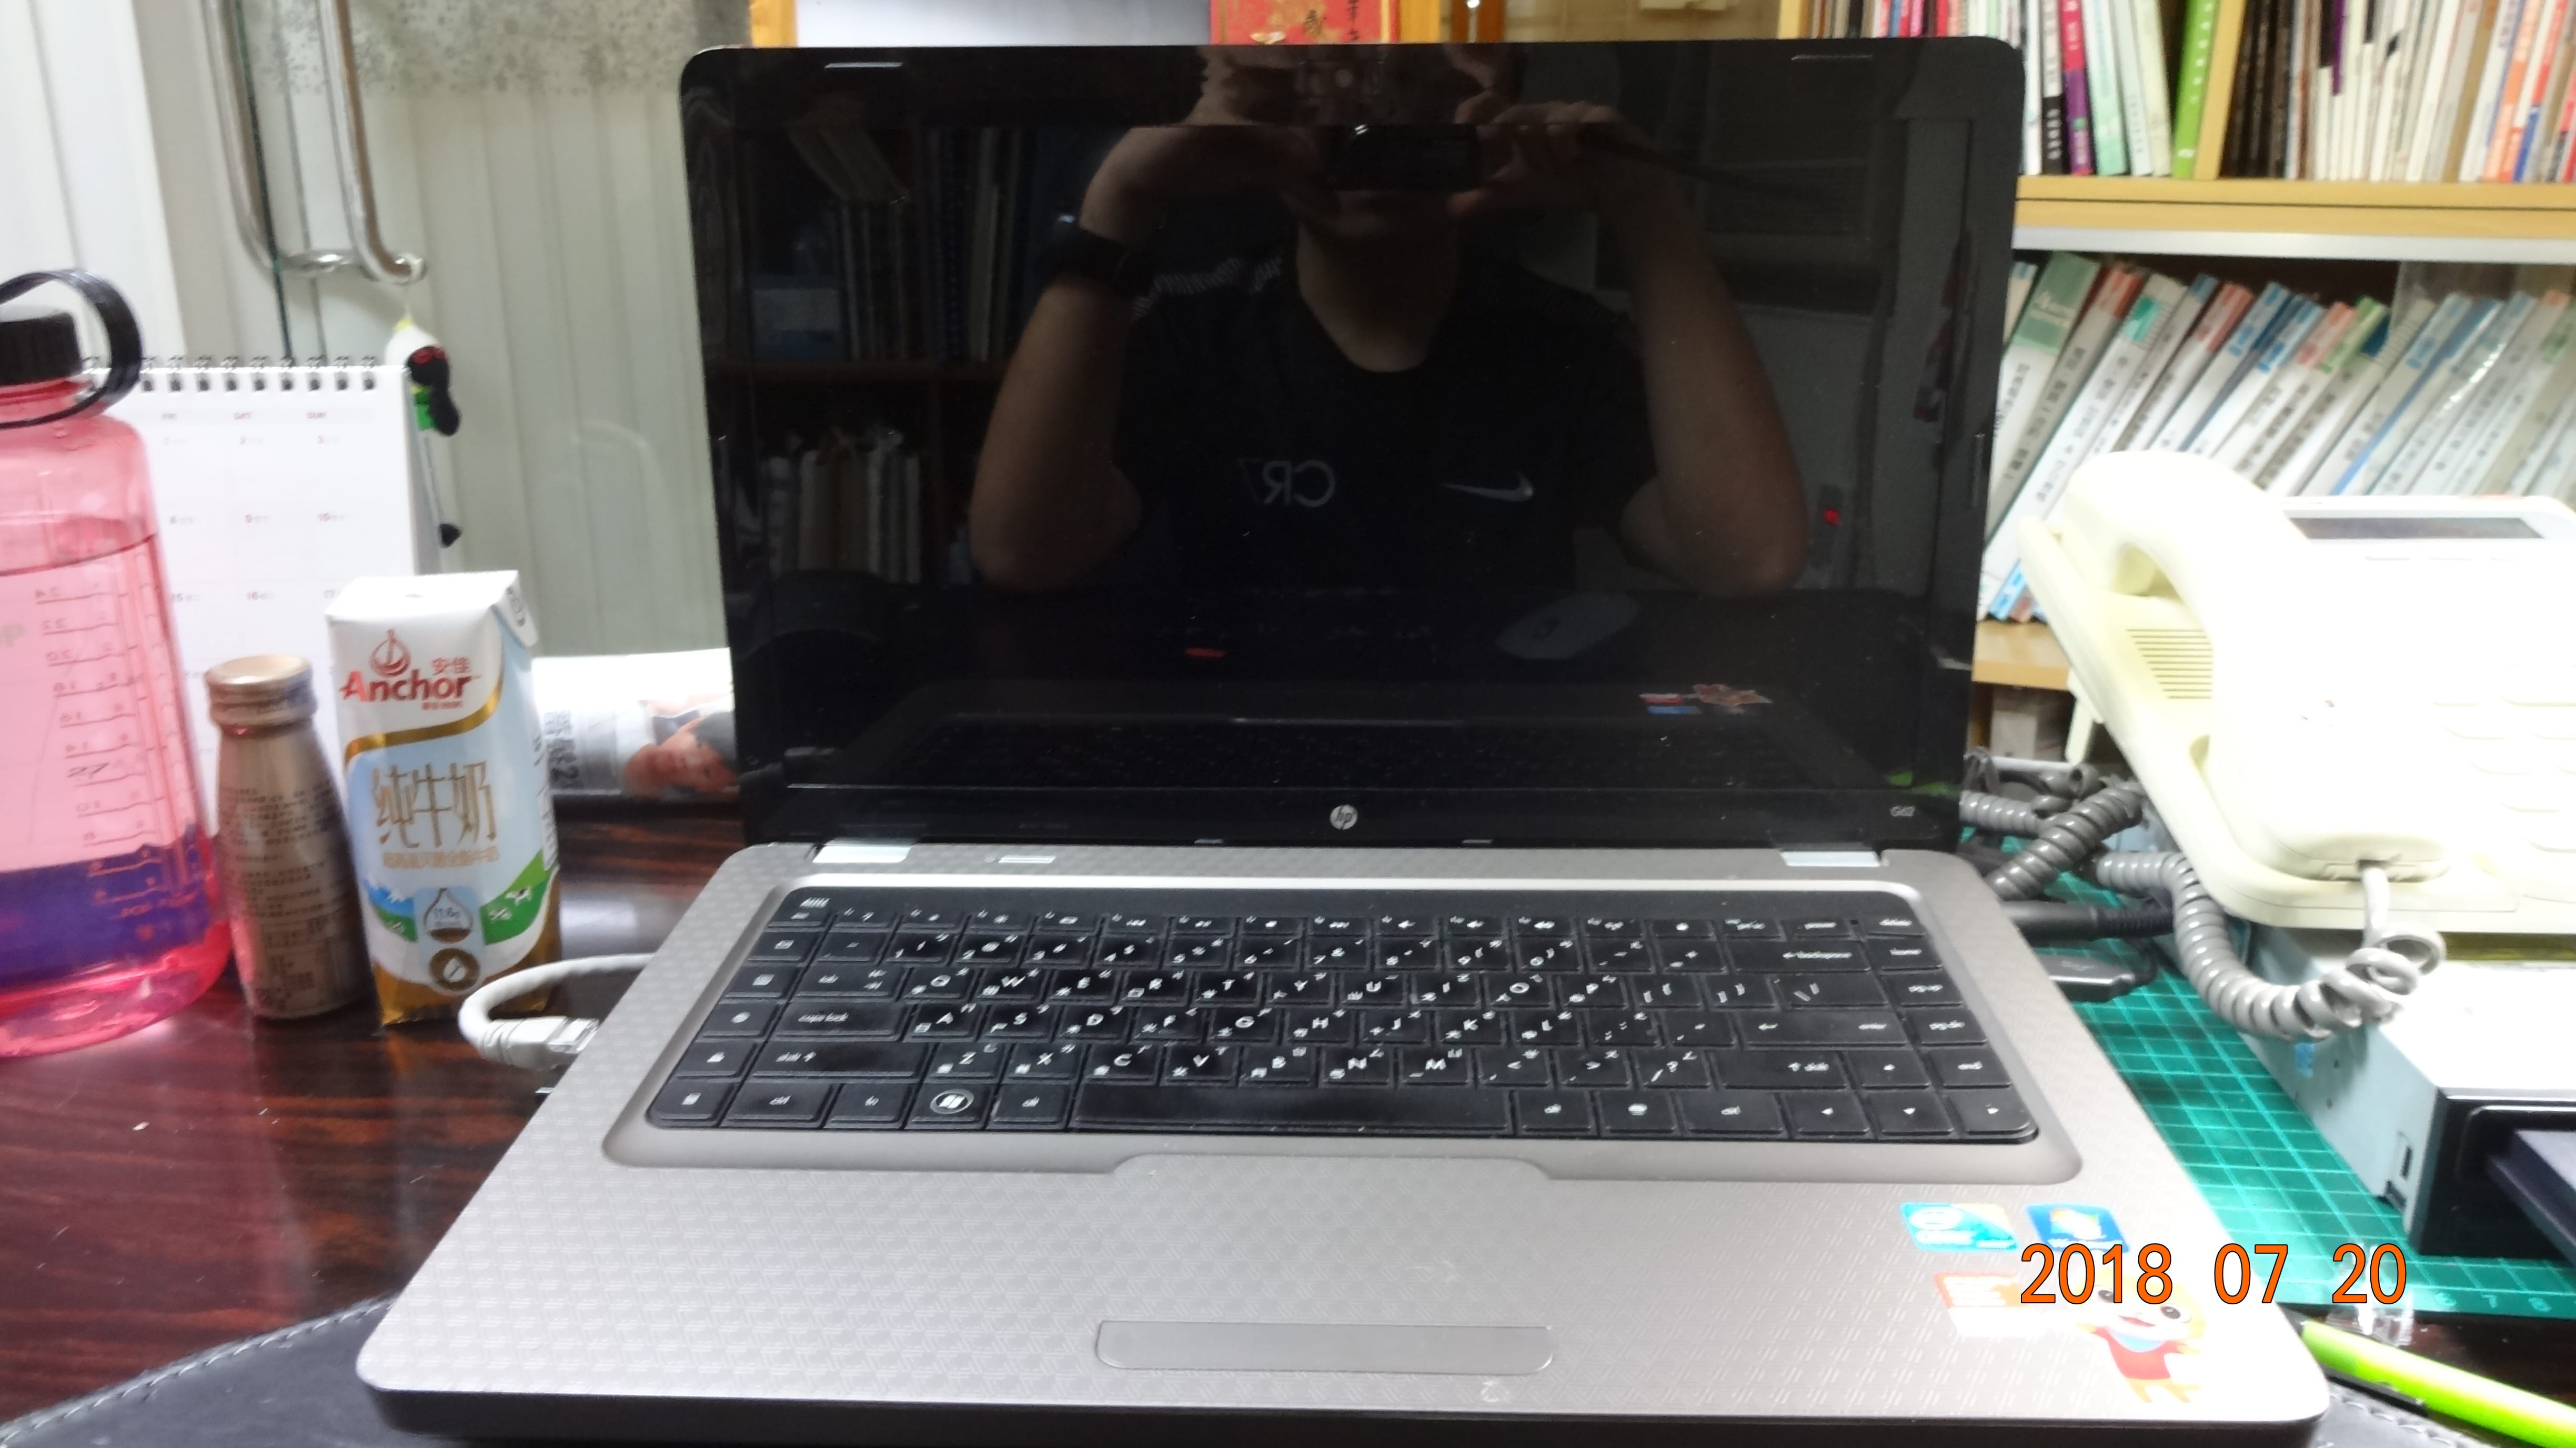 The display and keyboard.
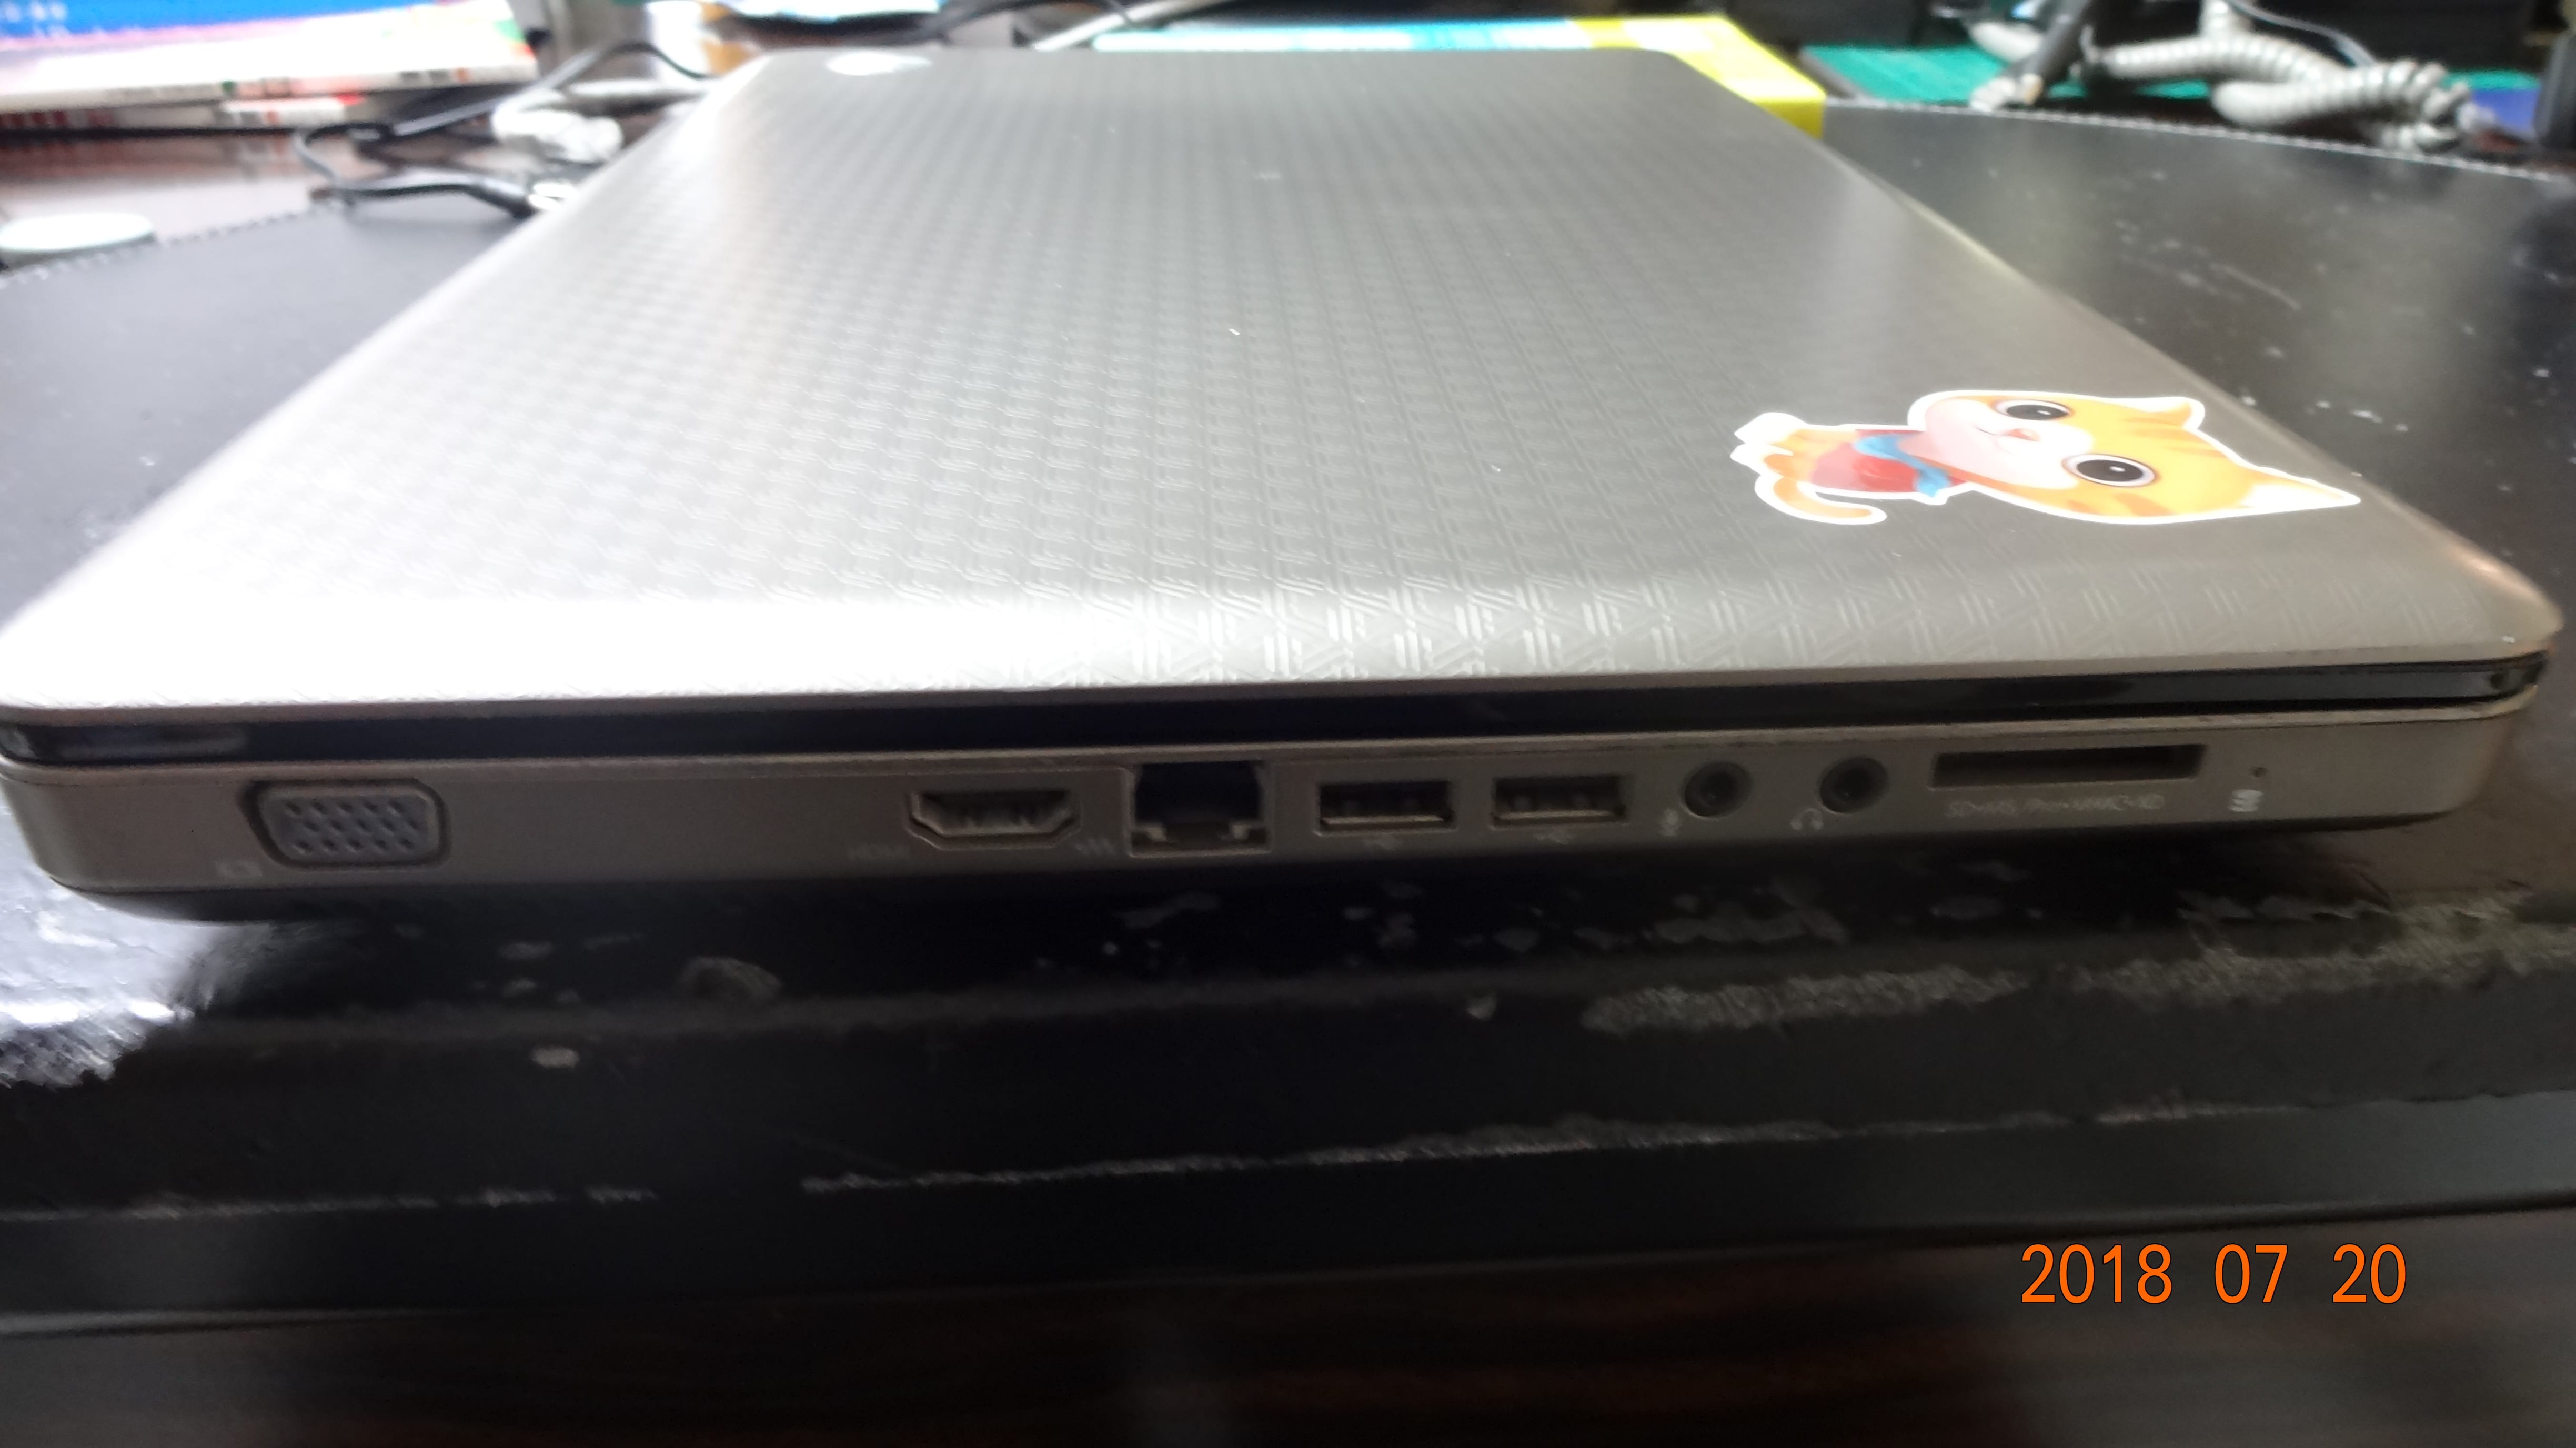 Left side of laptop, featuring a VGA port, HDMI port, LAN port, 2 USB ports, microphone and headphone jacks, and a card reader (supports SD, Memory Stick, MMC, and XD cards.)
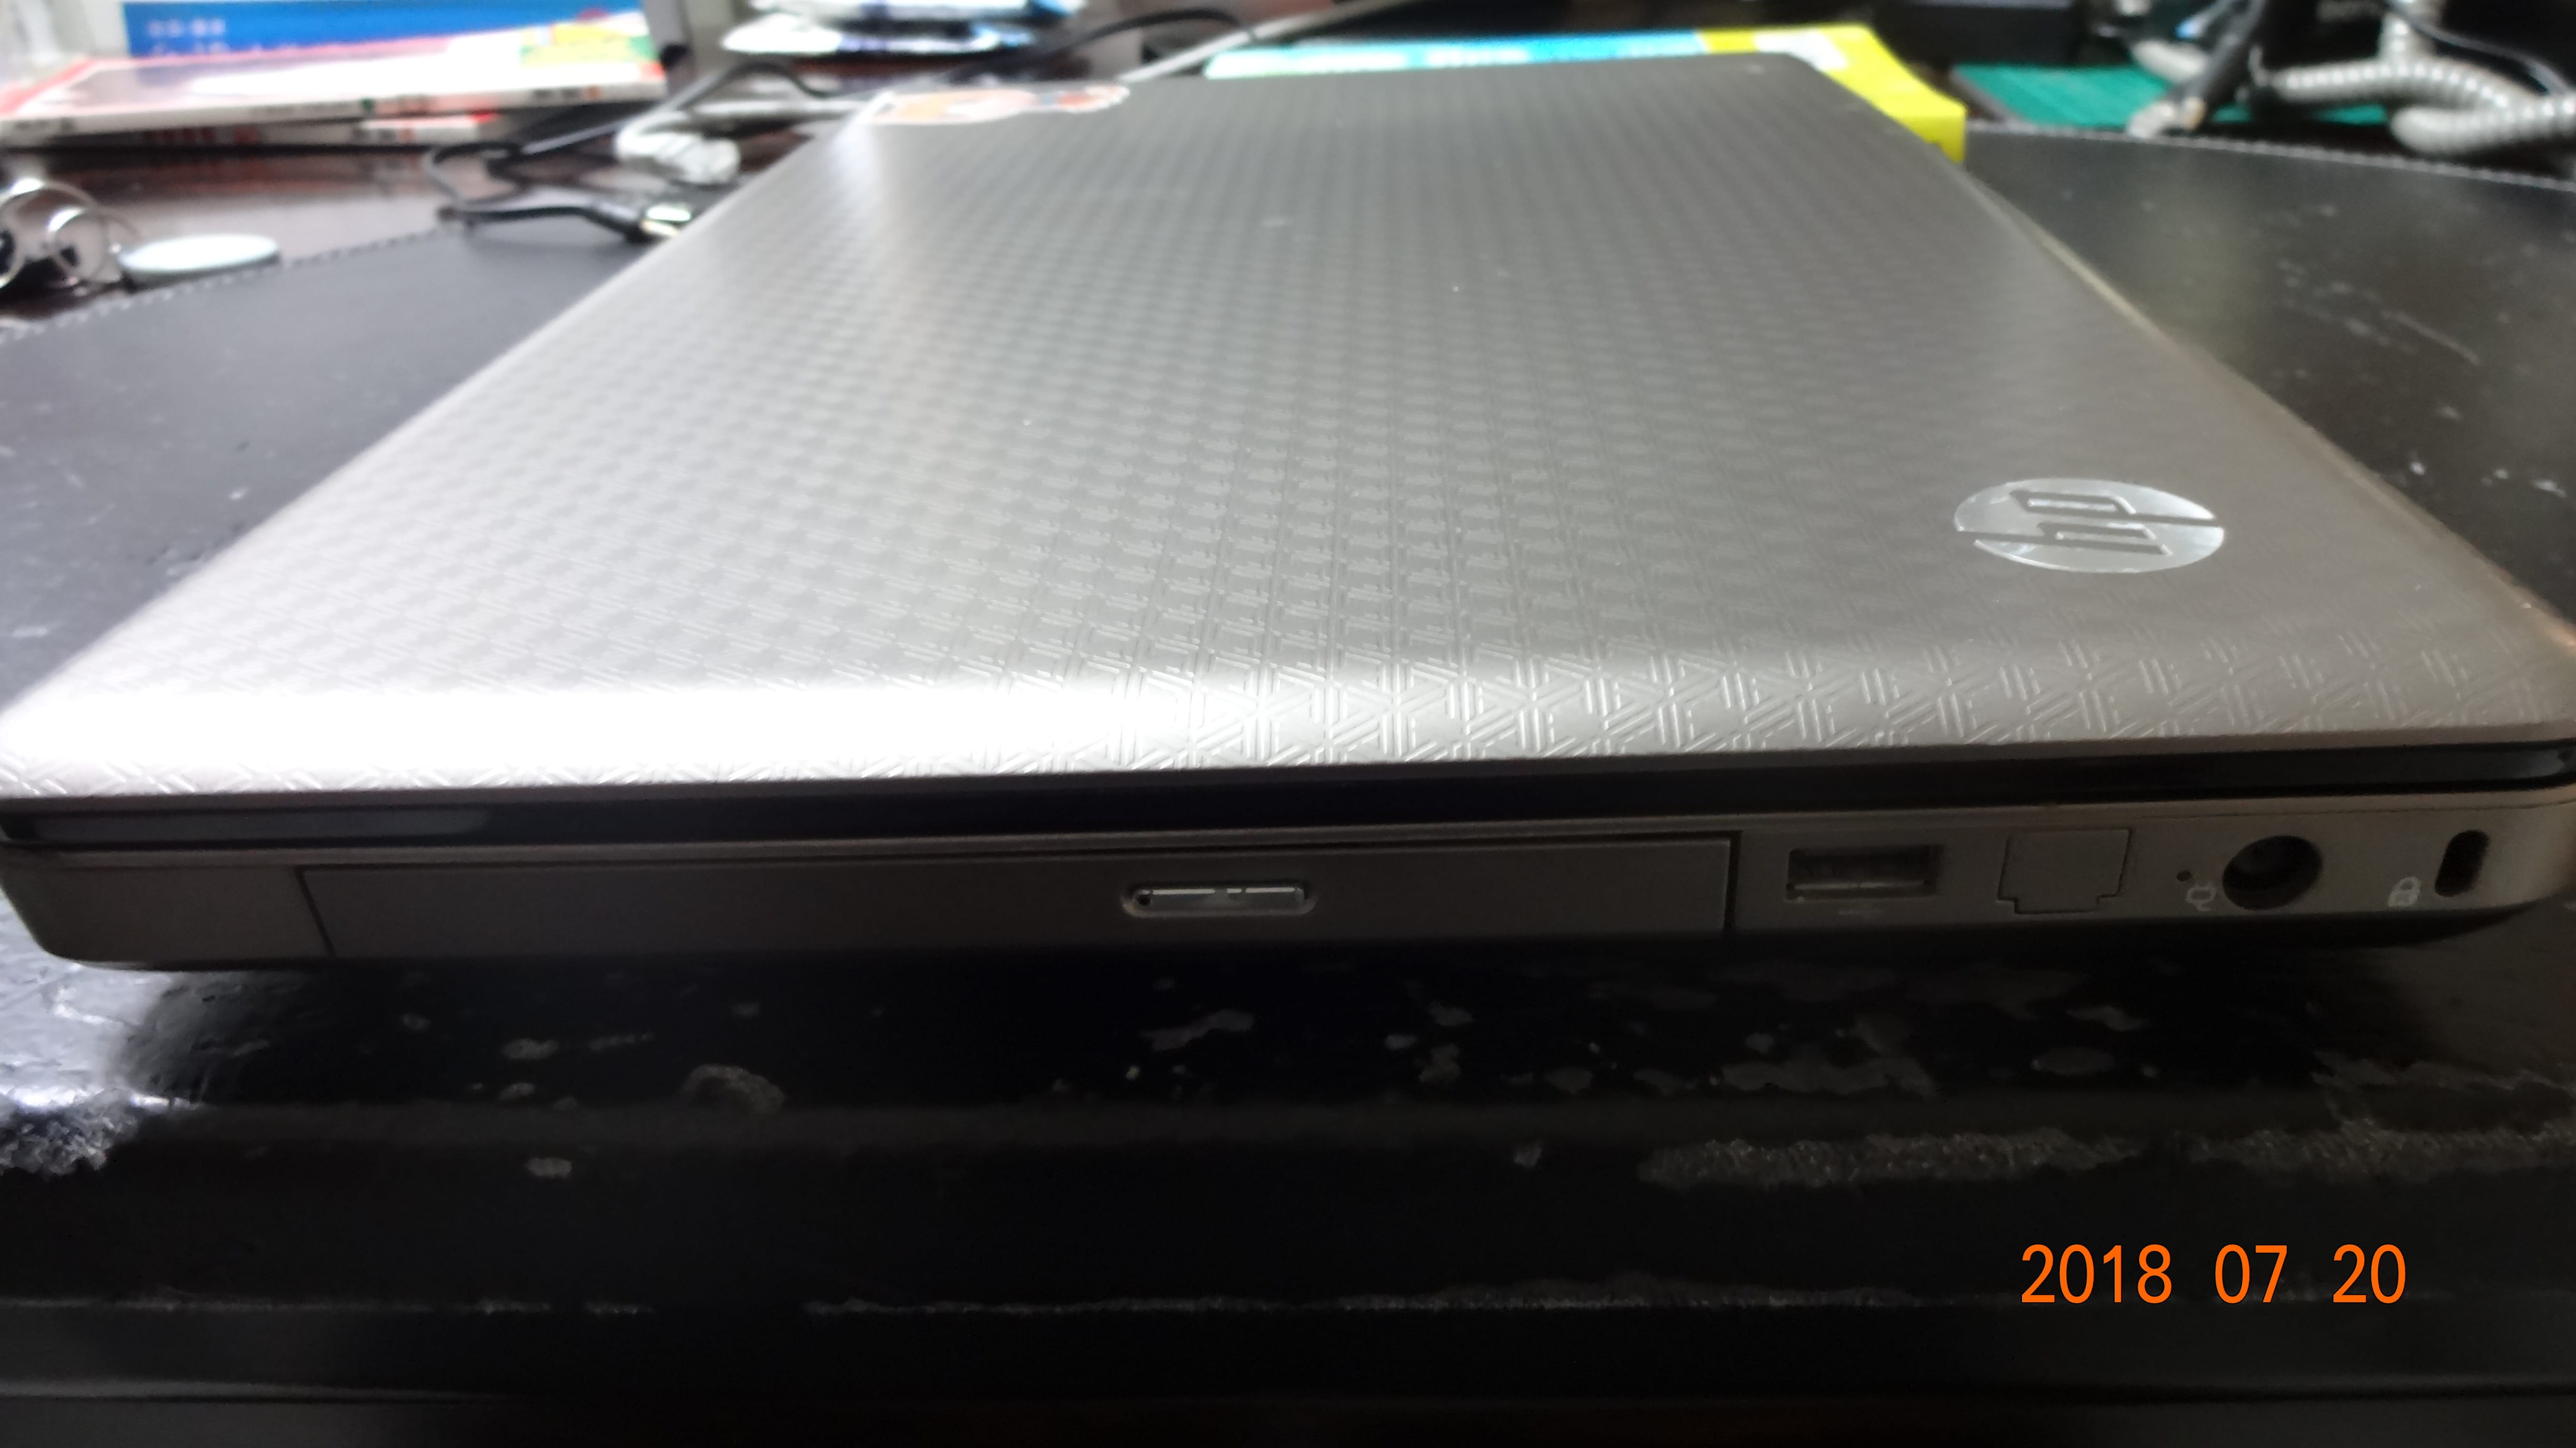 Right side of laptop, which includes an additional USB port, an already defective CD/DVD drive, battery charger port, and a Kensington lock port.
 Back side of computer. The battery and fan vent can be seen at the top.
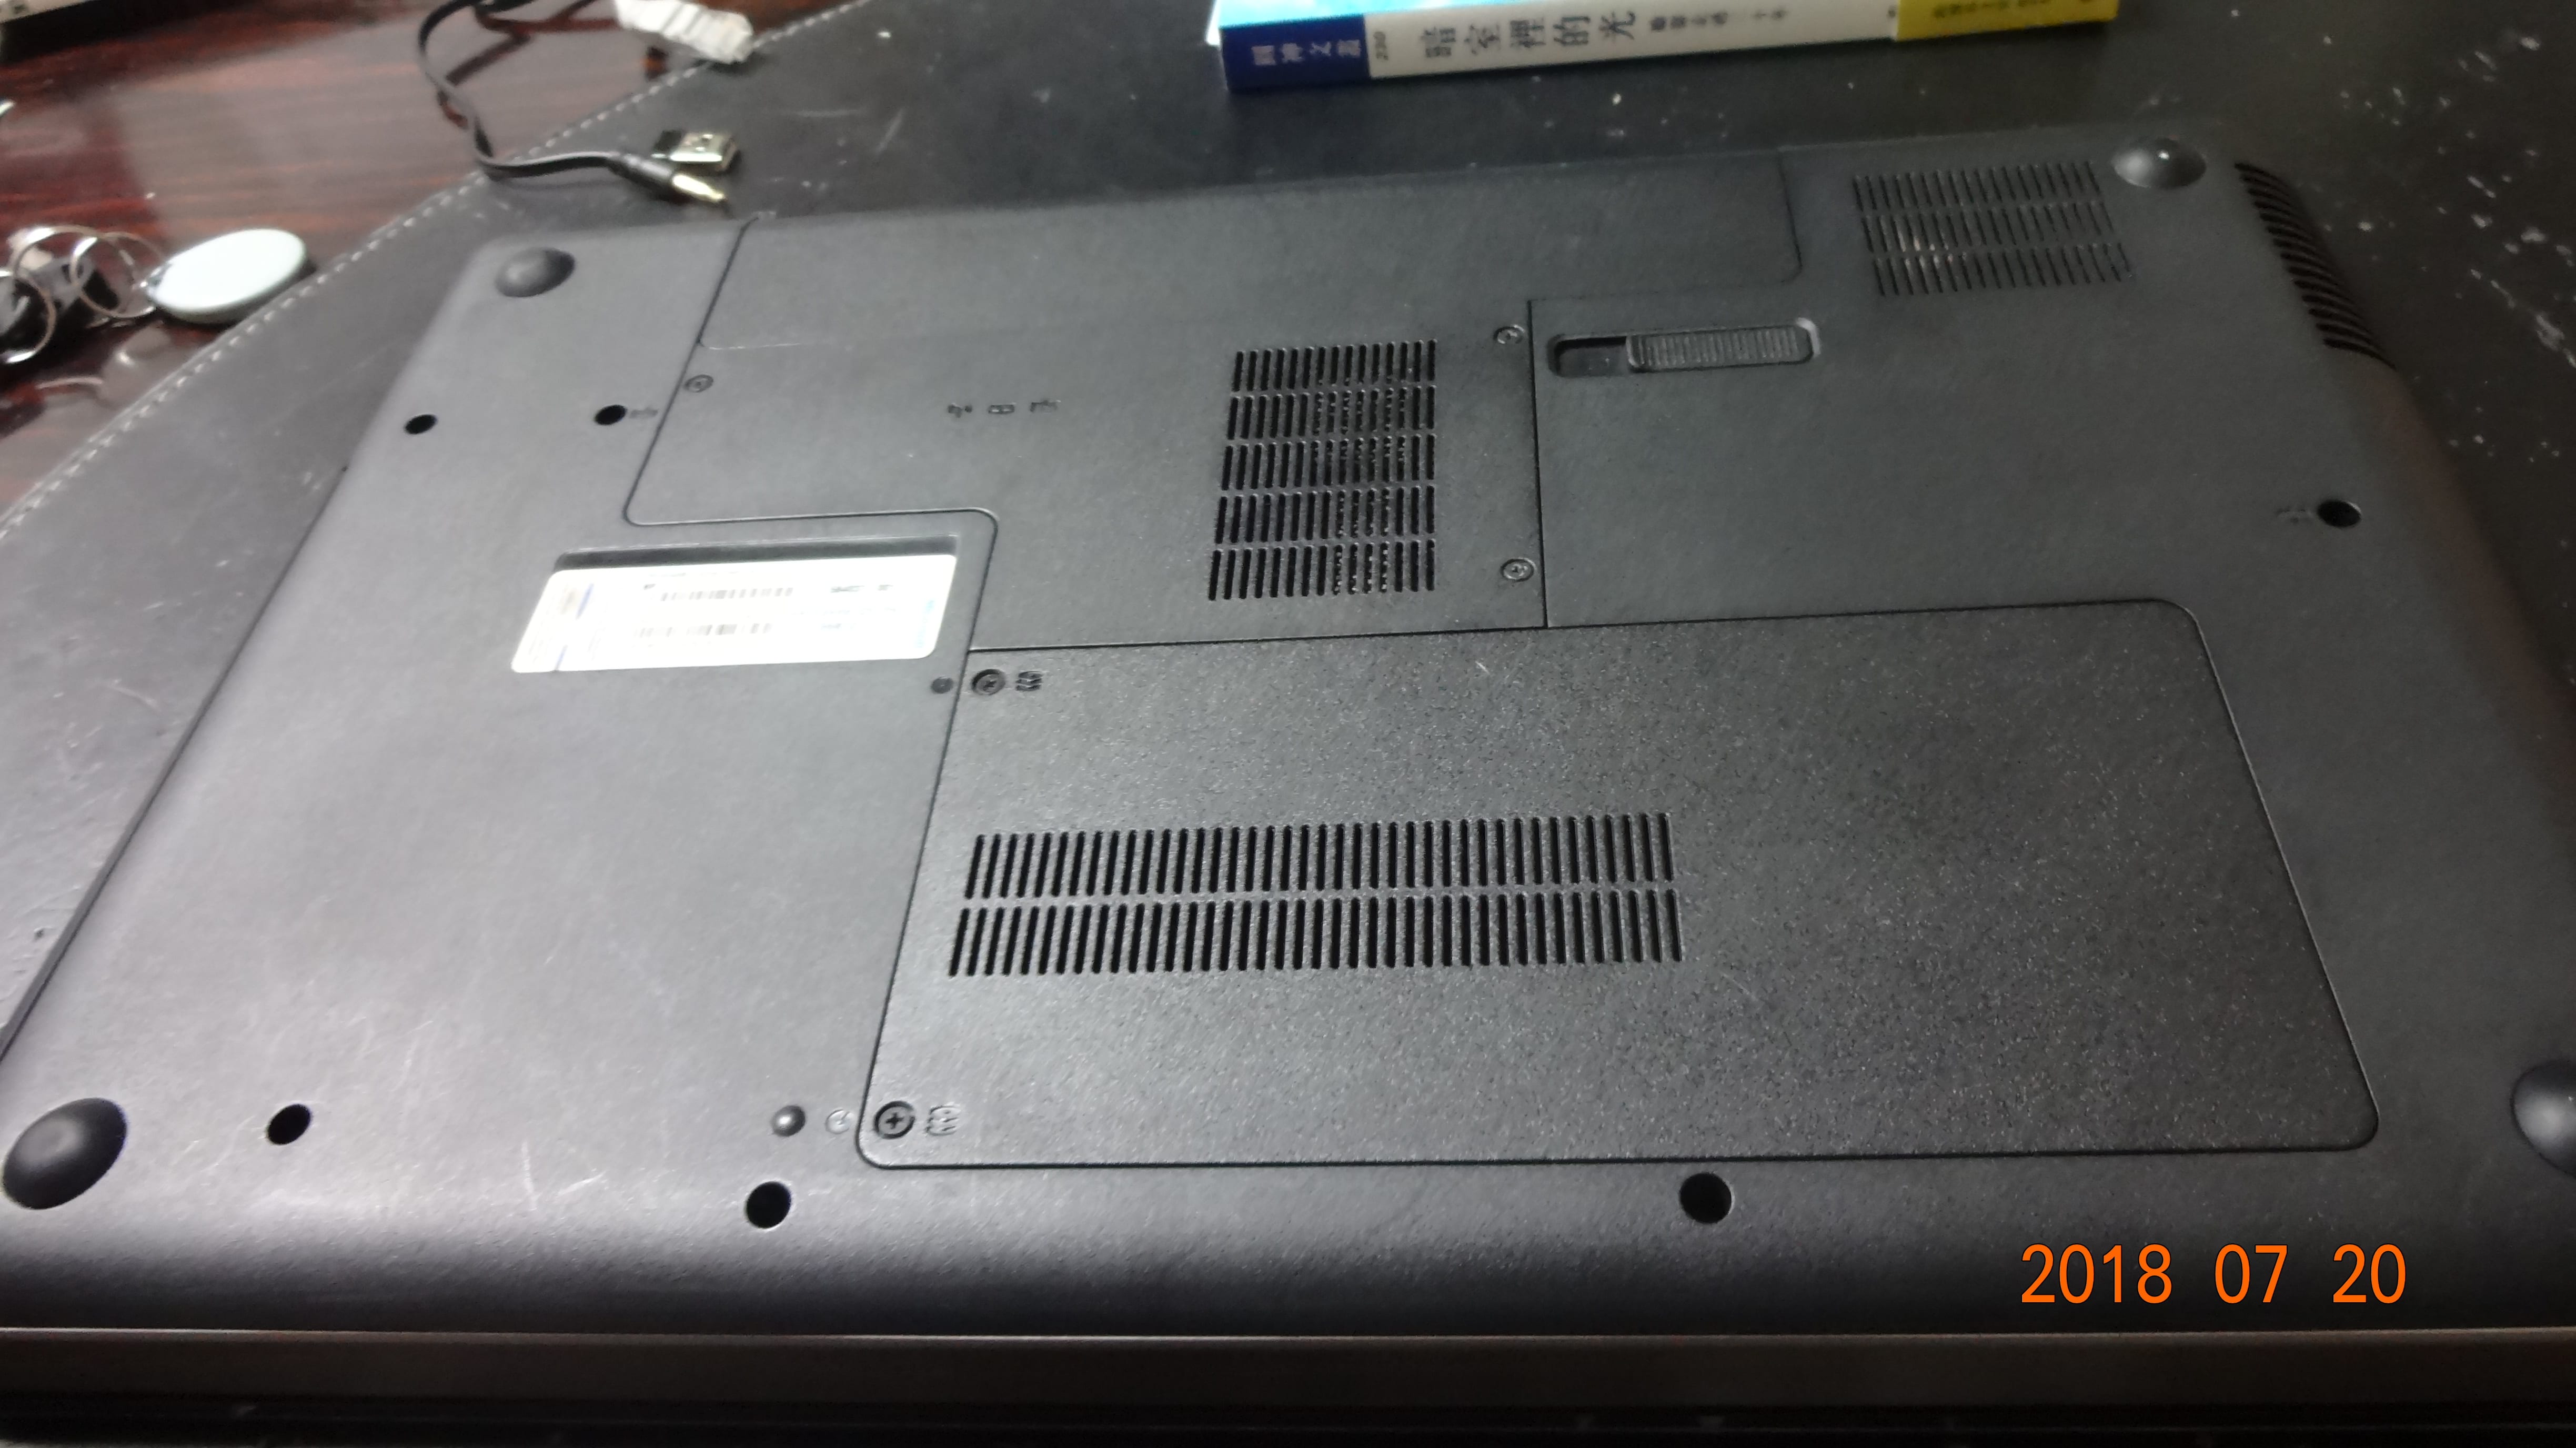
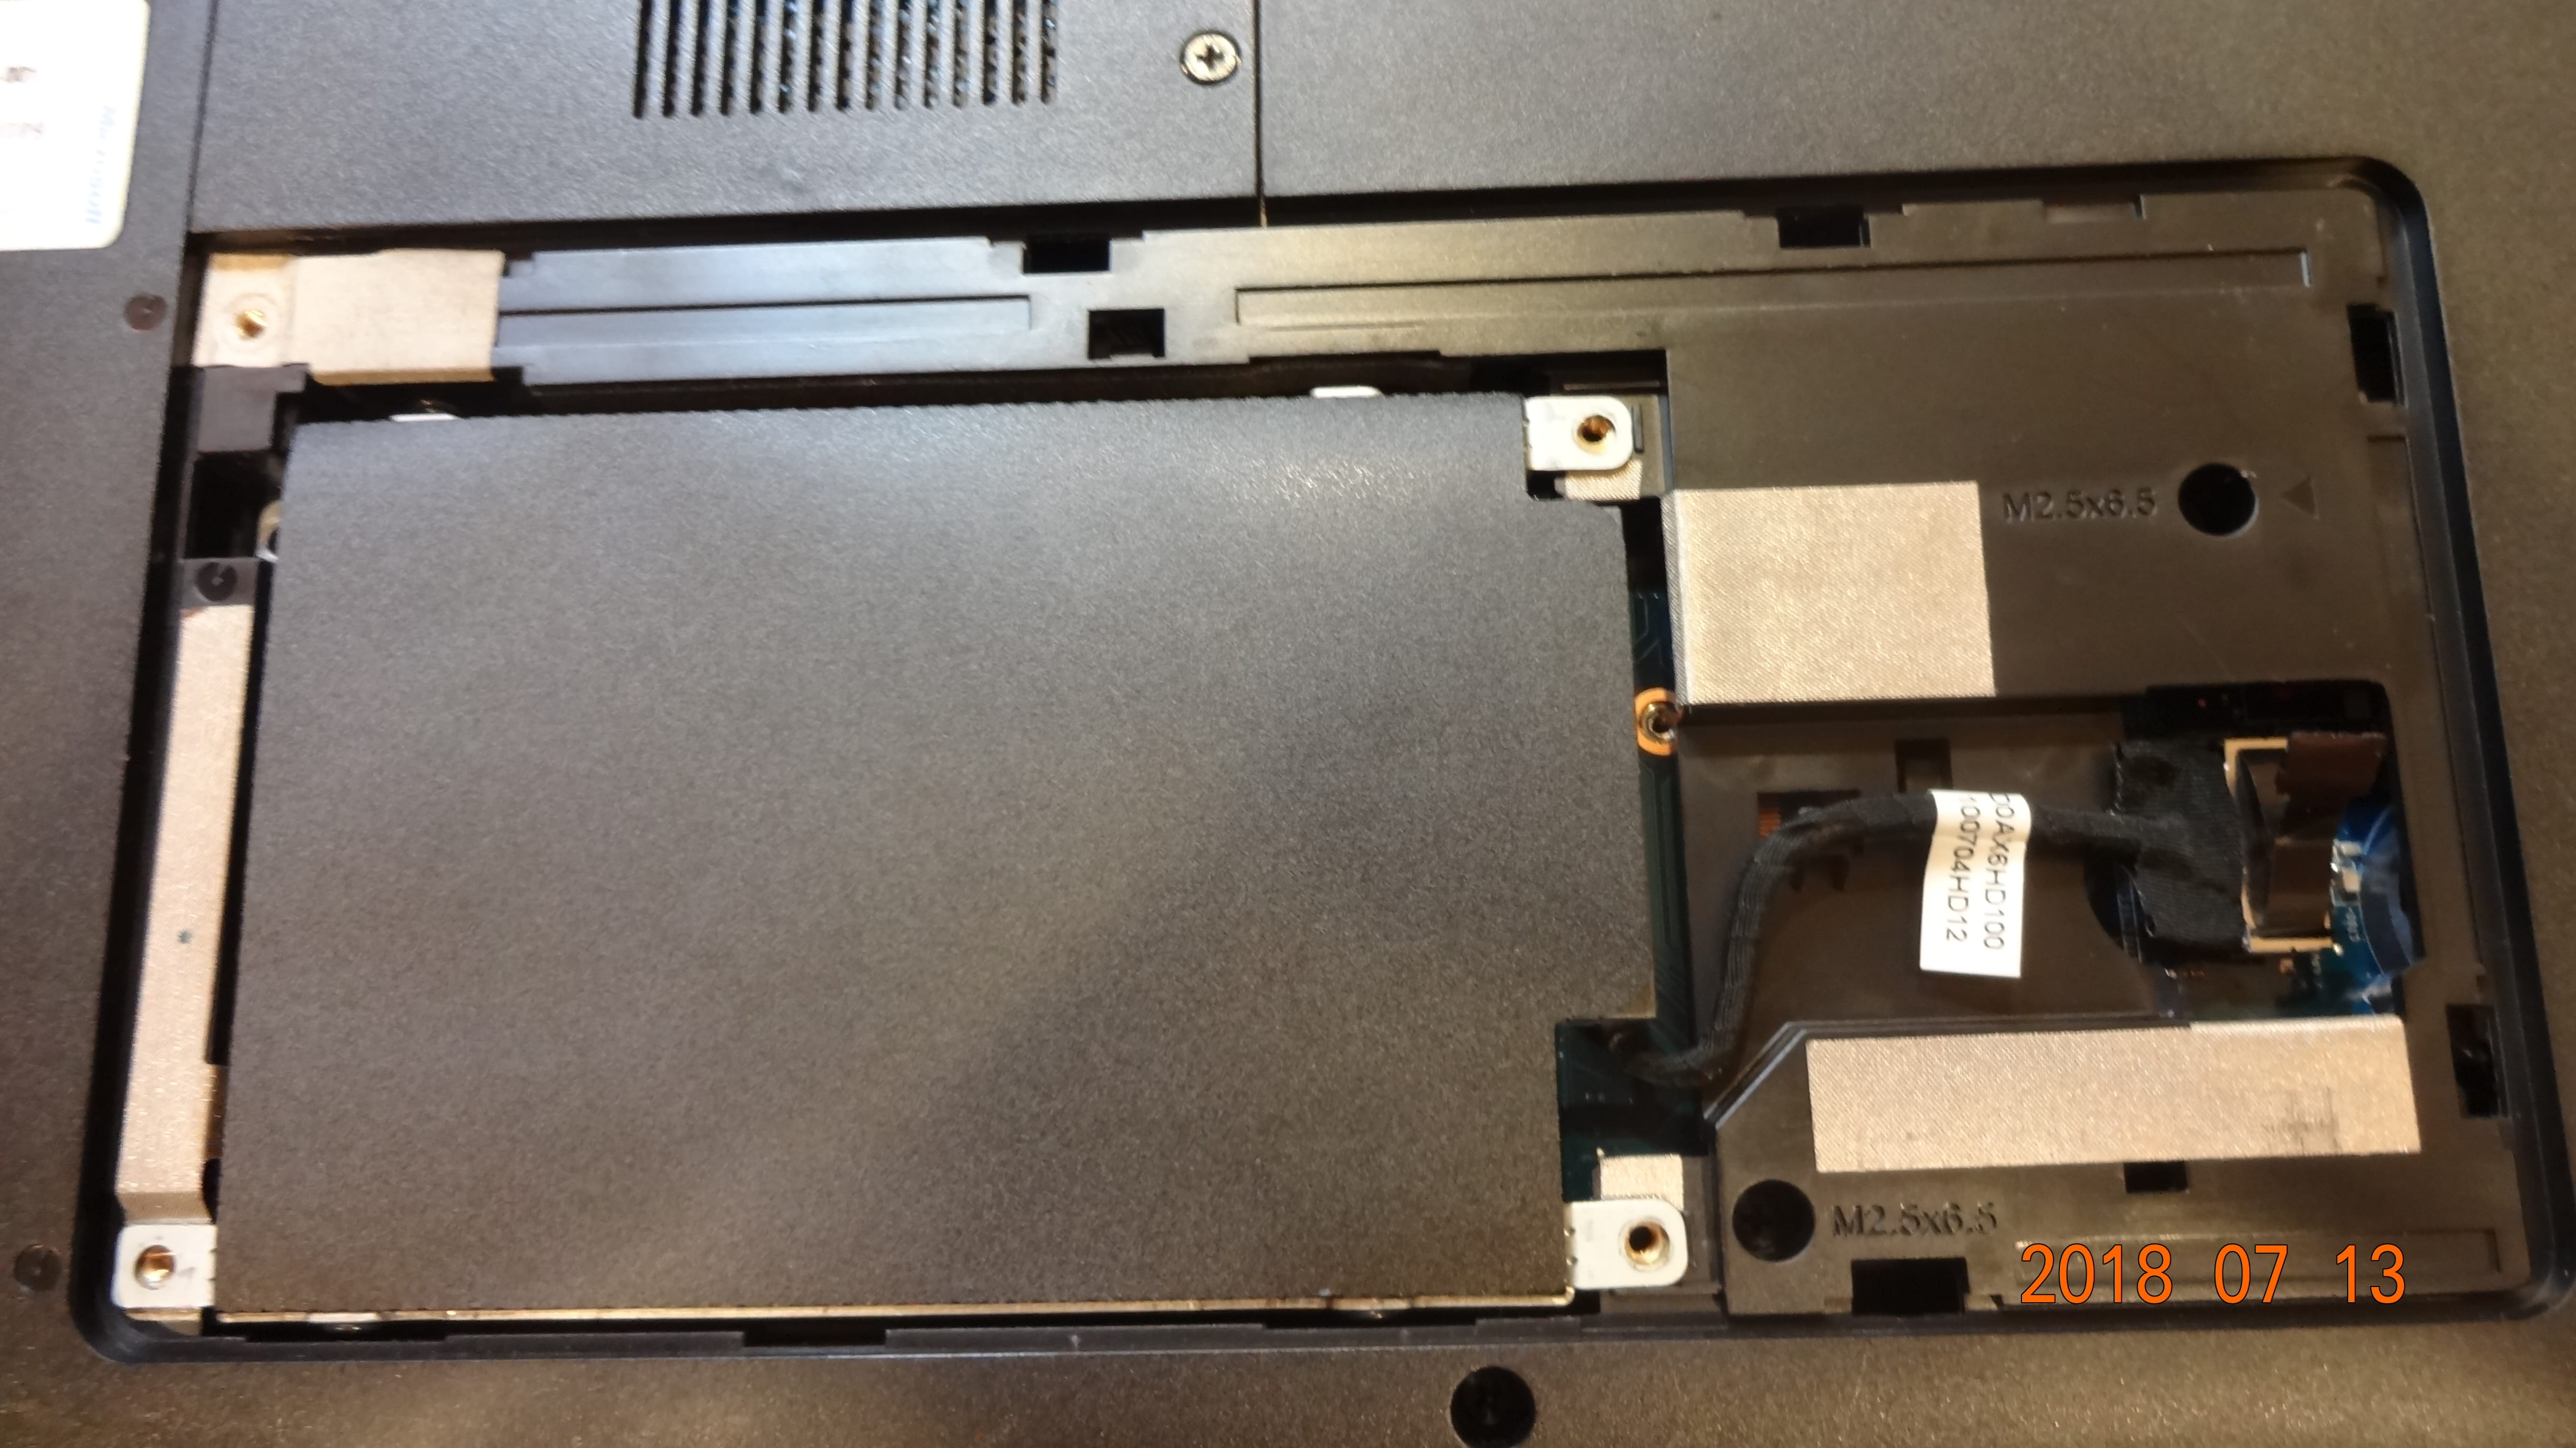
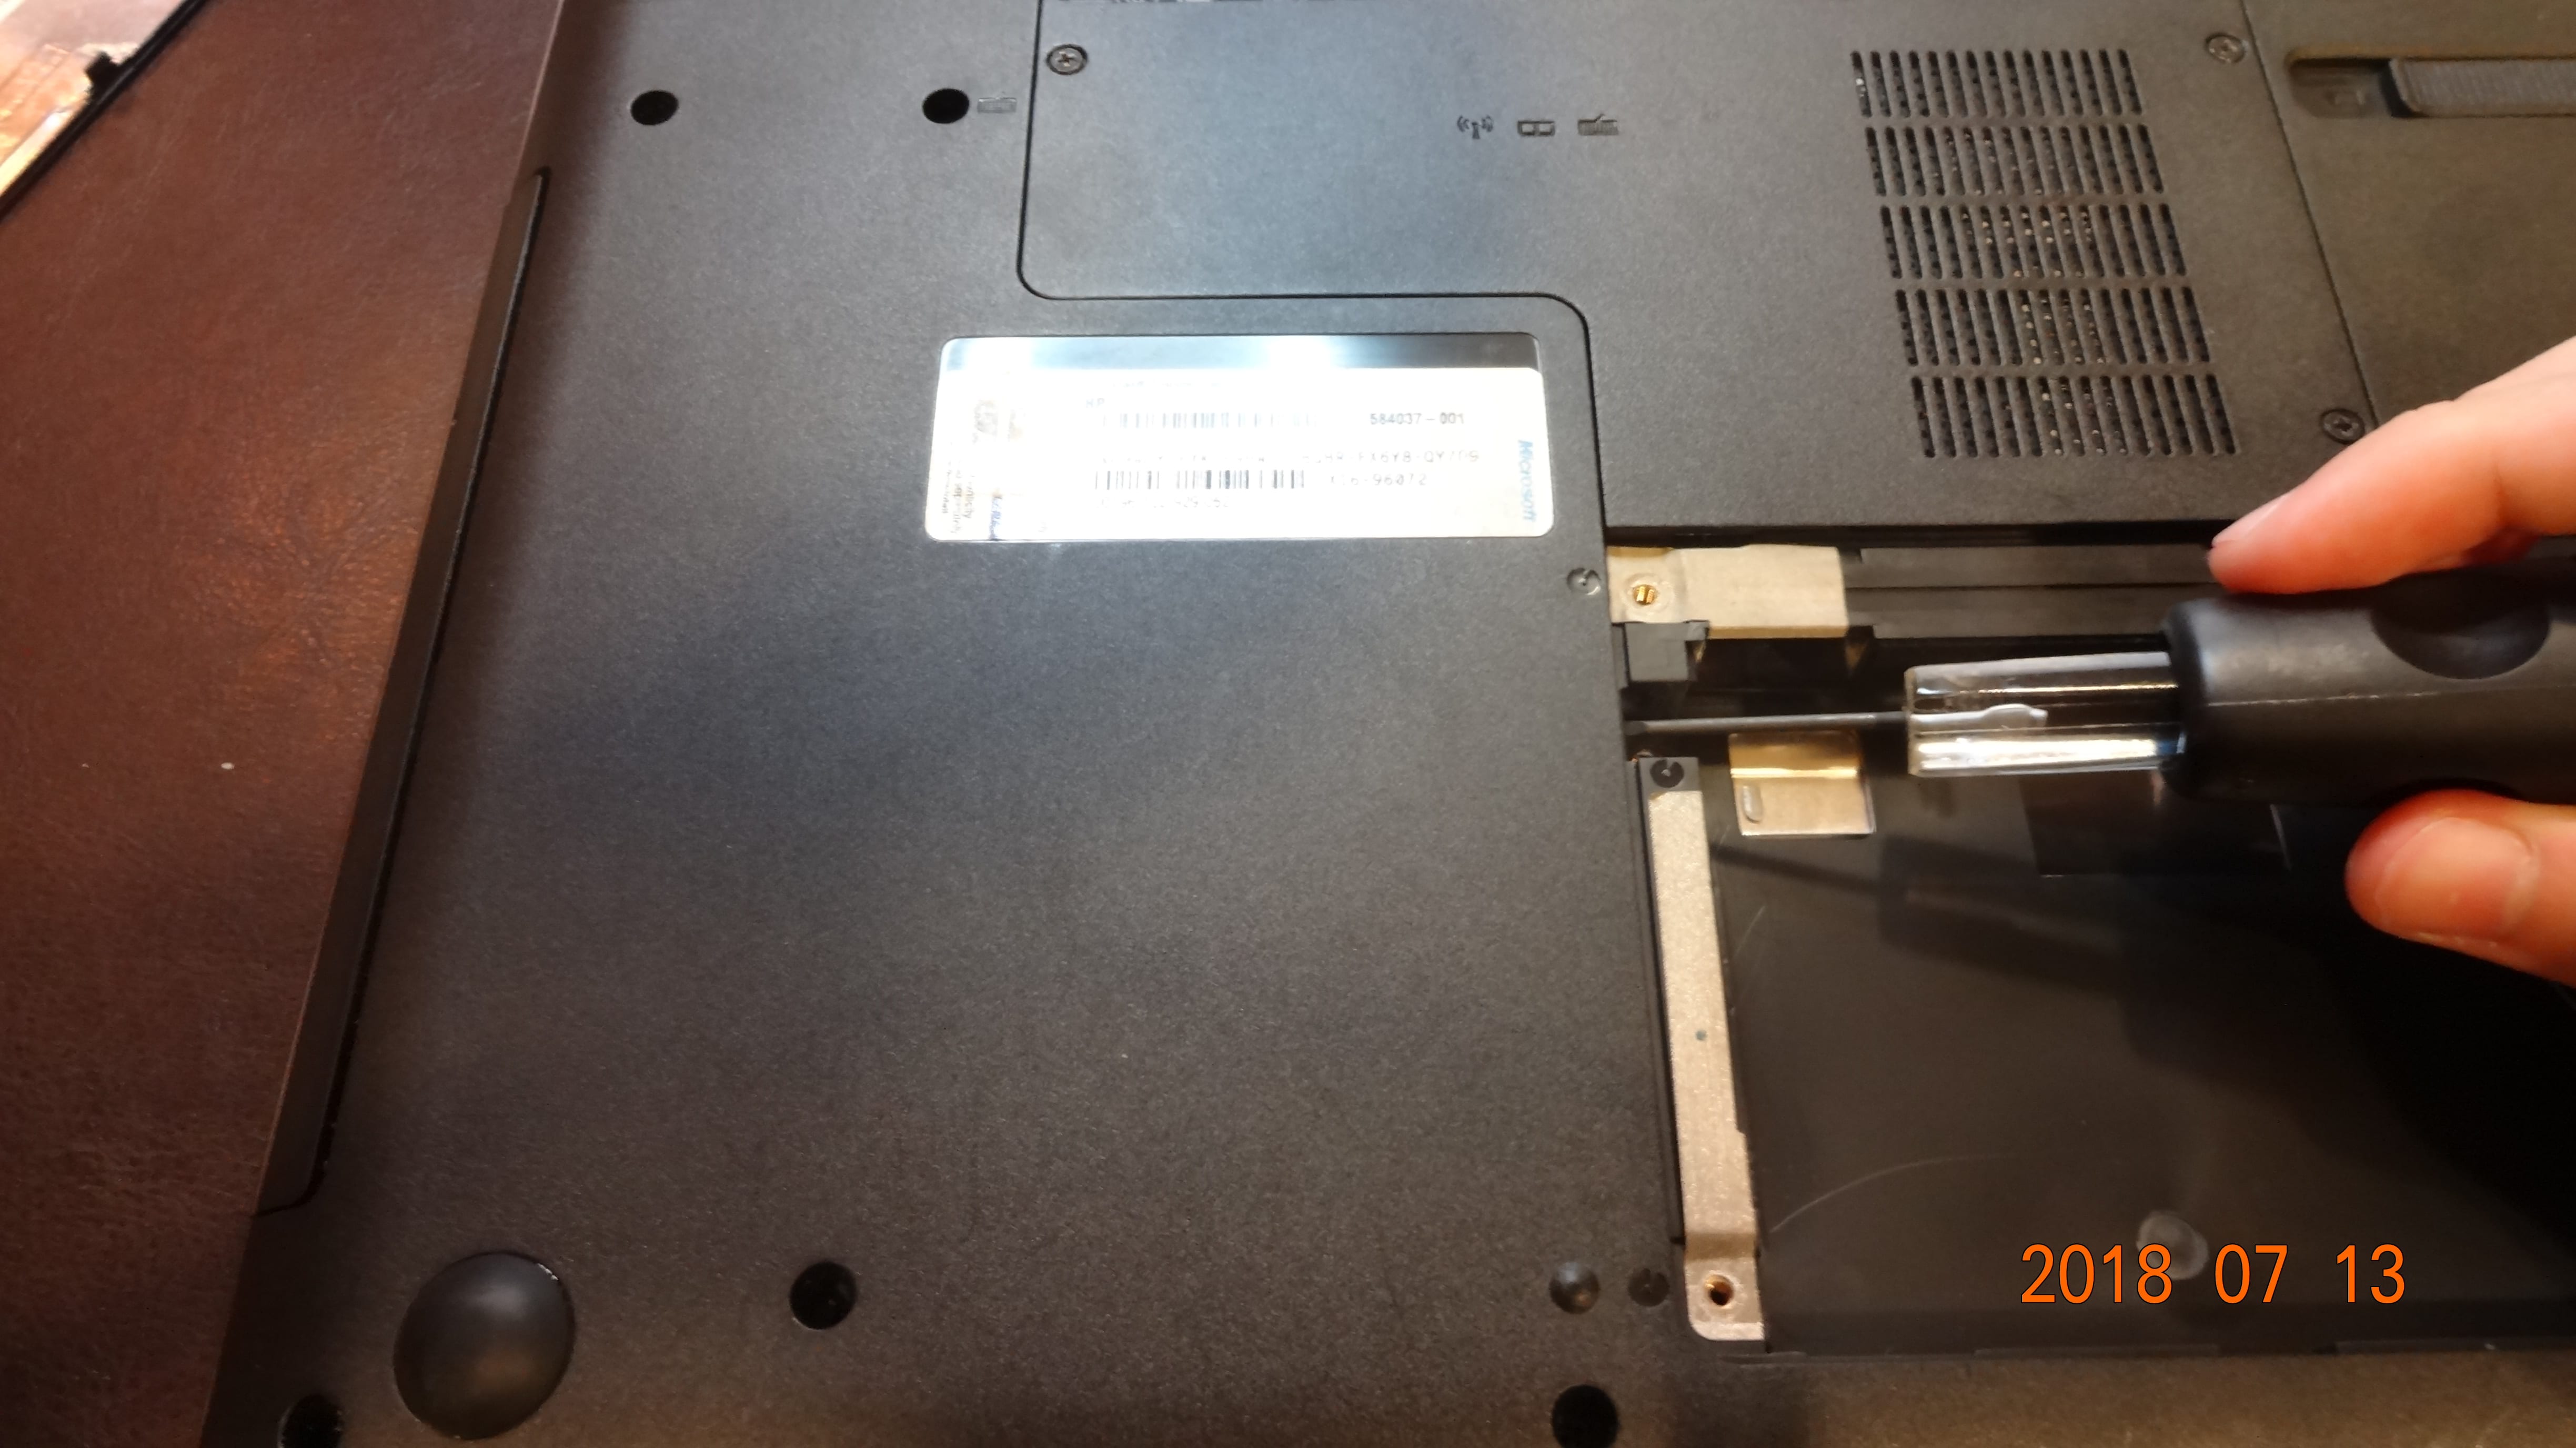
Now, let’s see what’s inside the HP G62 laptop, starting with the hard drive!
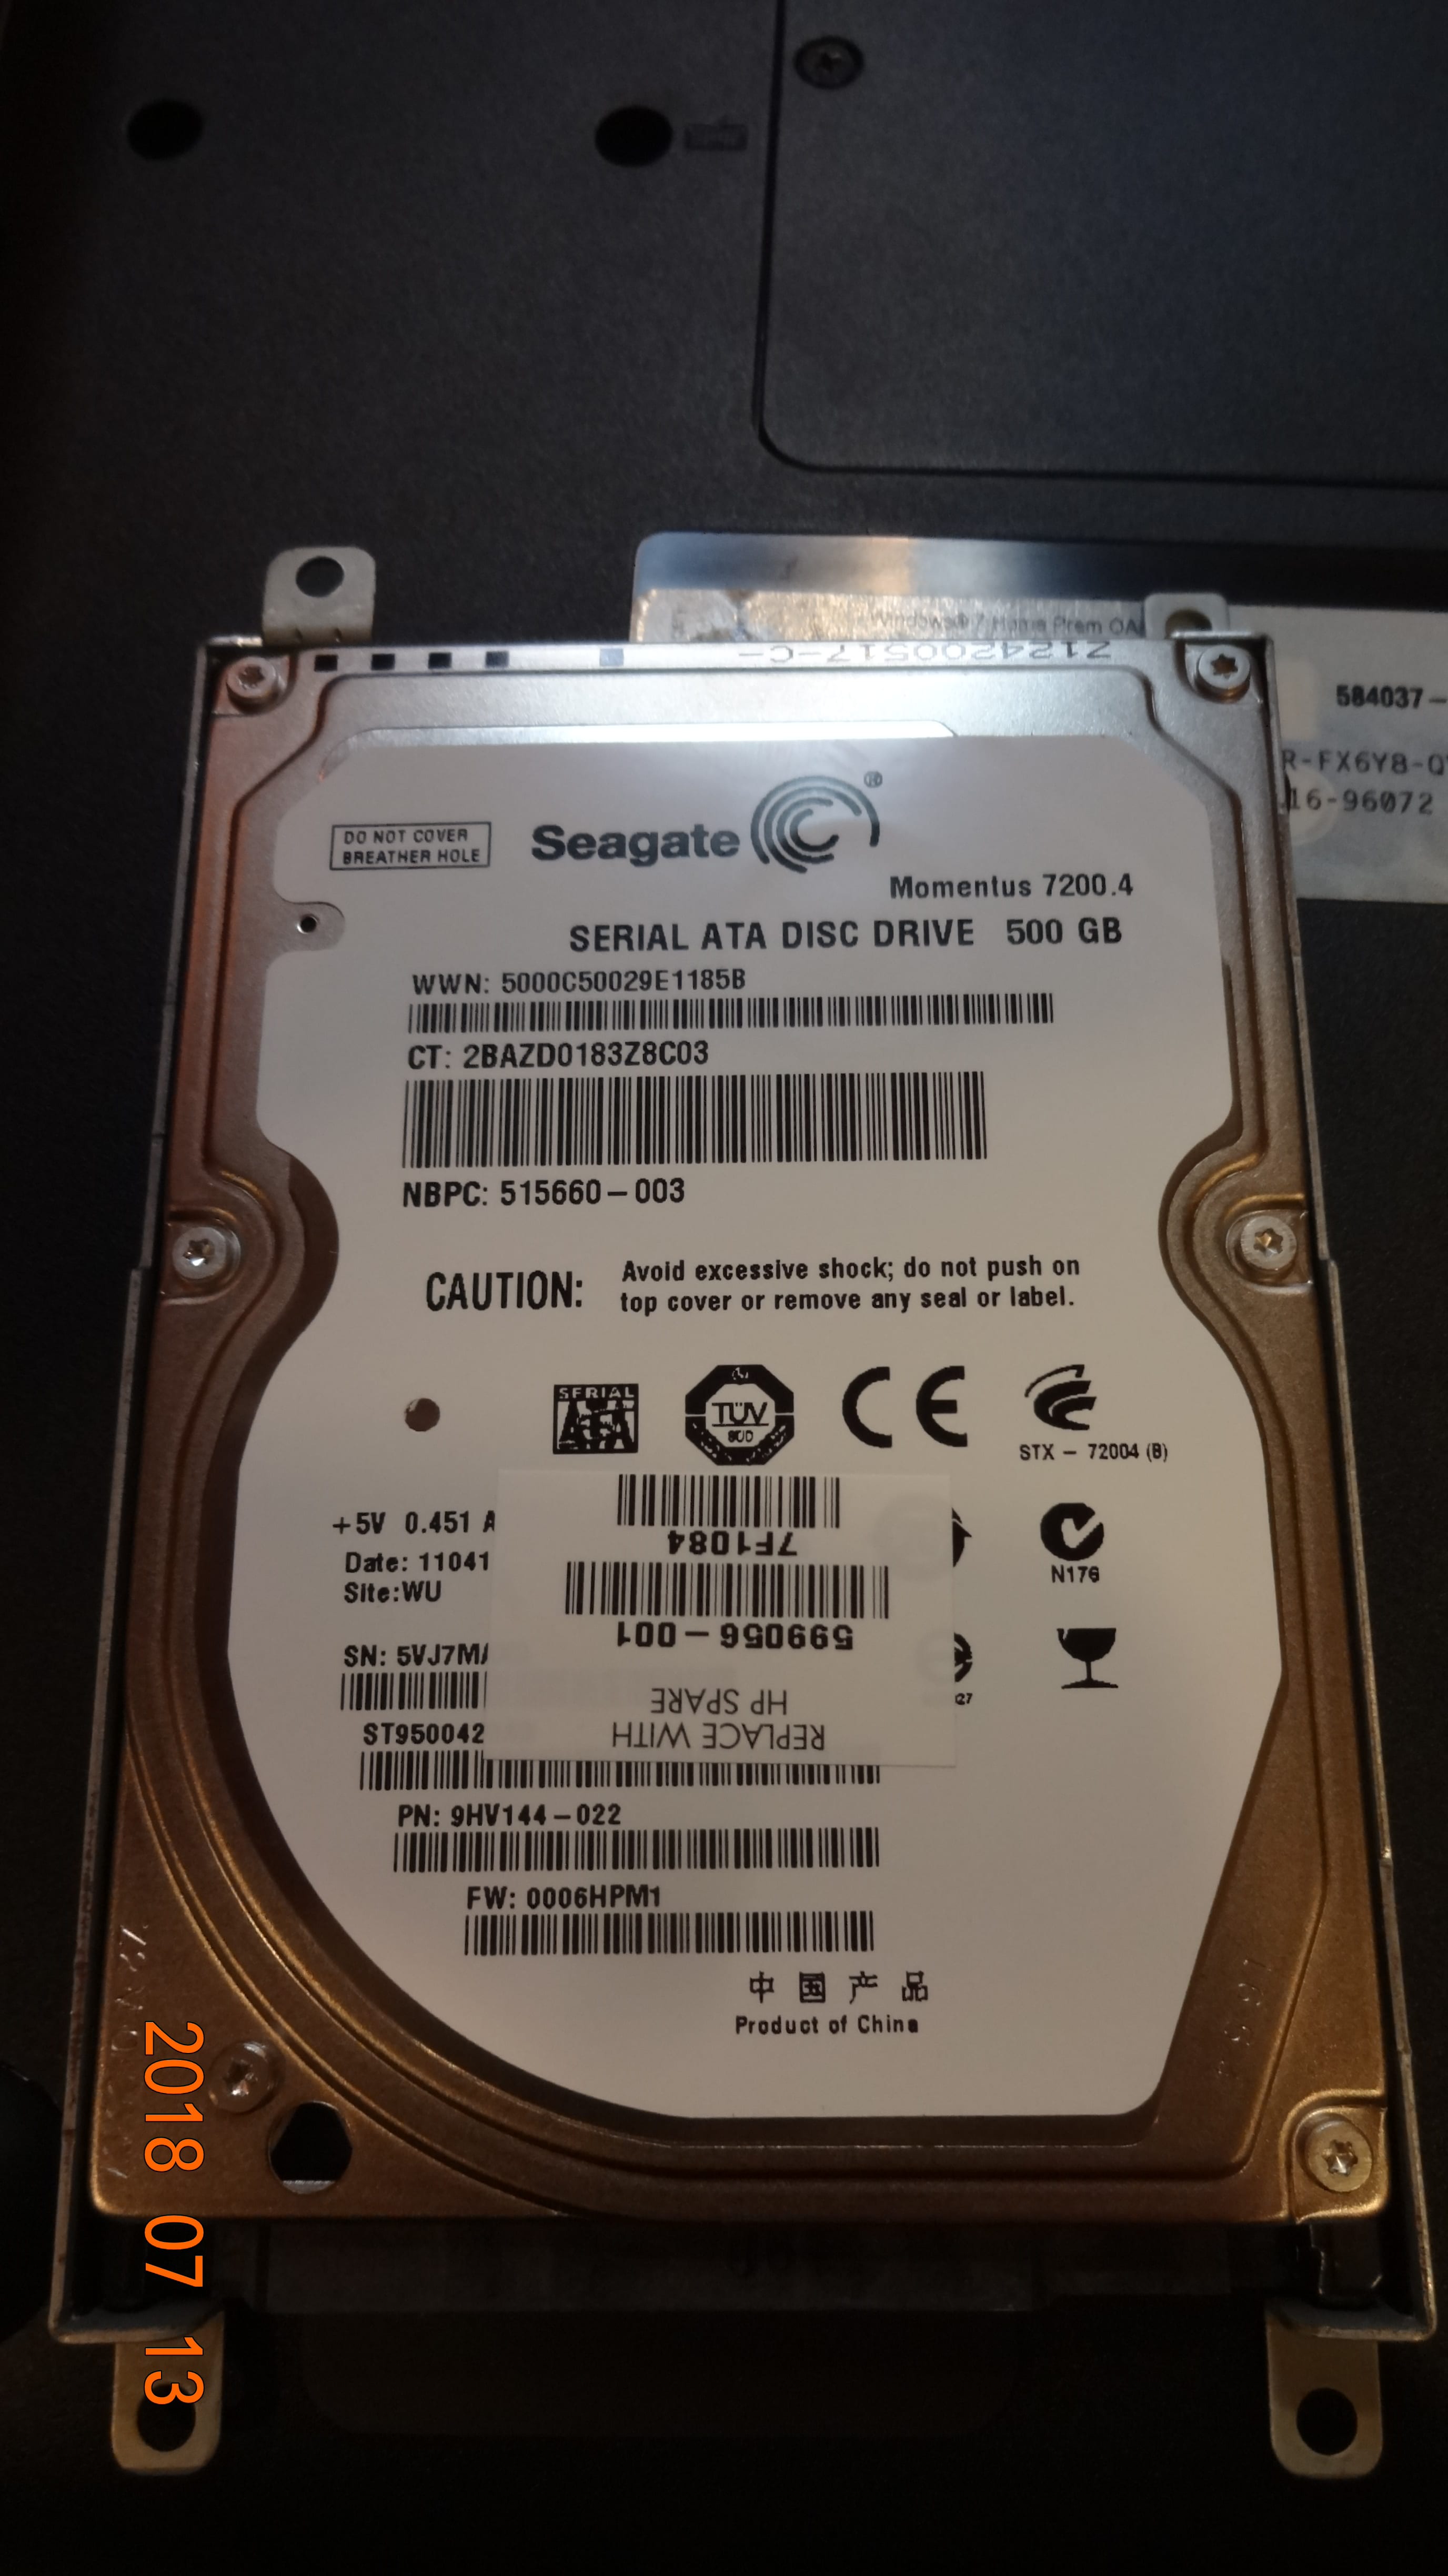 The hard drive is a Seagate Momentus 7200.4 500GB serial ATA hard drive which runs at 7200 rpm.
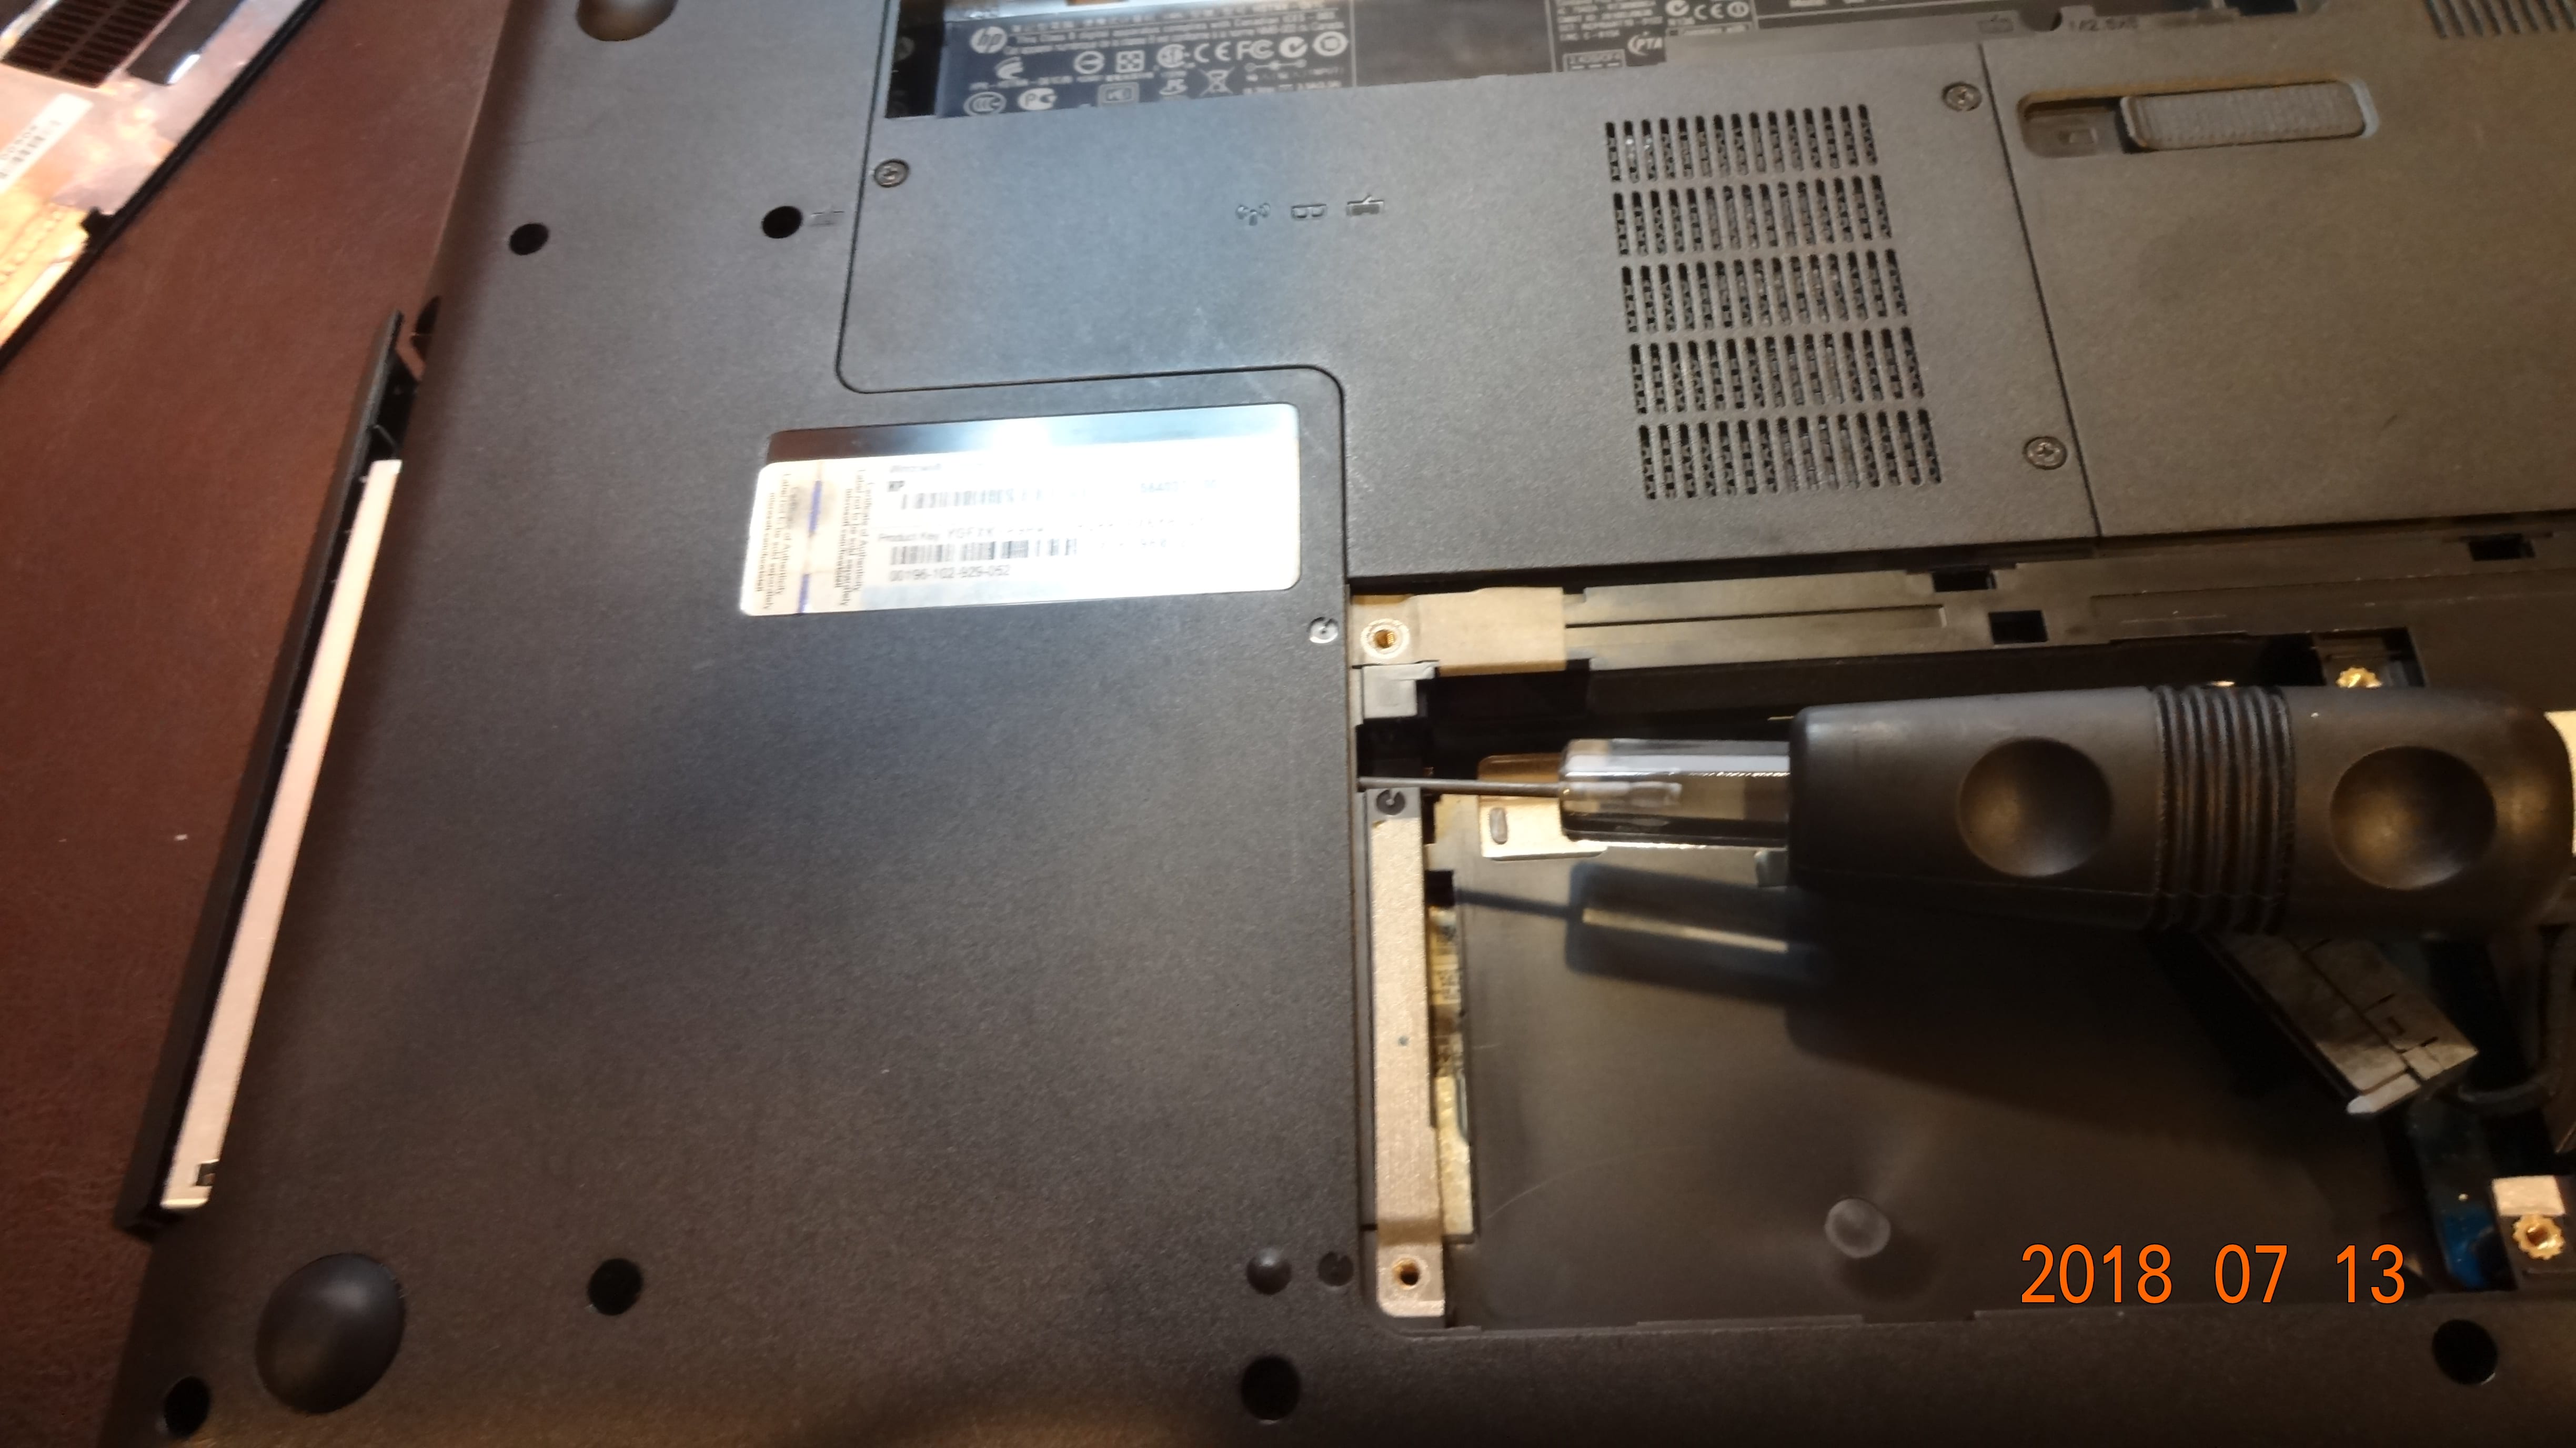 Bringing up the defective CD/DVD drive… and here it is…
 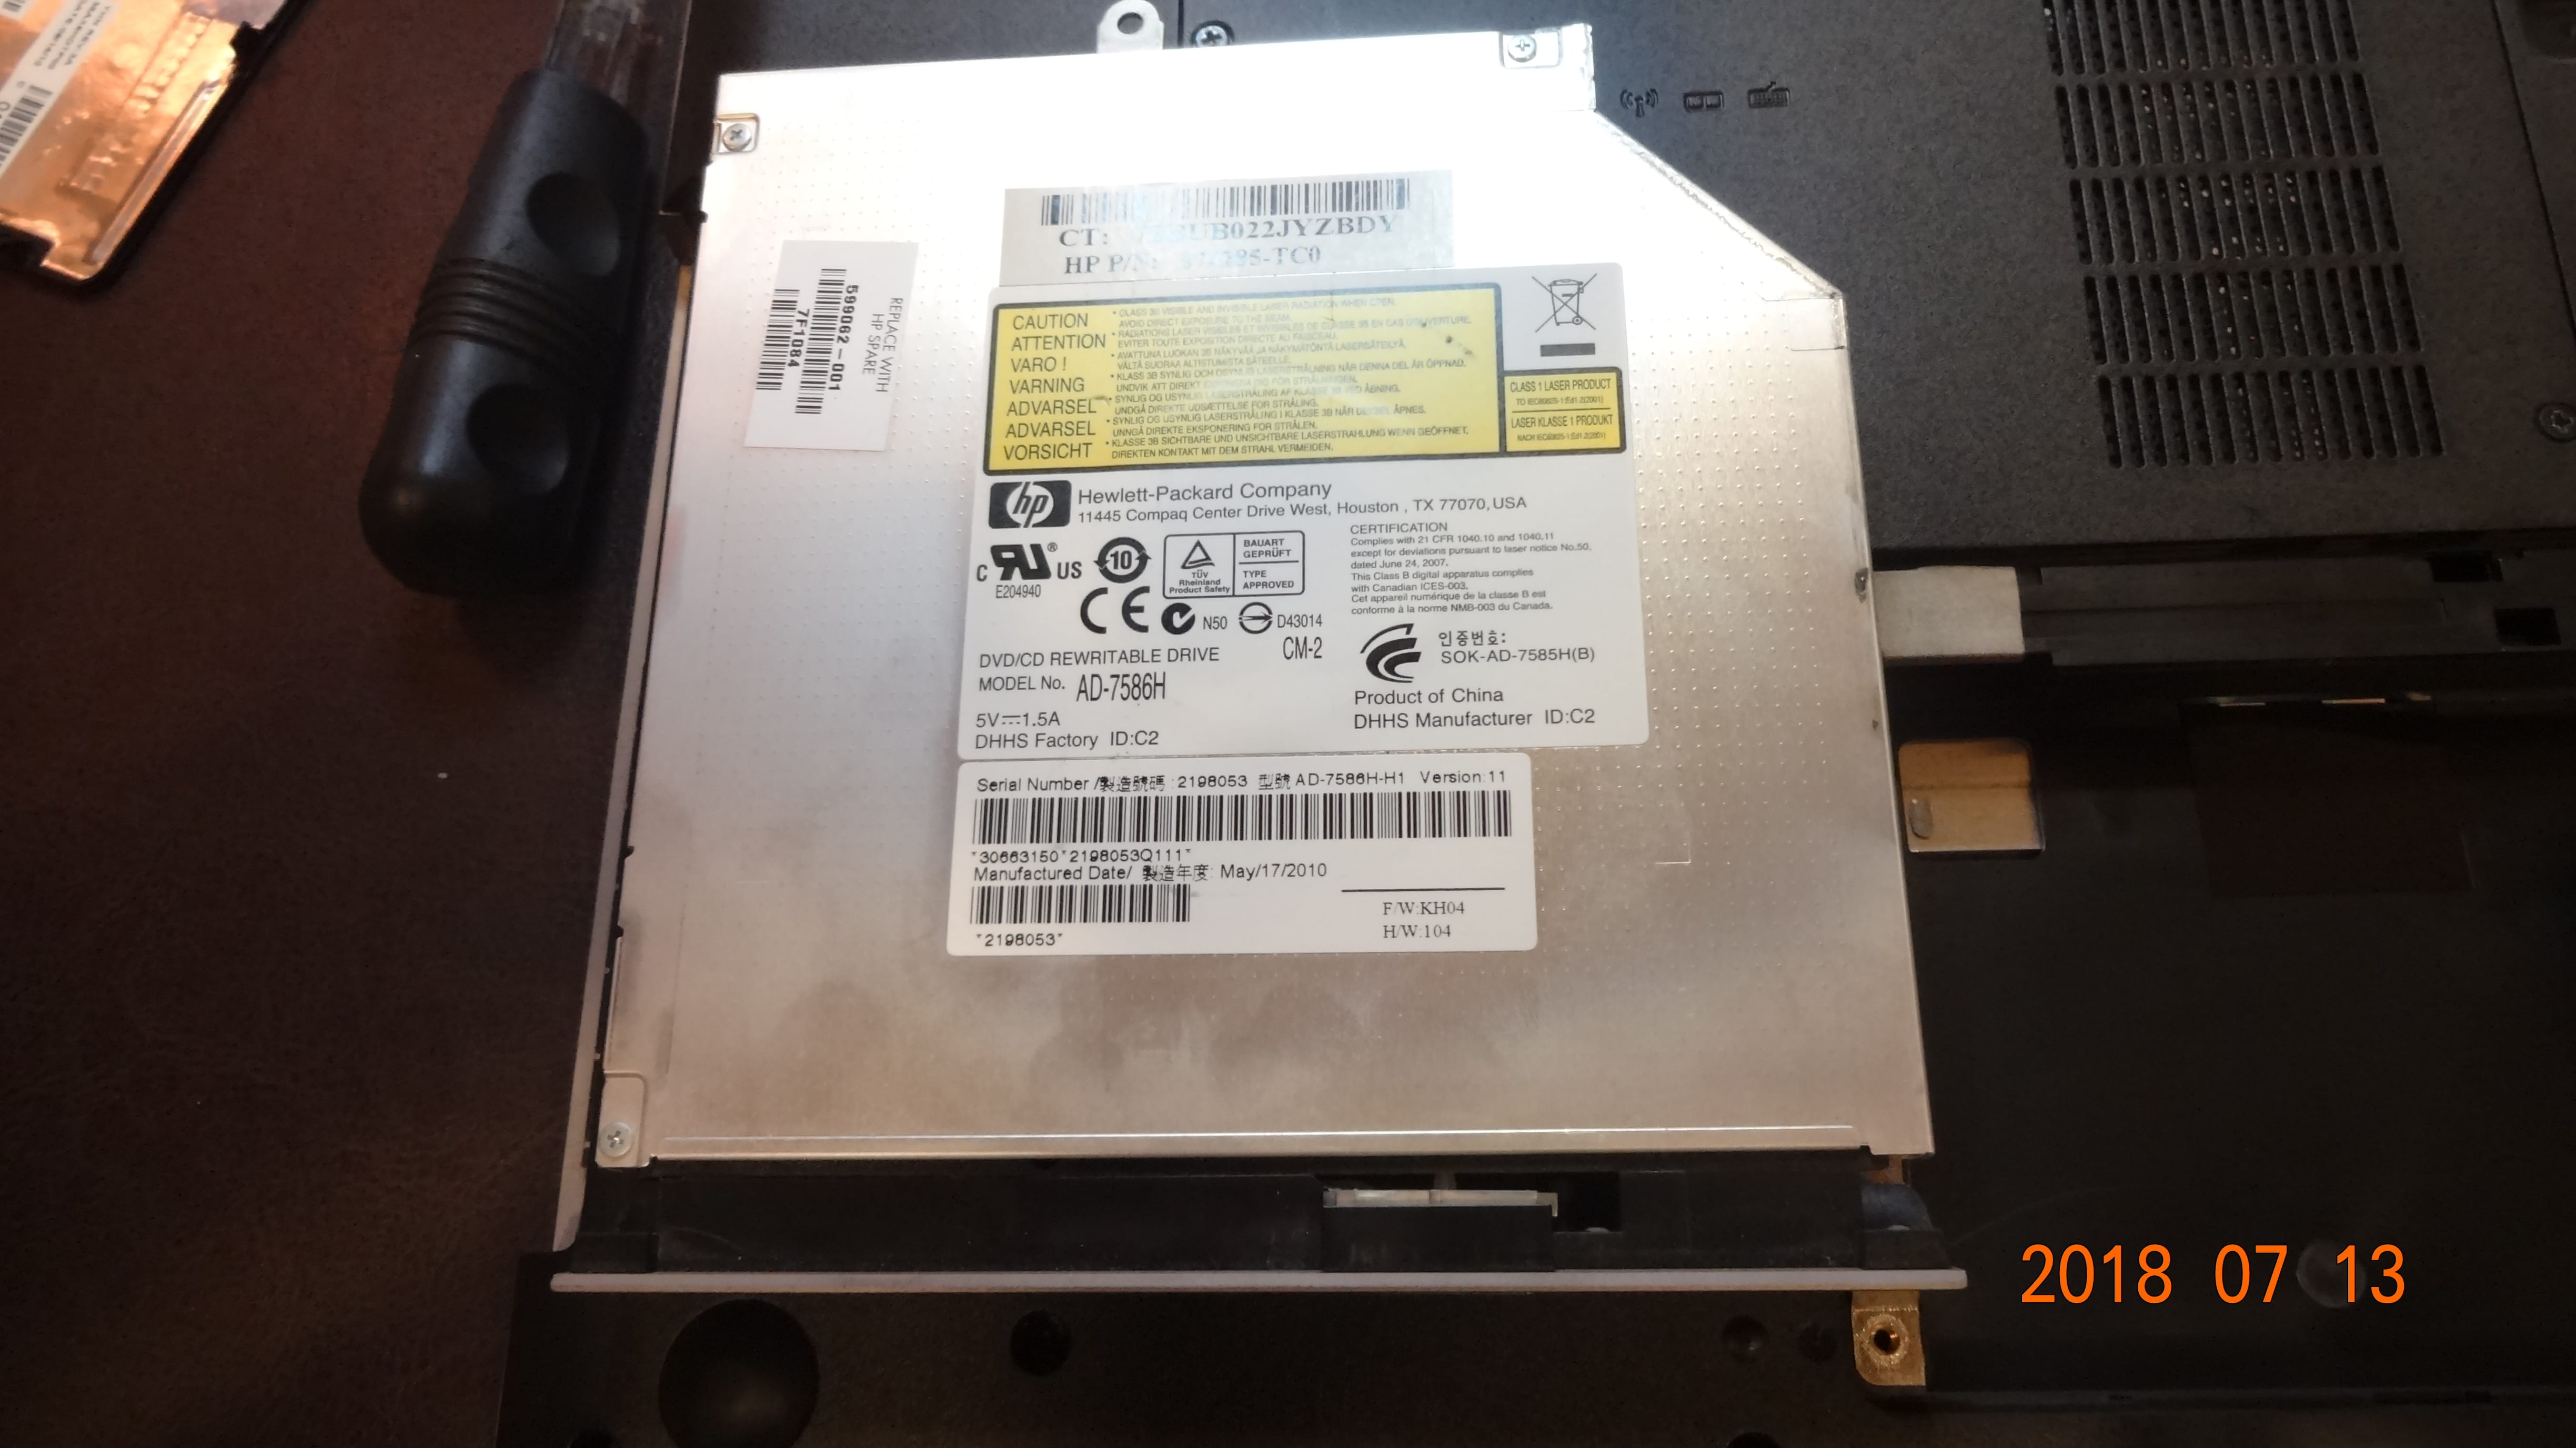 The CD/DVD drive has a model of AD-7586H, but the exact manufacturer is unknown.
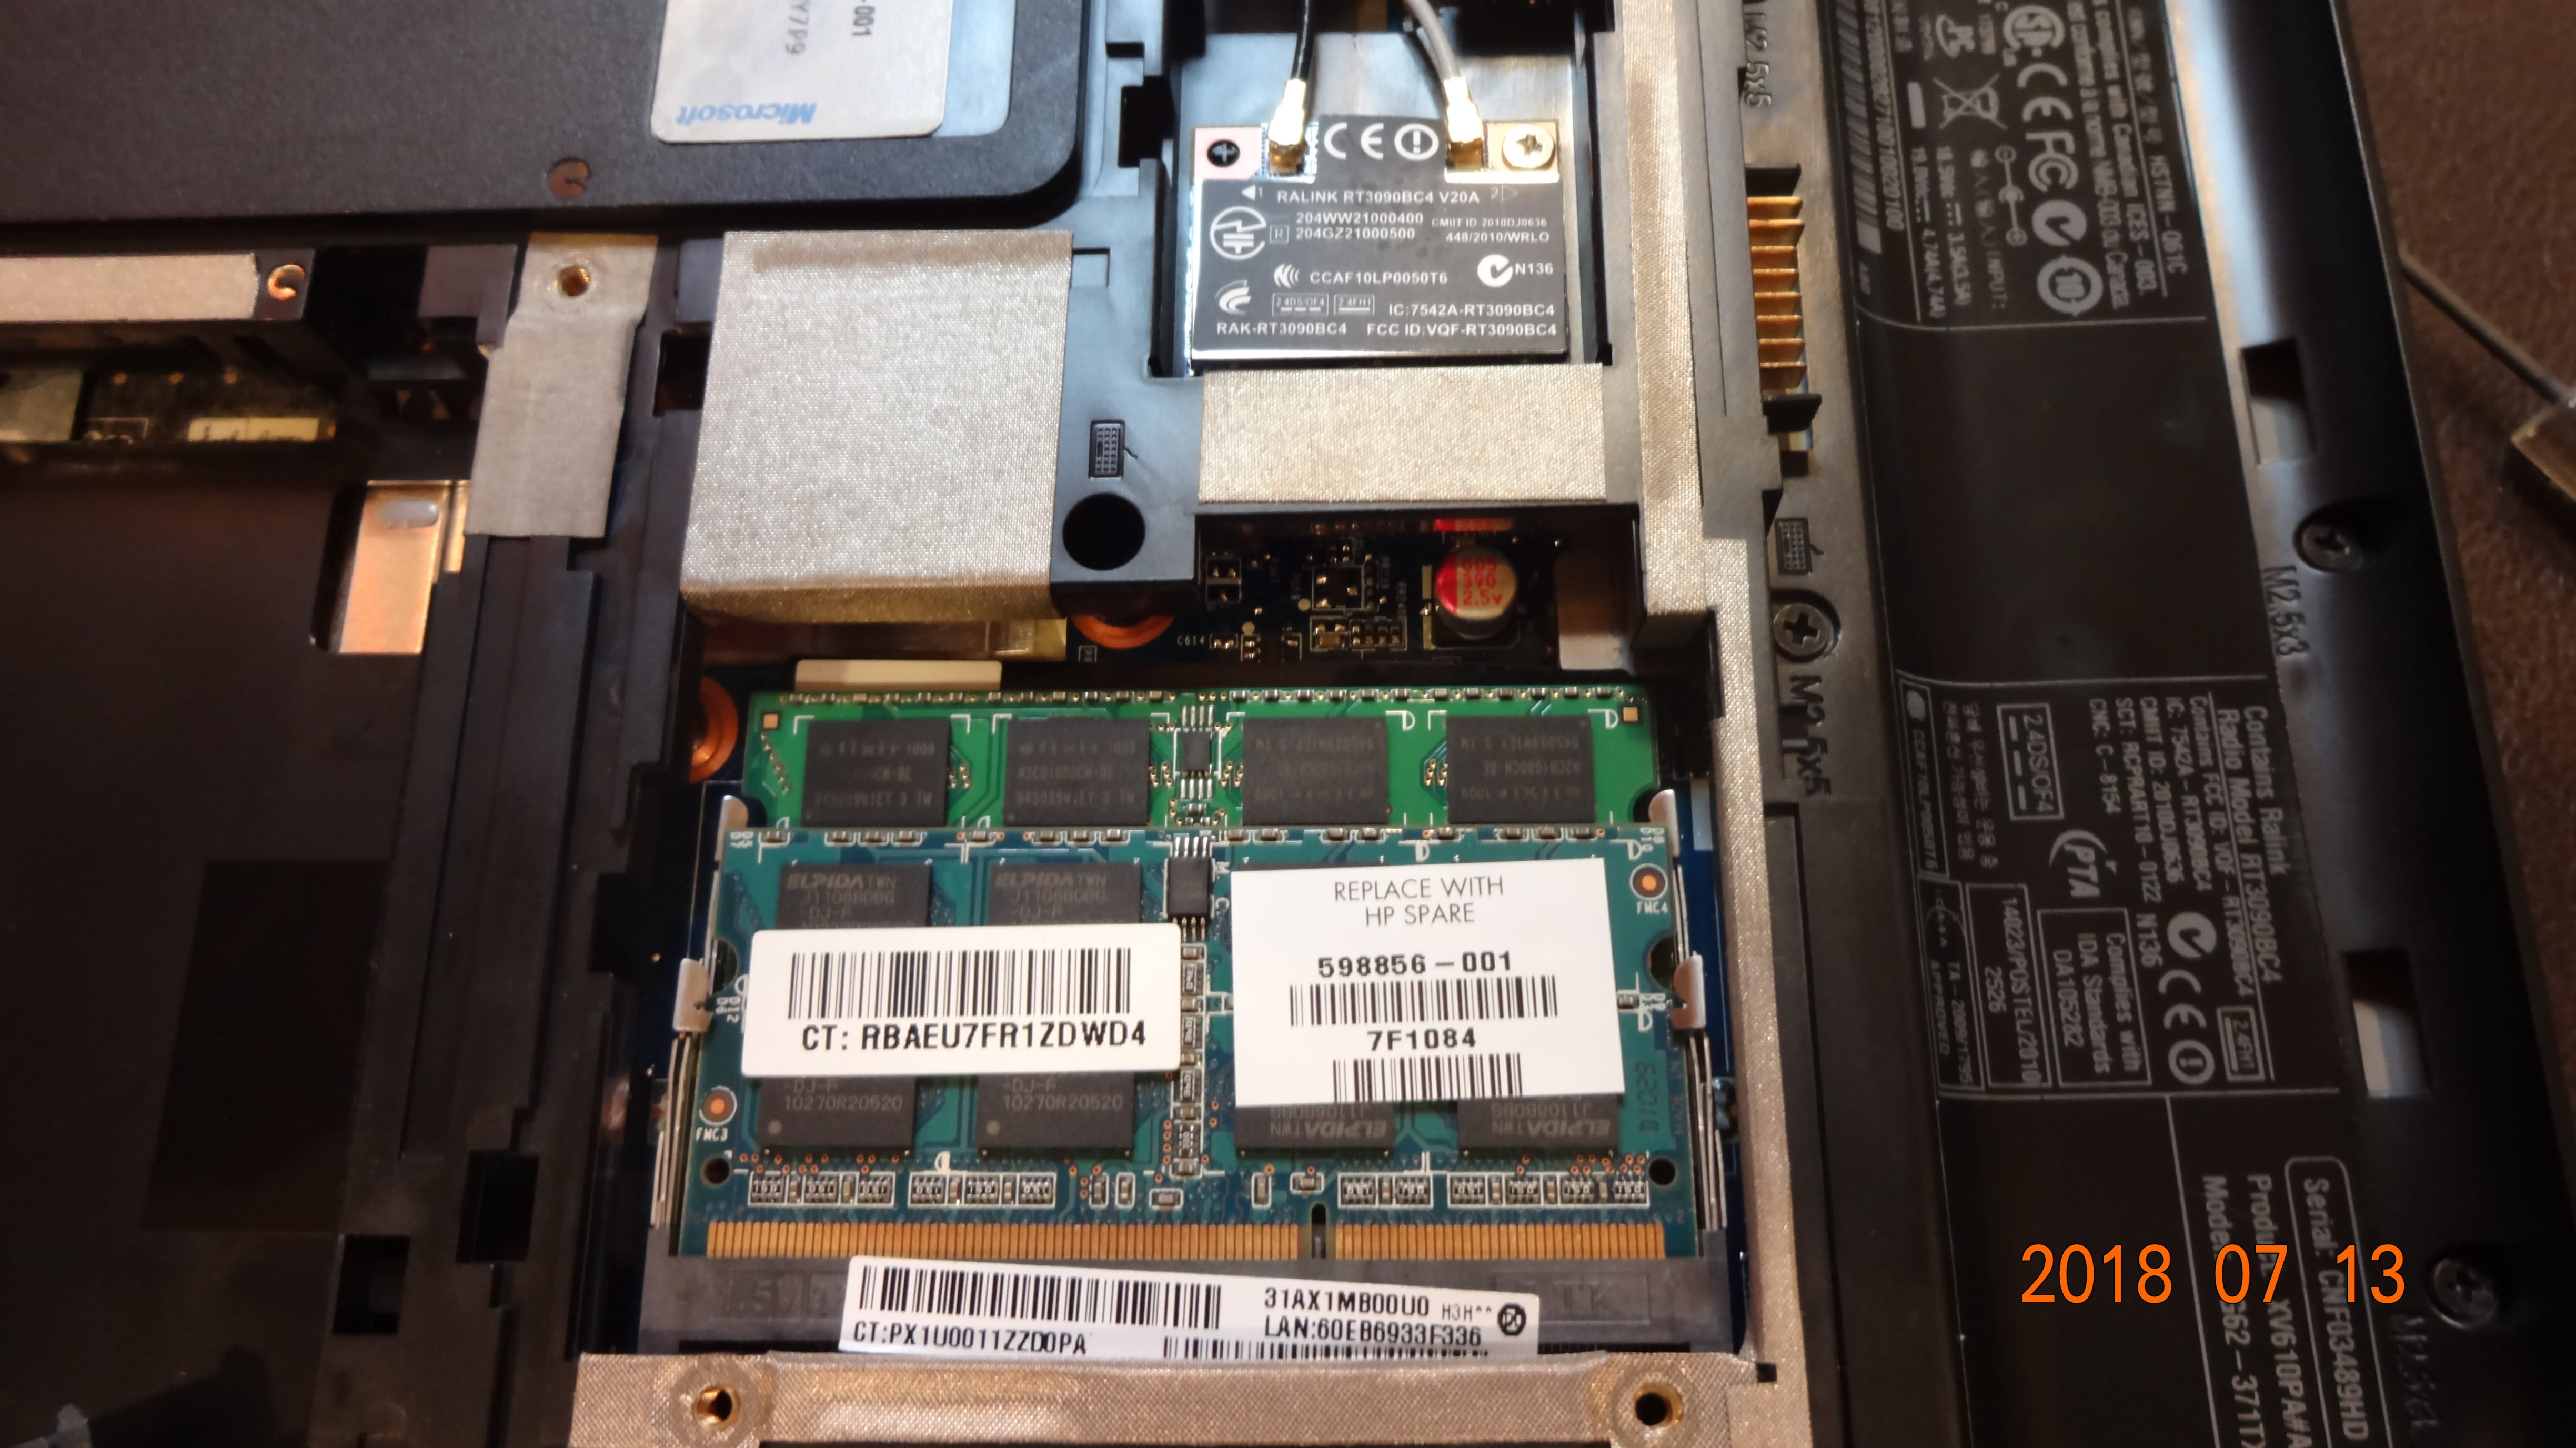 The memory modules and the wireless card…
The memory modules came from 2 difference companies, one from Elixir and one from Ramaxel.
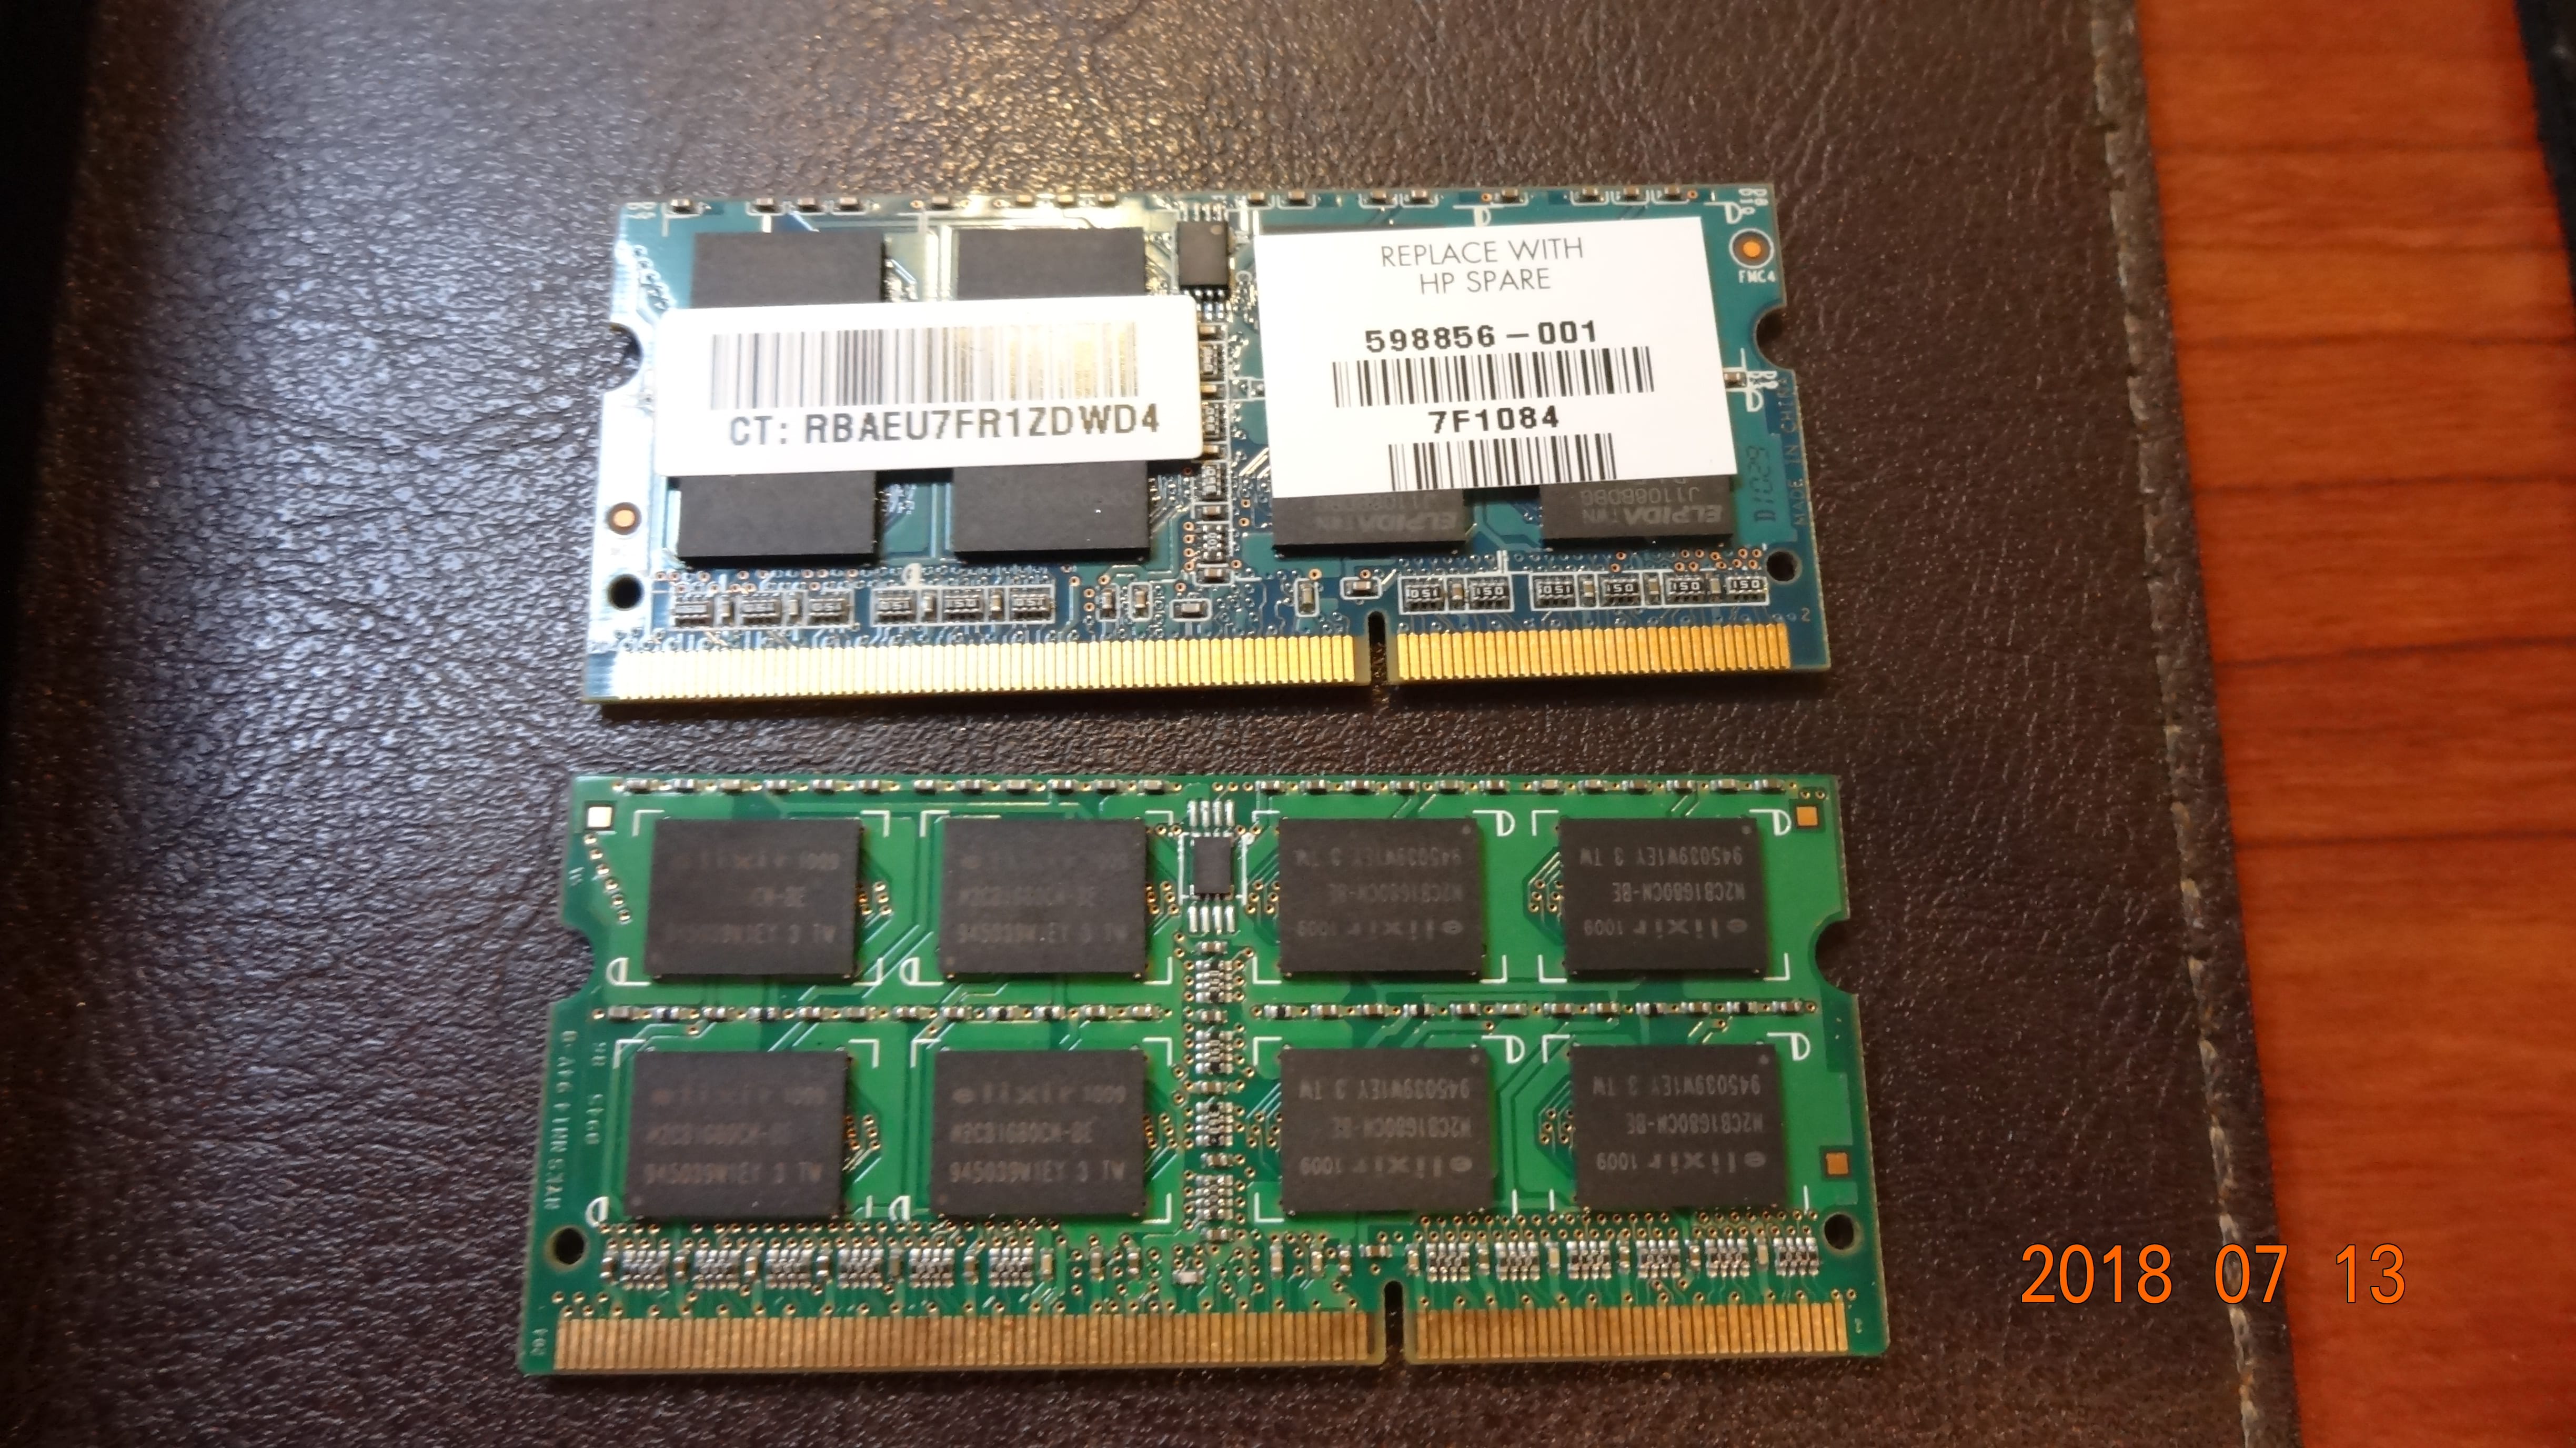
 Ugh! the Elixir brand comes from the Taiwanese Nanya Technology (part of Formosa Plastics Group), and Ramaxel is a Chinese tech company. Both modules are 2GB DDR3-1333 SODIMM modules.
 The wireless module is a Ralink (now part of MediaTek) RT3090BC4 PCI Express card with support of 802.11 b/g/n portals.
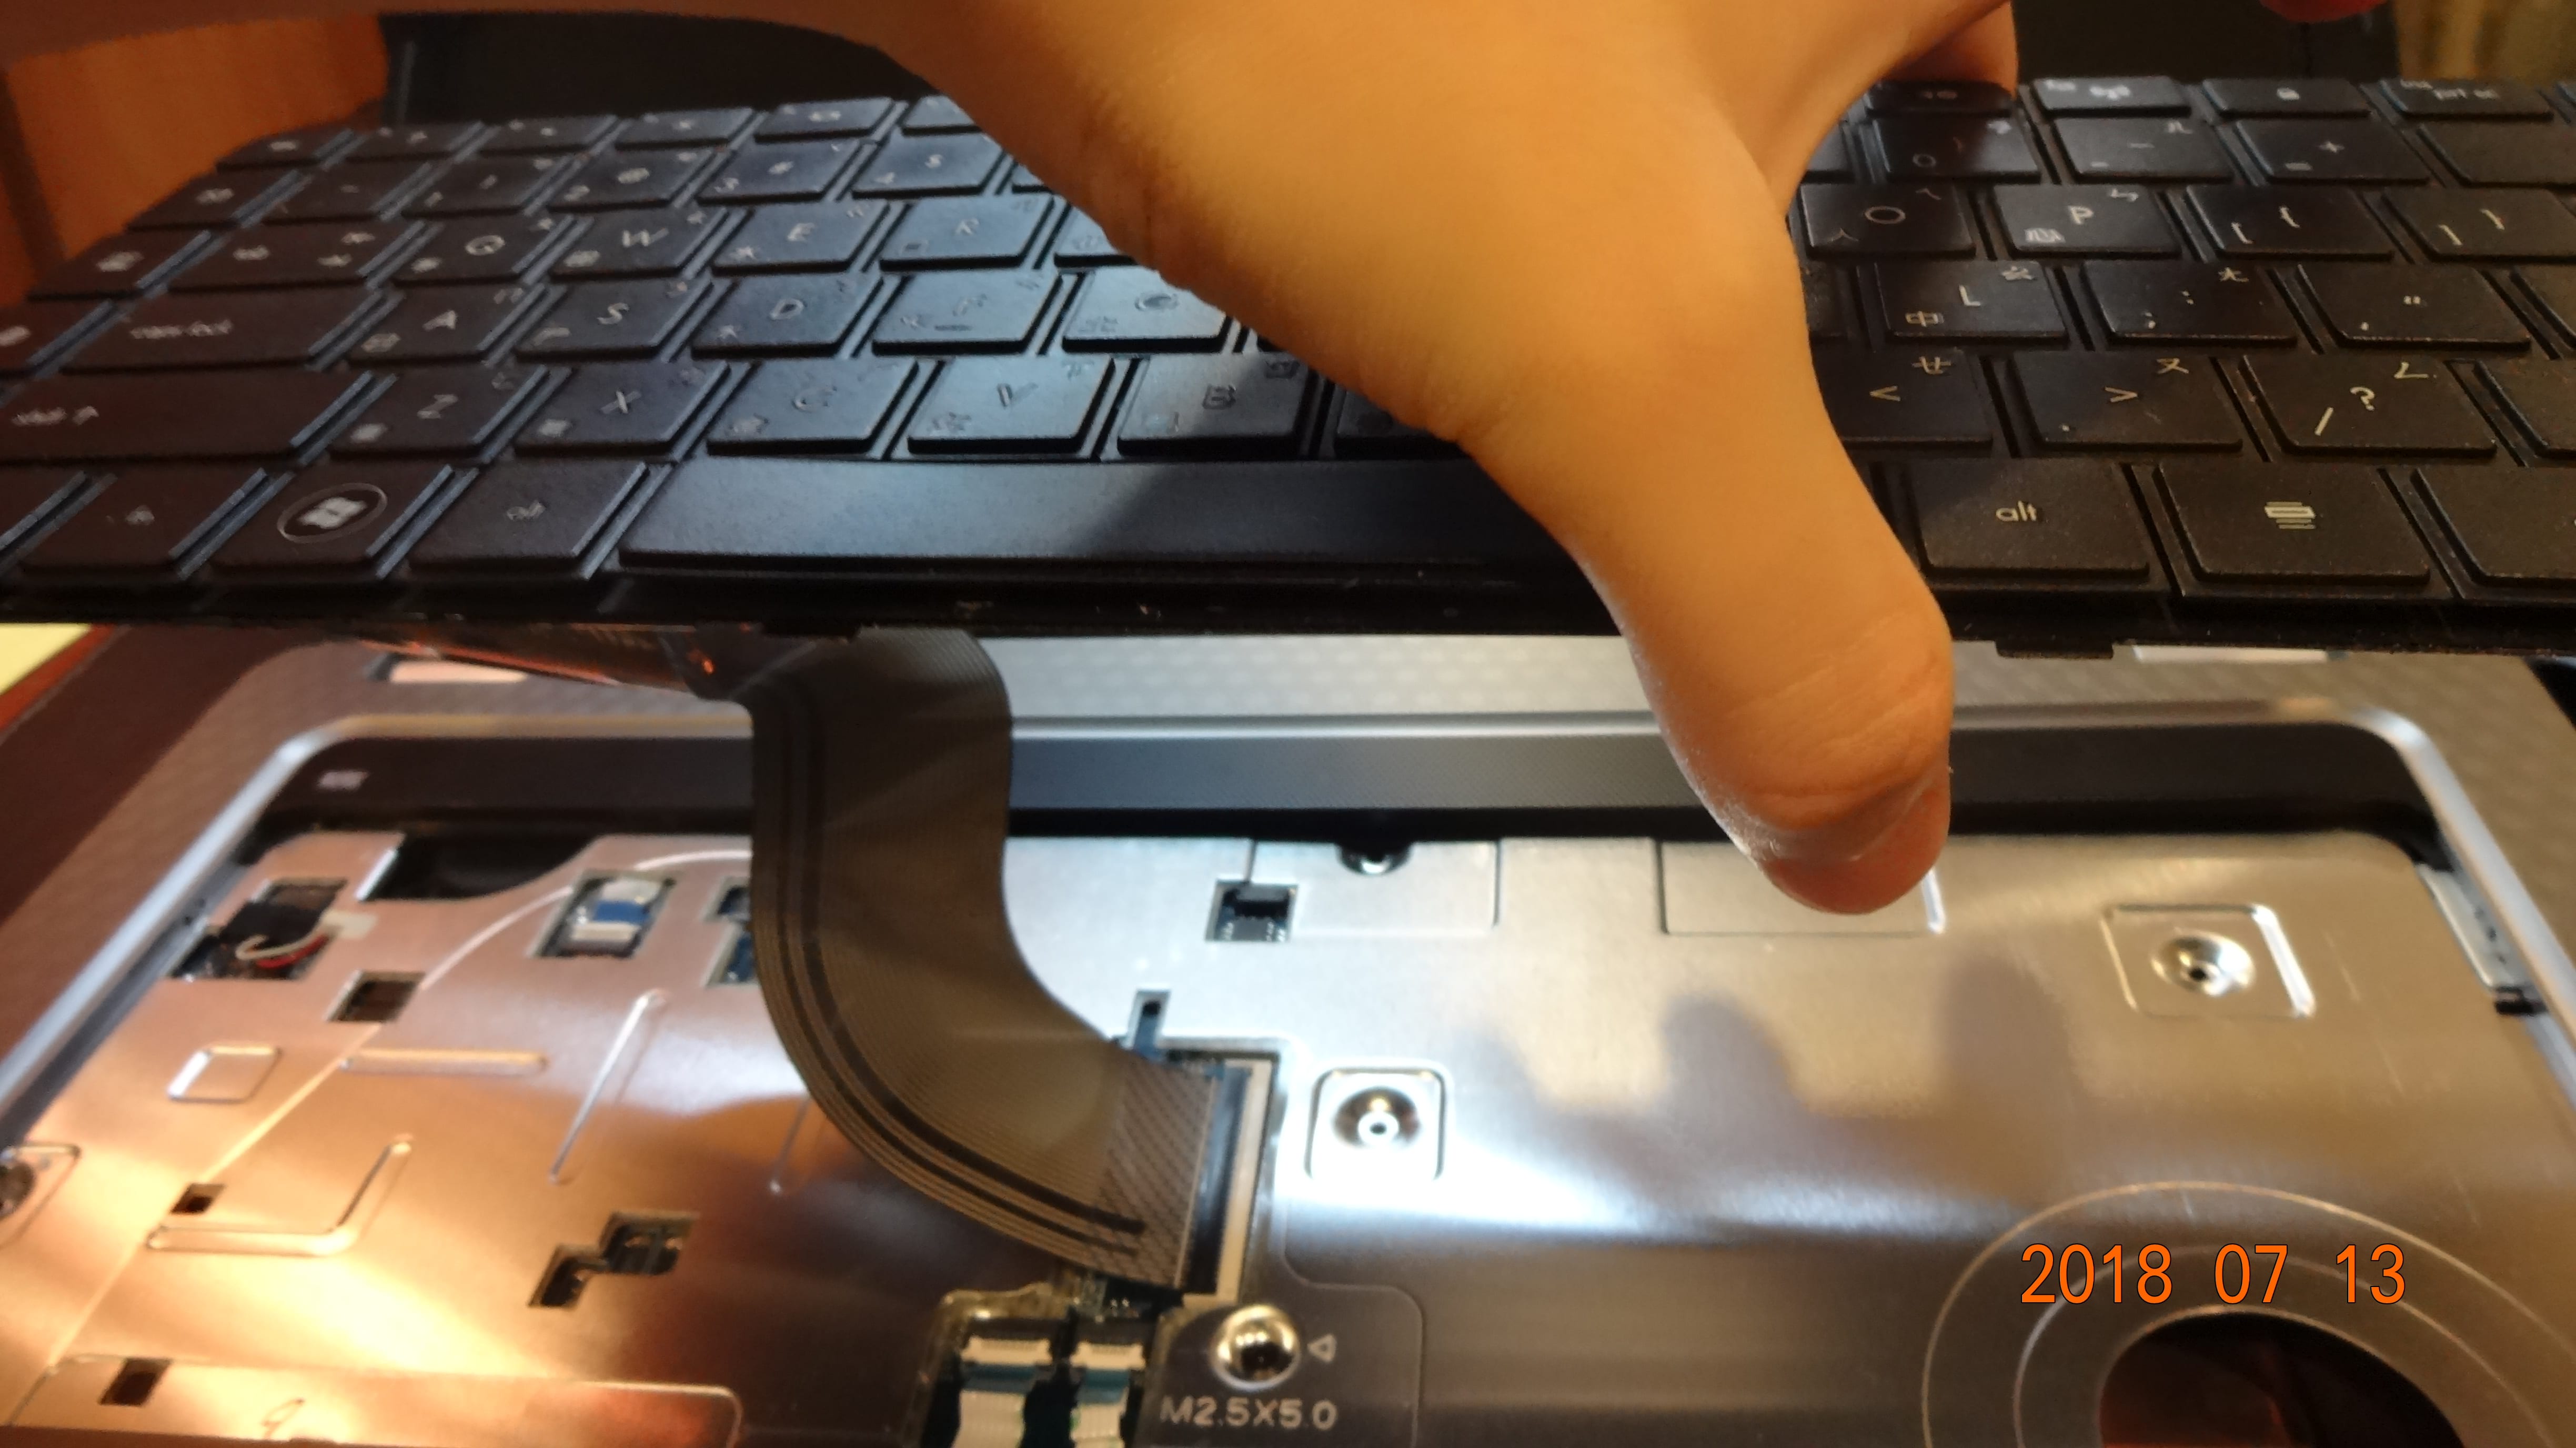 Tearing down the keyboard… It’s very fragile so please handle it with care. I especially don’t like the process because it requires using a screwdriver to peel the keyboard apart from the motherboard, and a ZIF connector connects the keyboard securely to the motherboard.
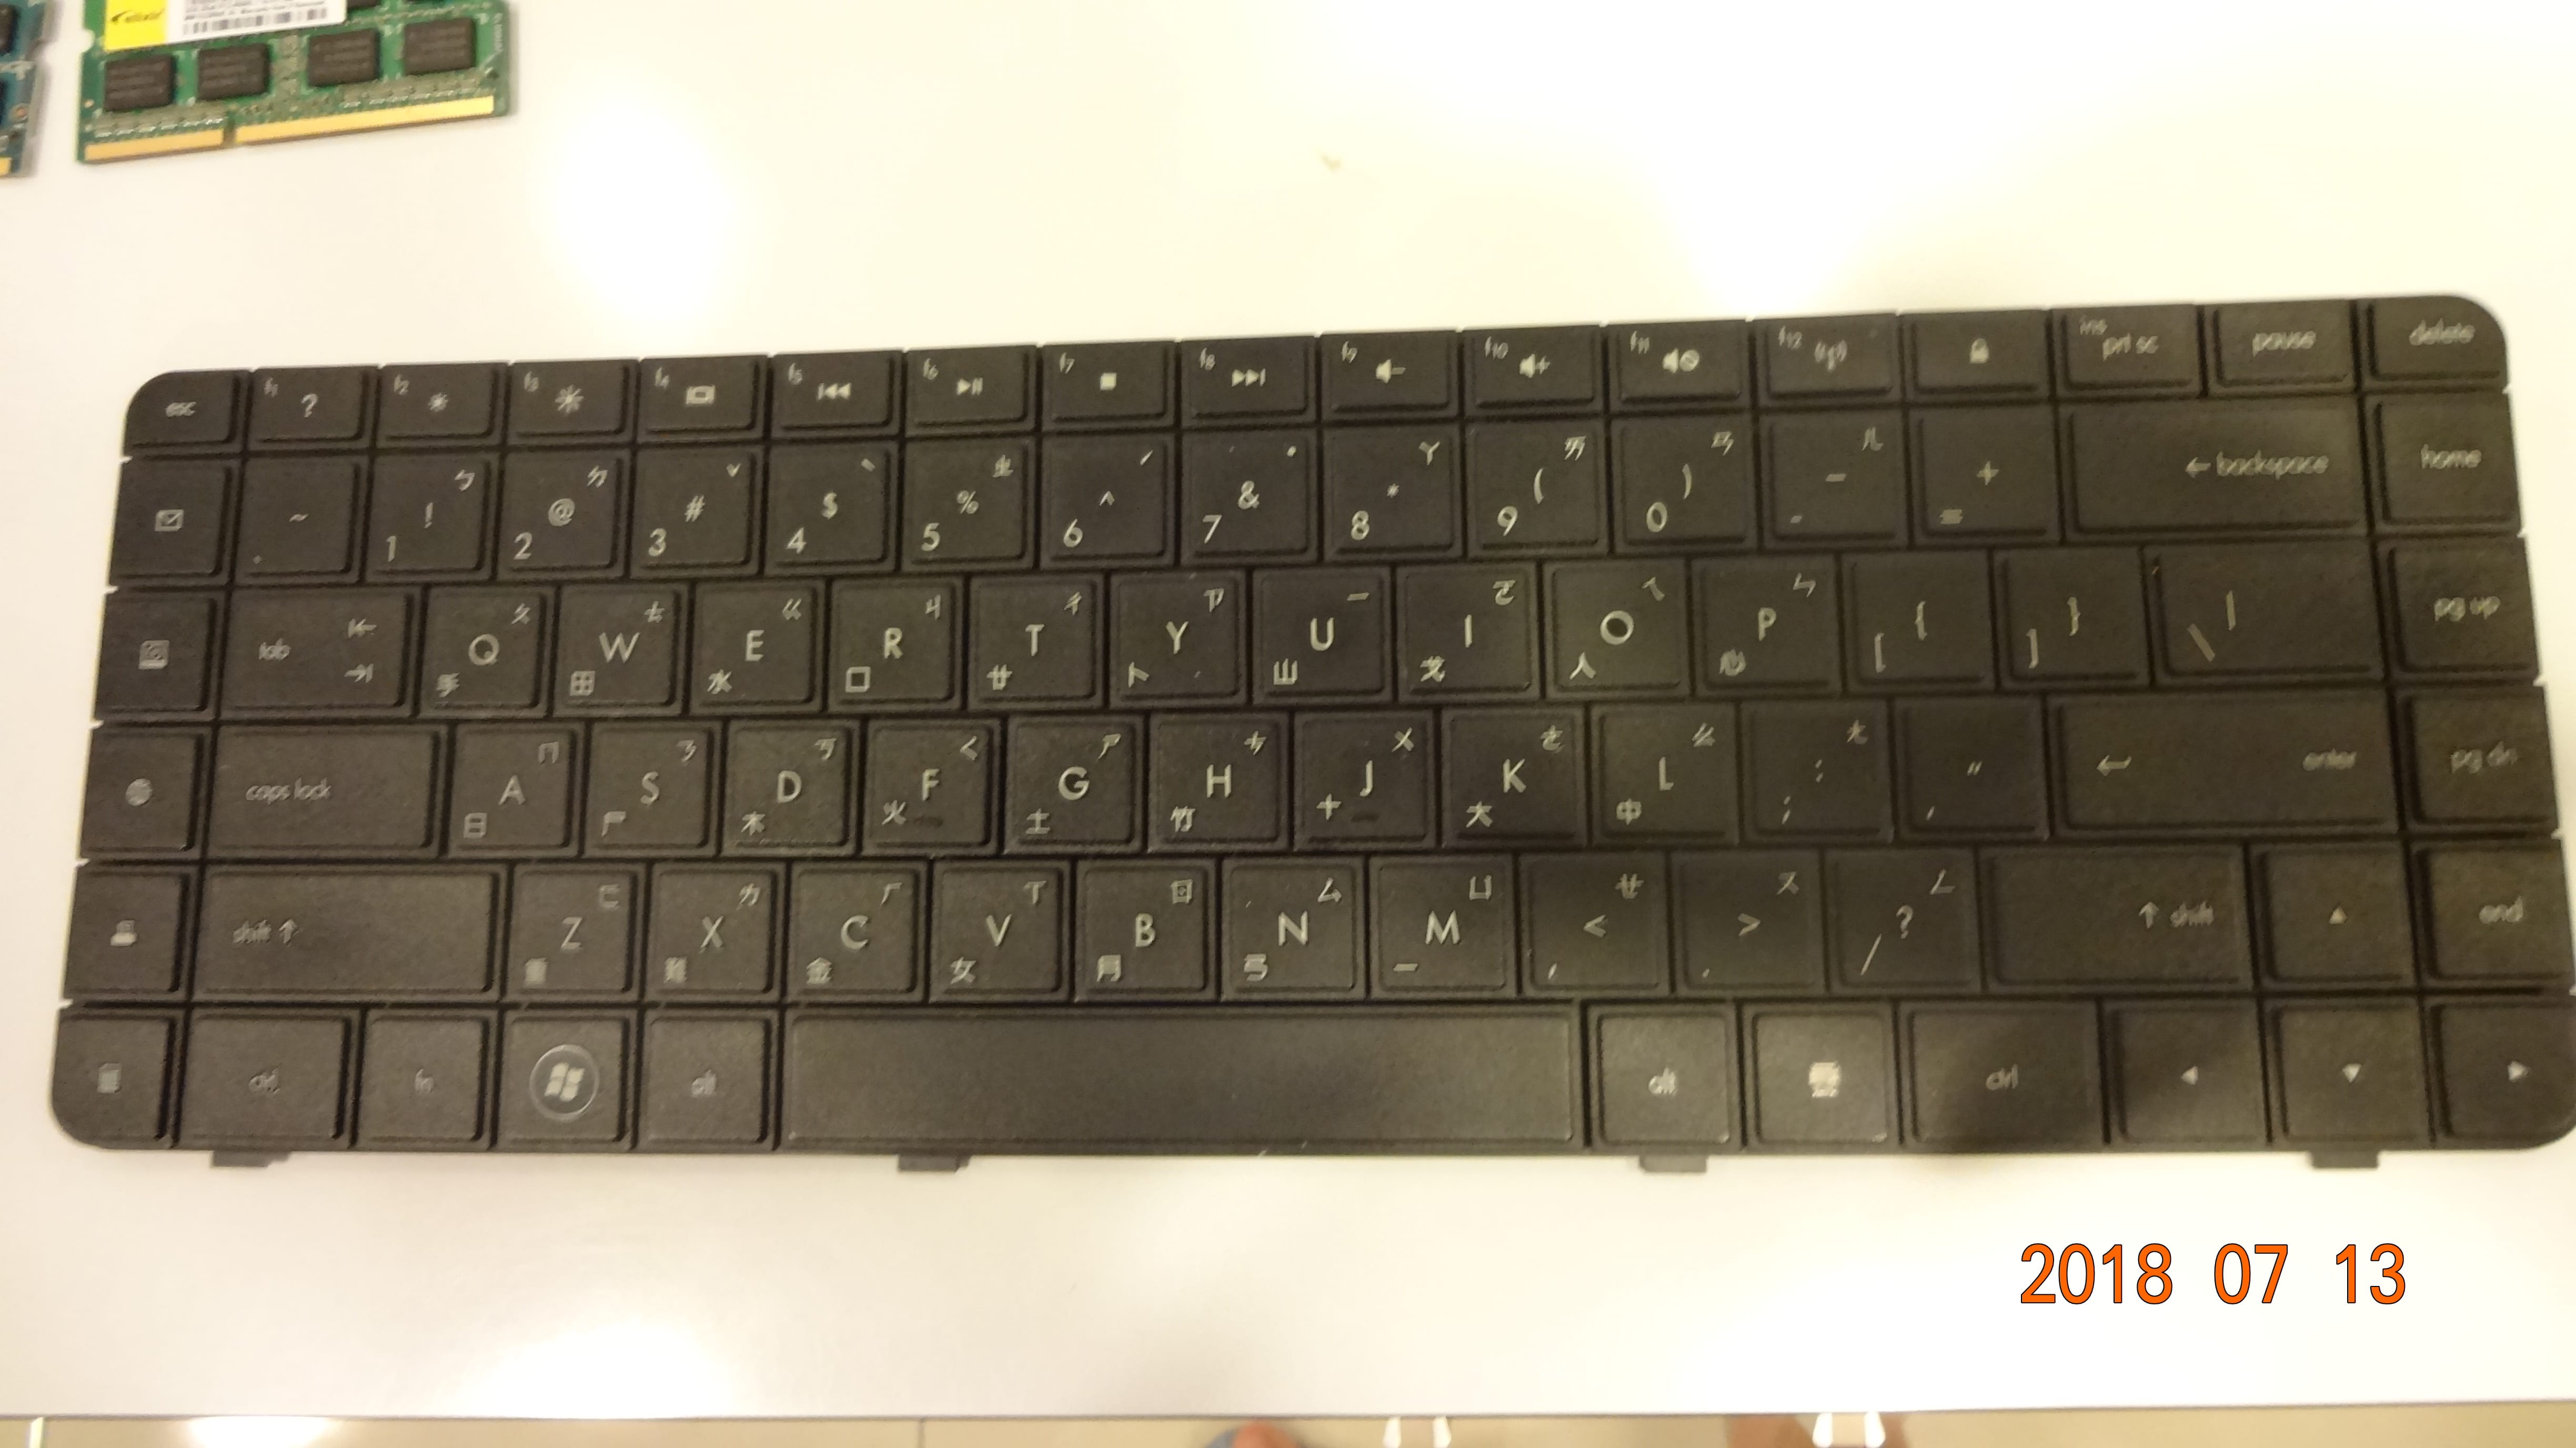 The keyboard itself.
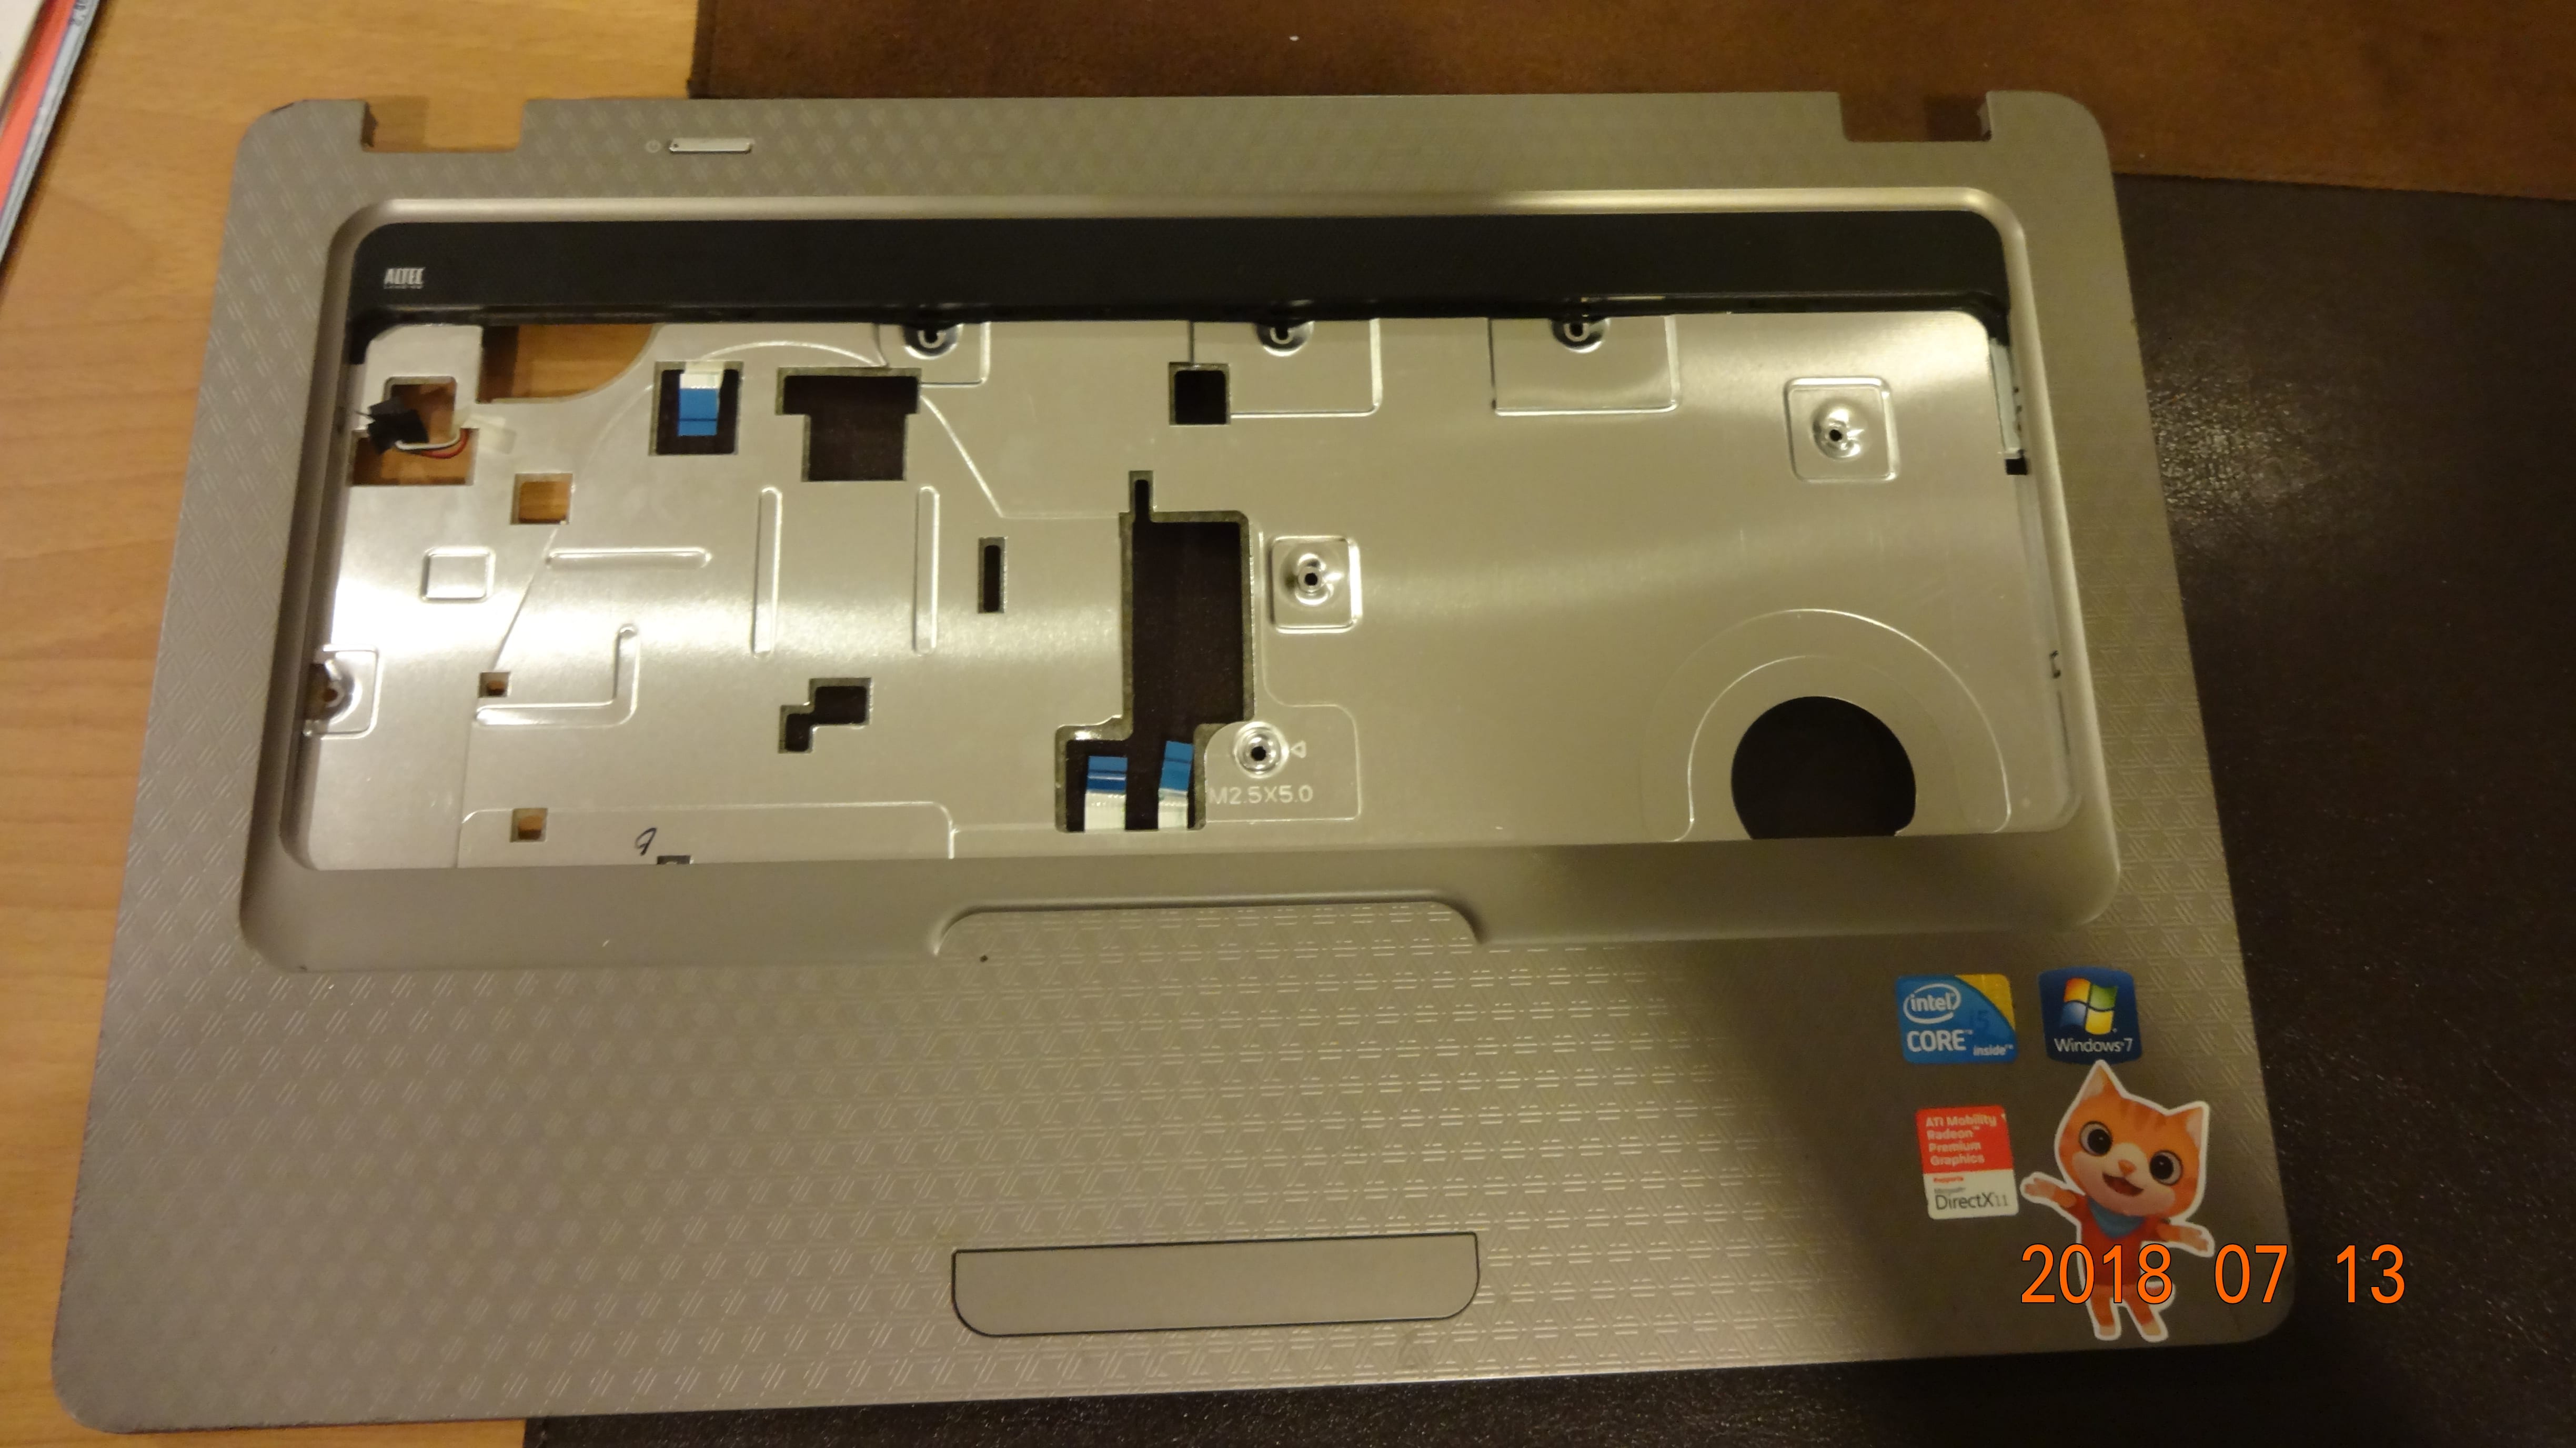 The front cover without the keyboard. The speaker and trackpad is still attached. (The trackpad, however, is also defective.)
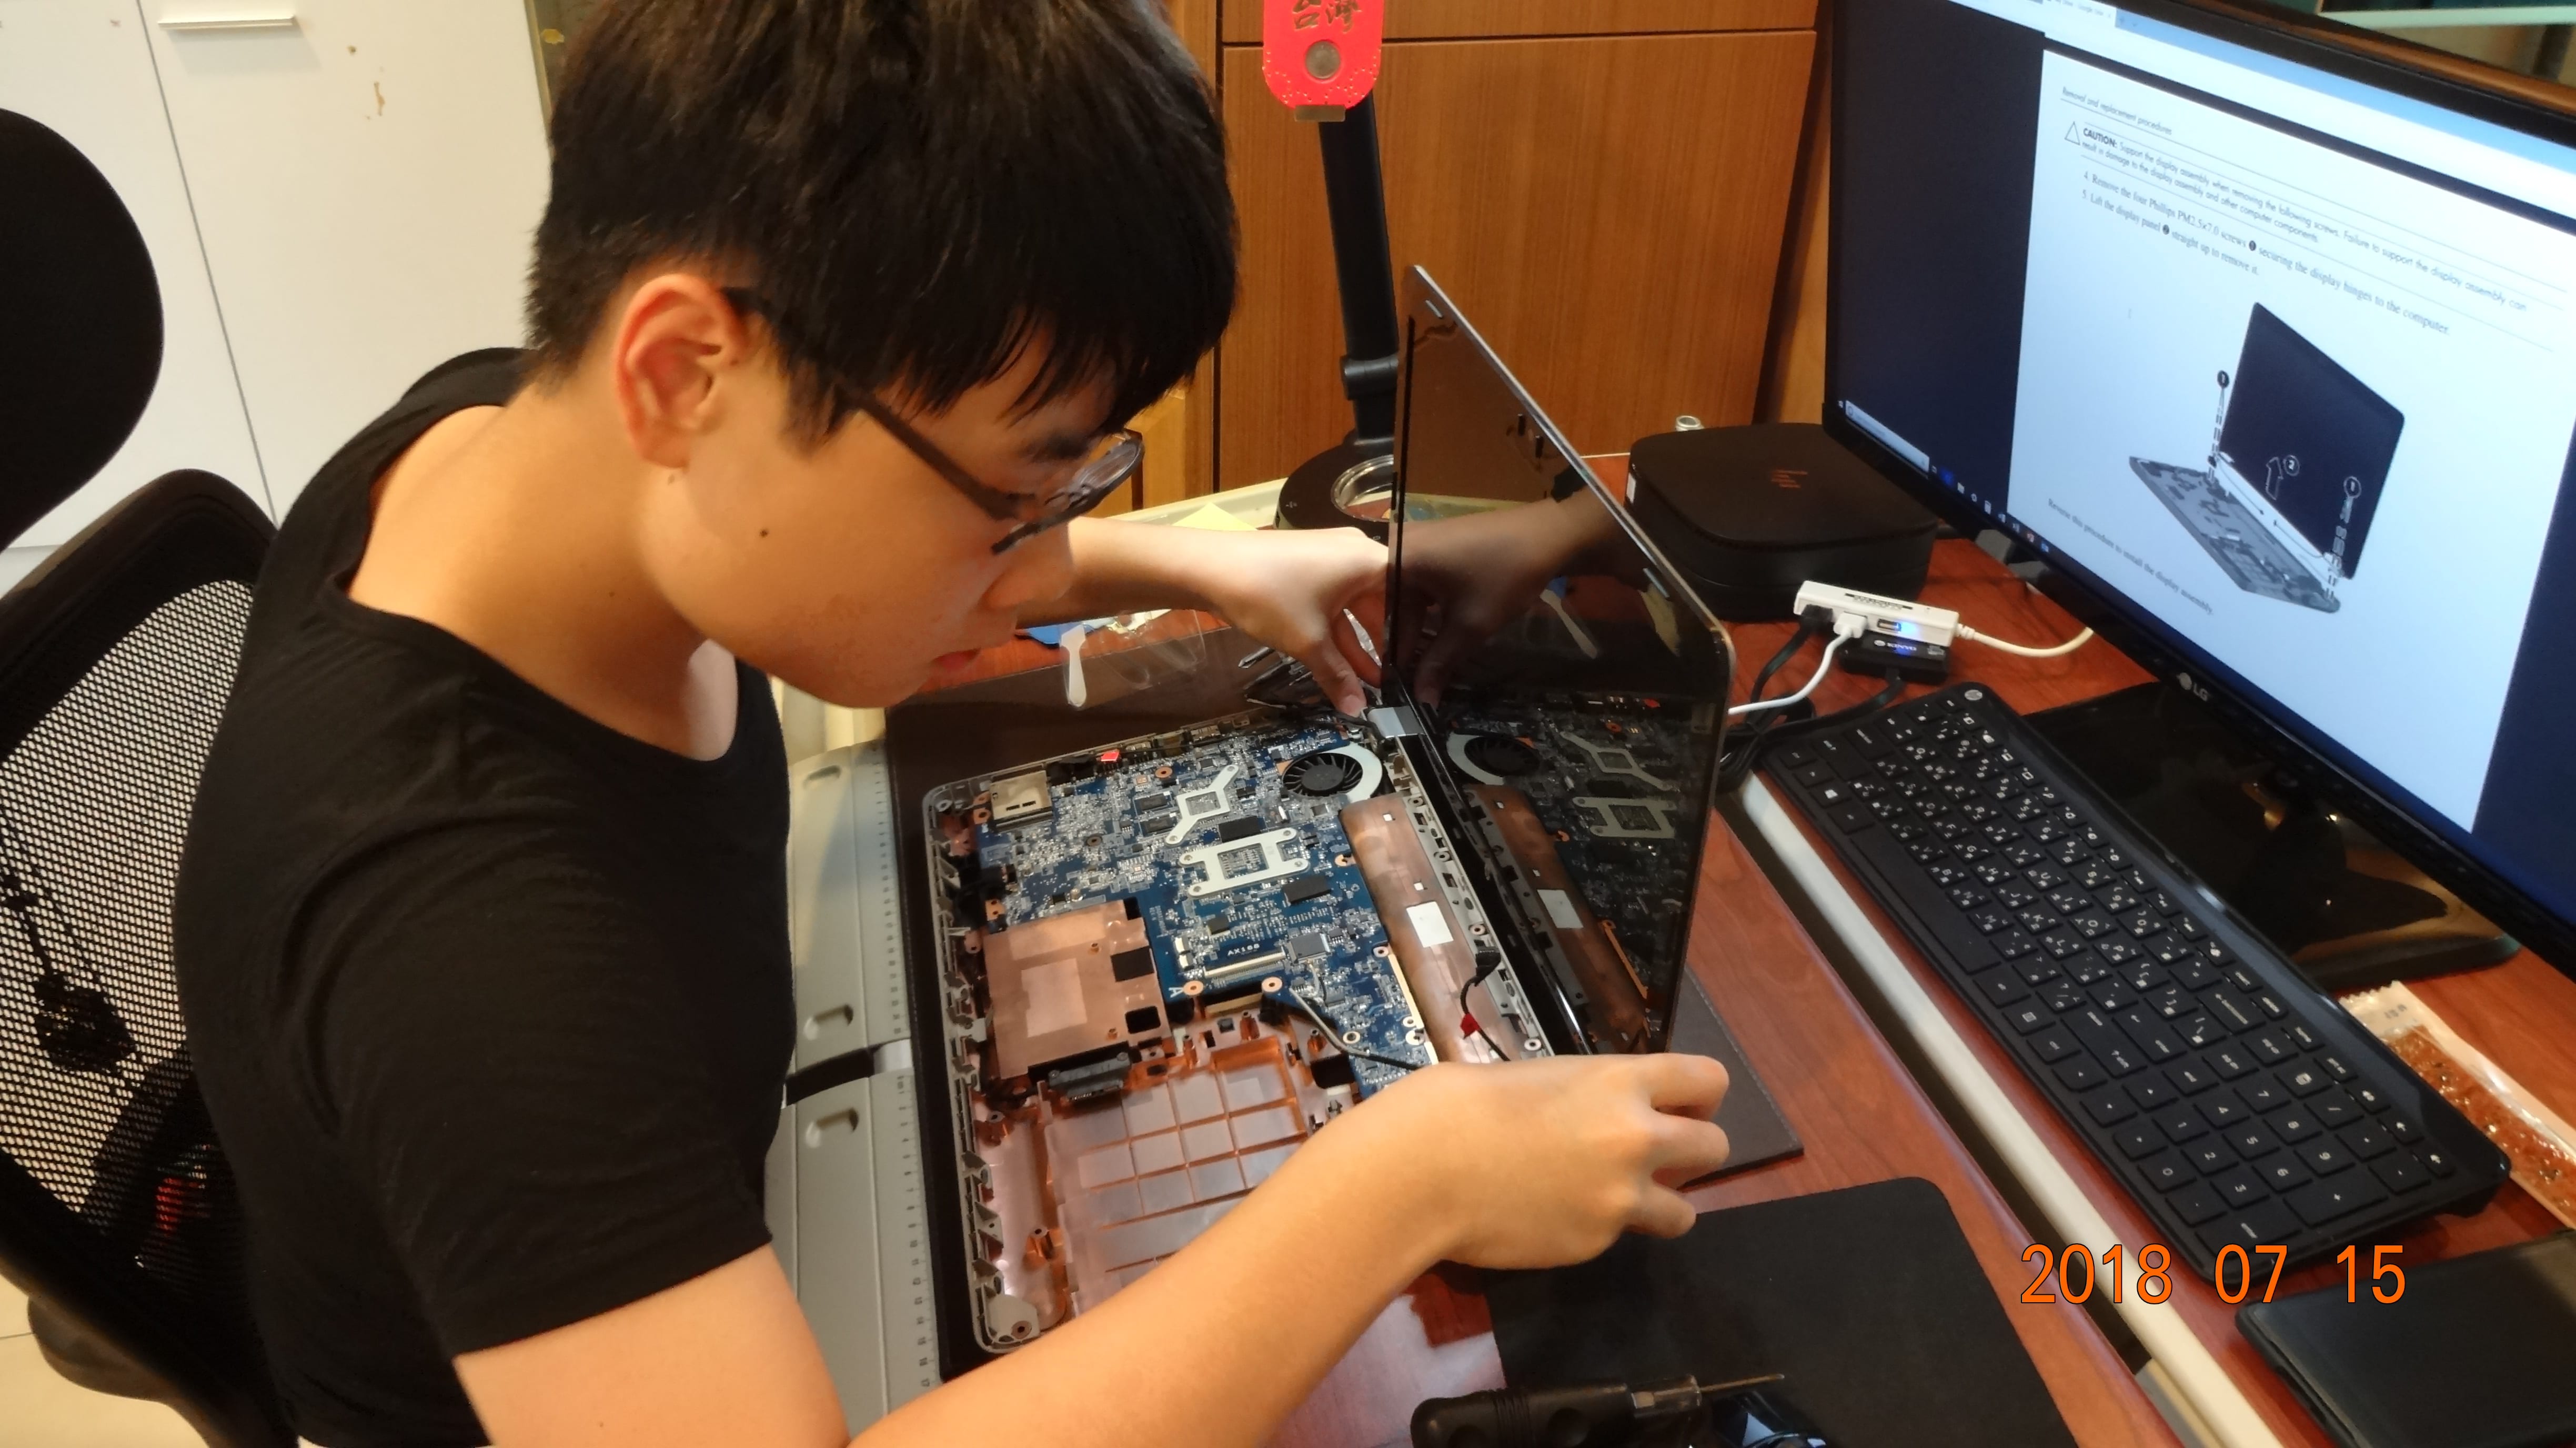
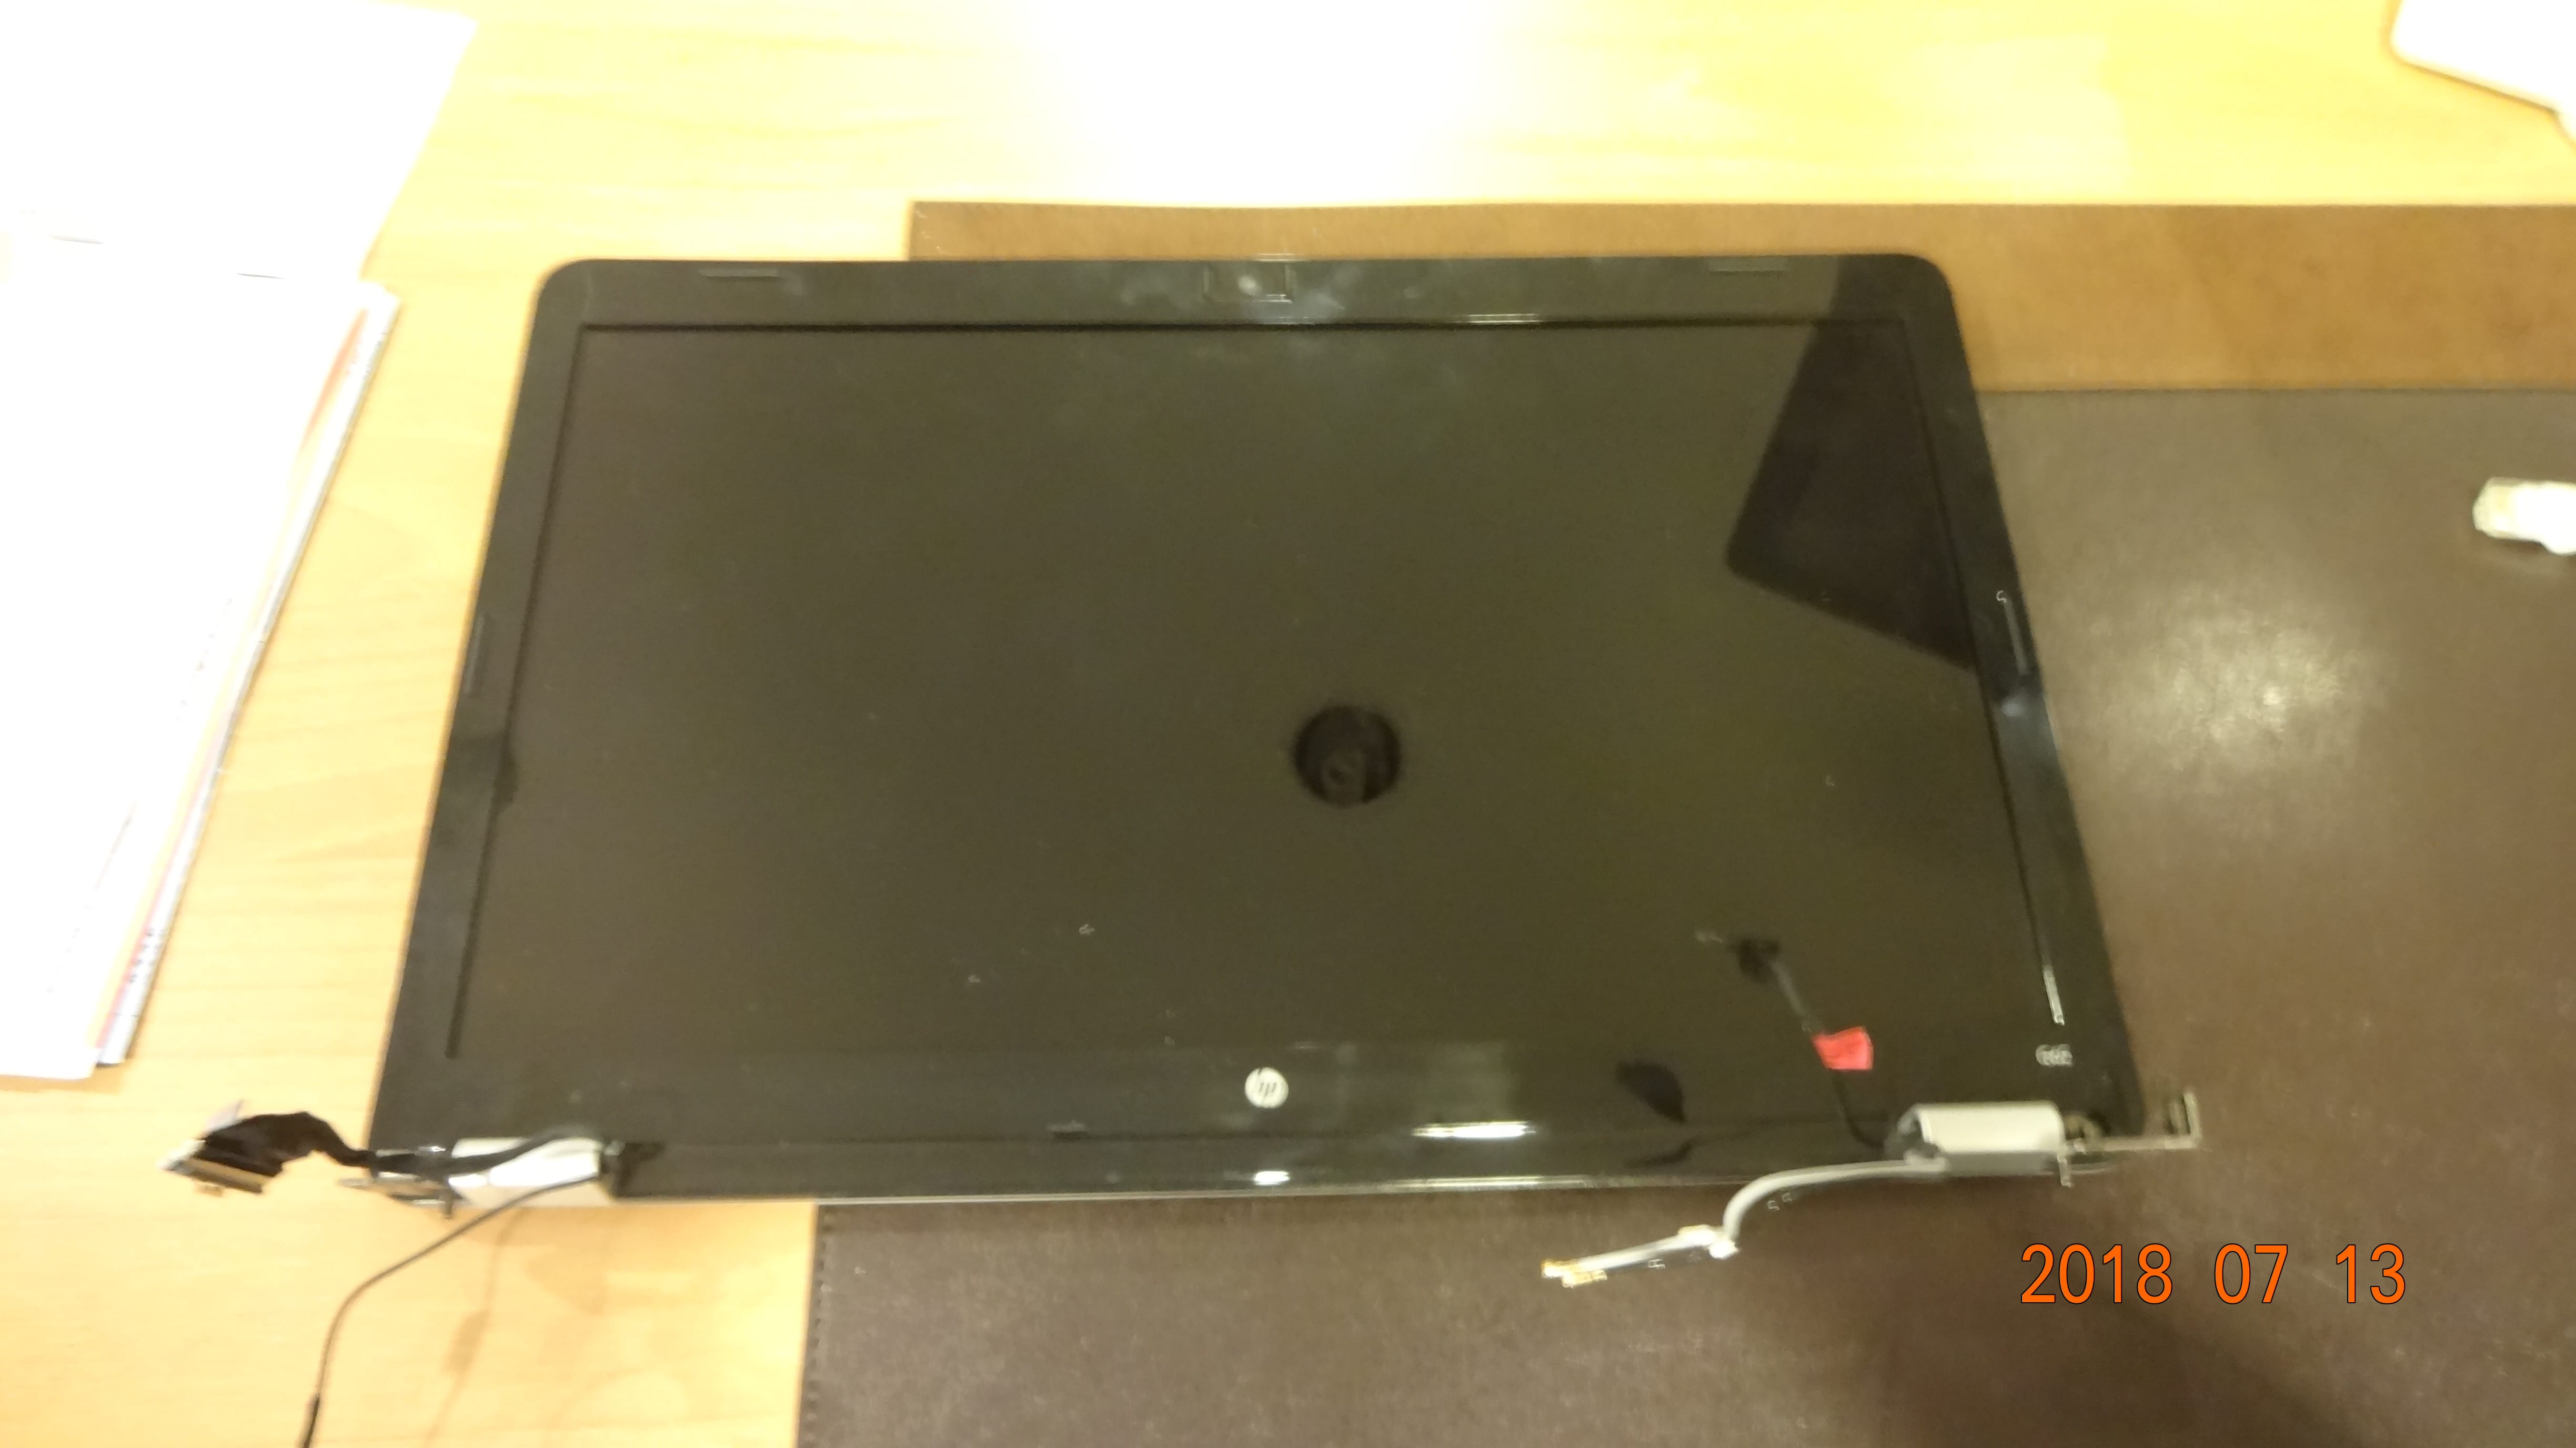 The display assembly. The connectors shown here all connects to the motherboard itself. *Please handle the display assembly with care.*
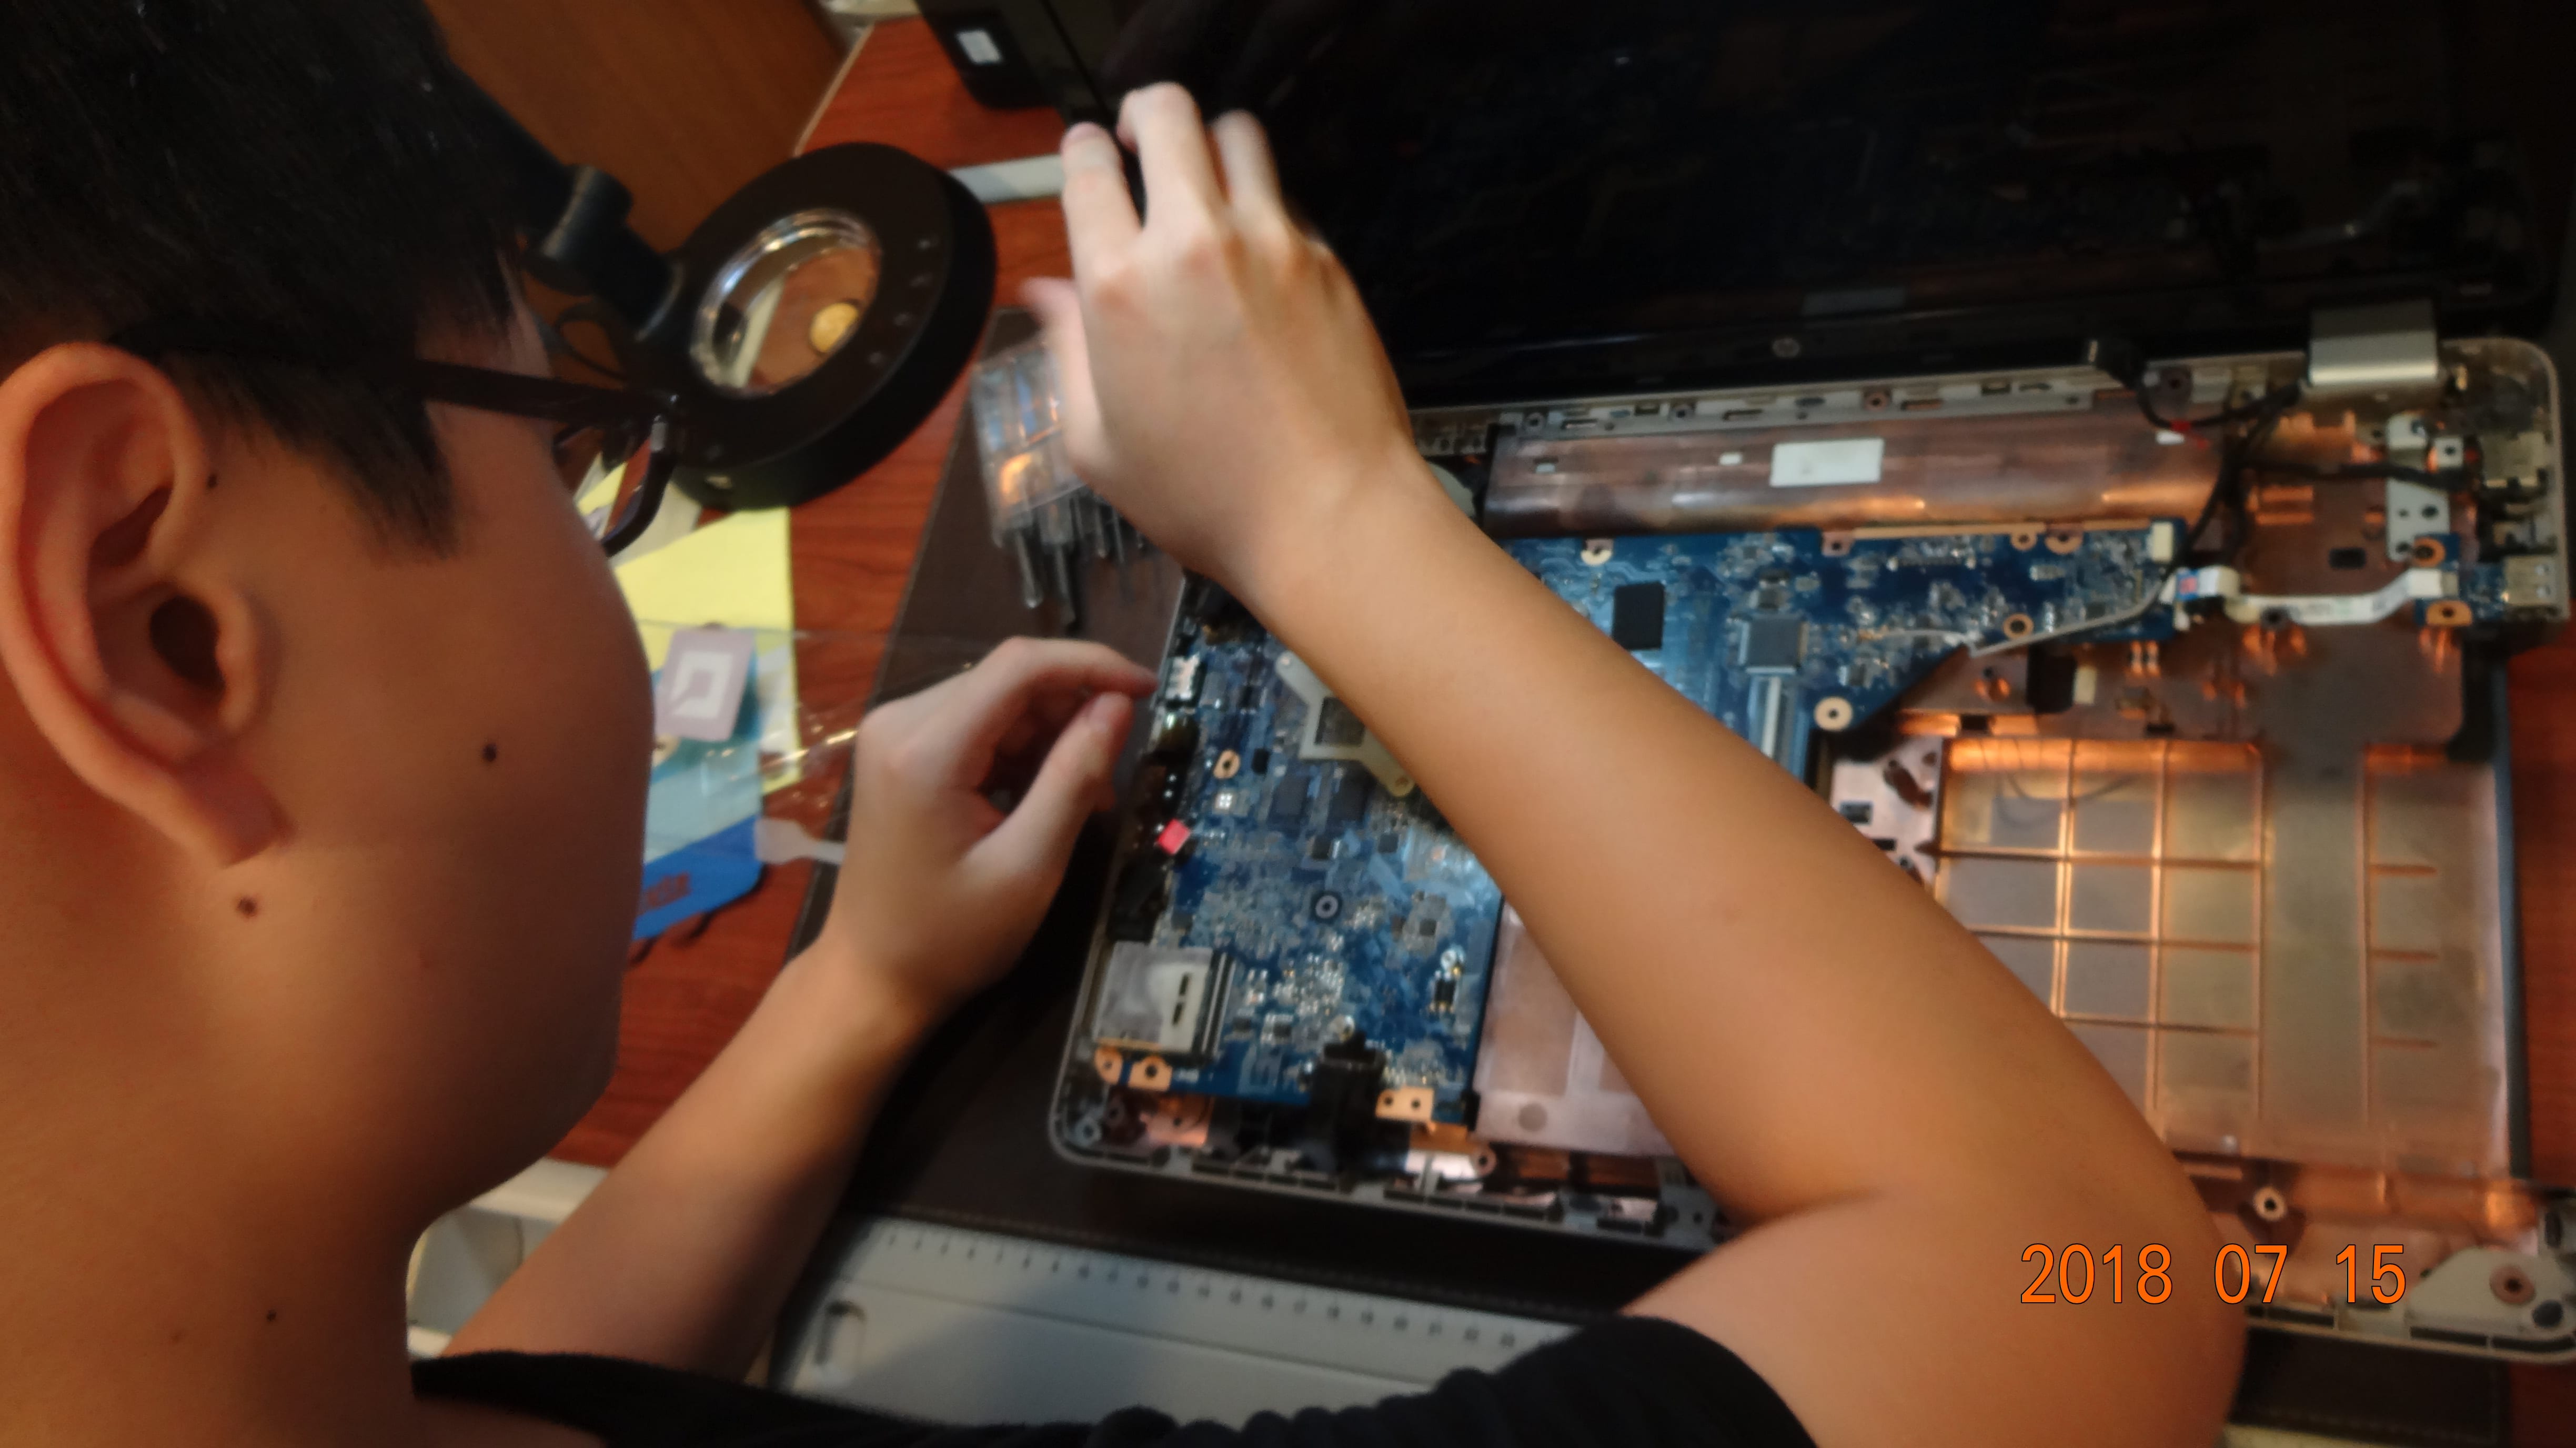
 It’s motherboard time!
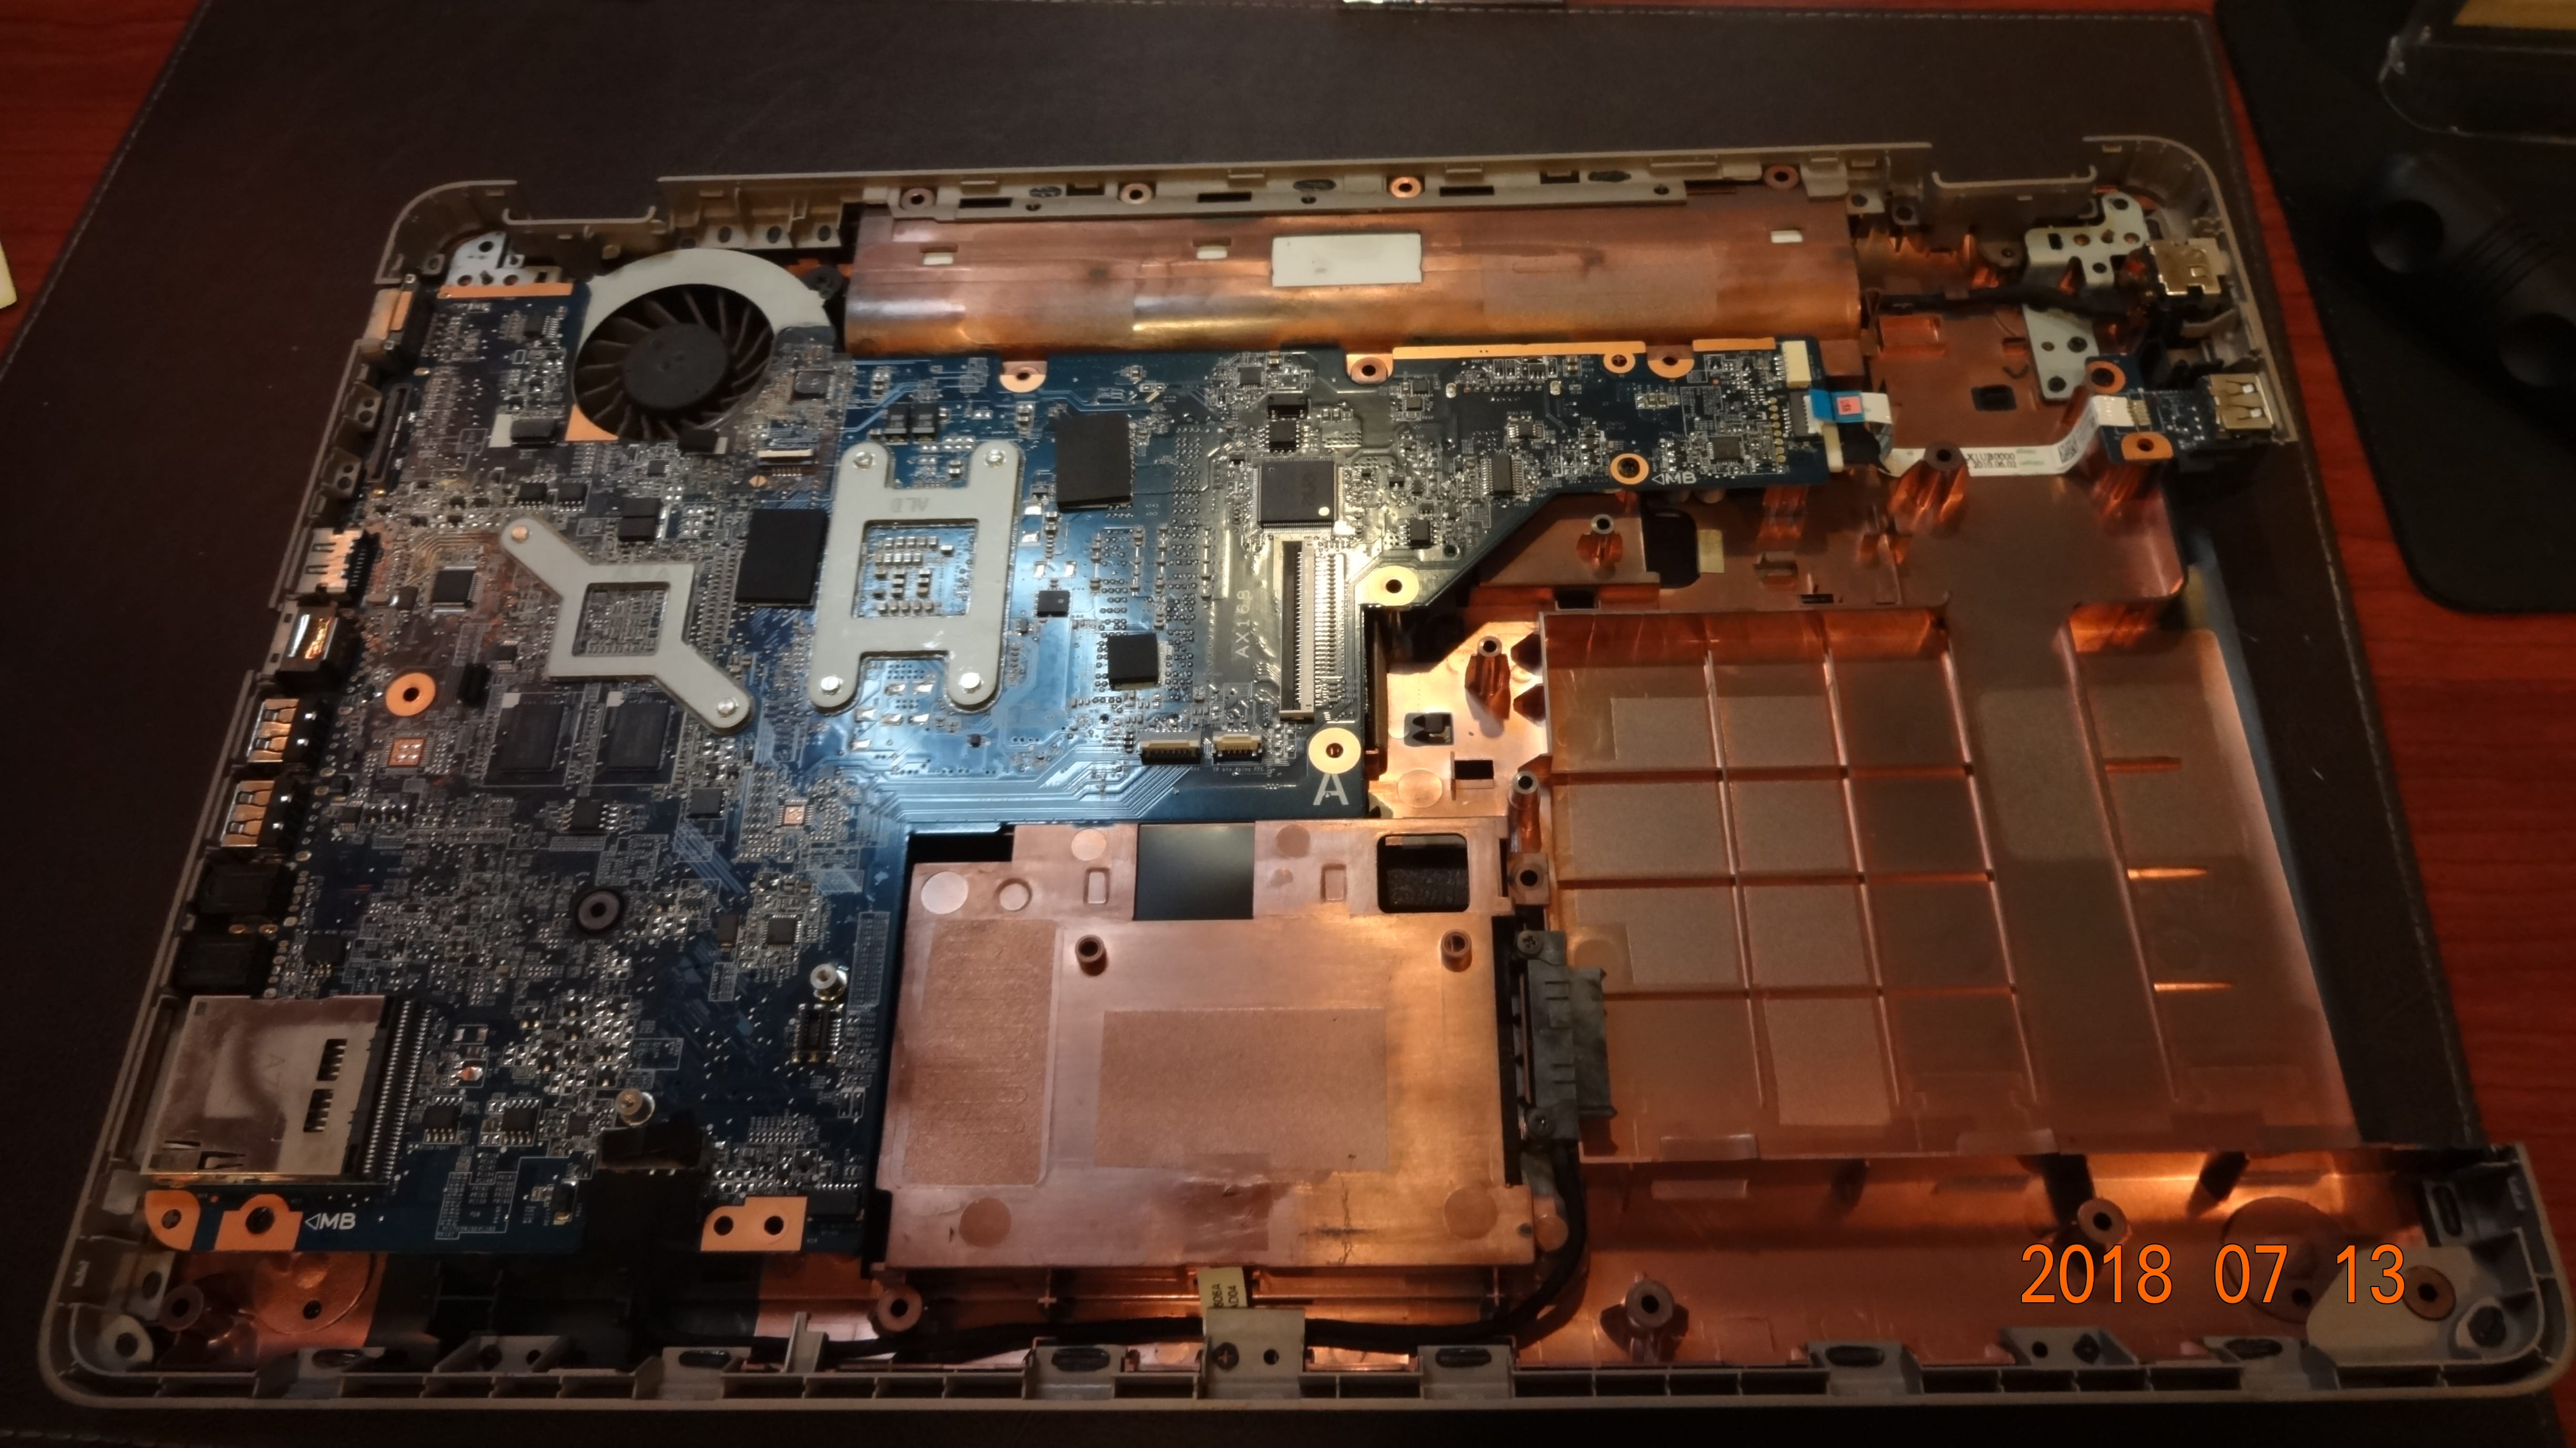
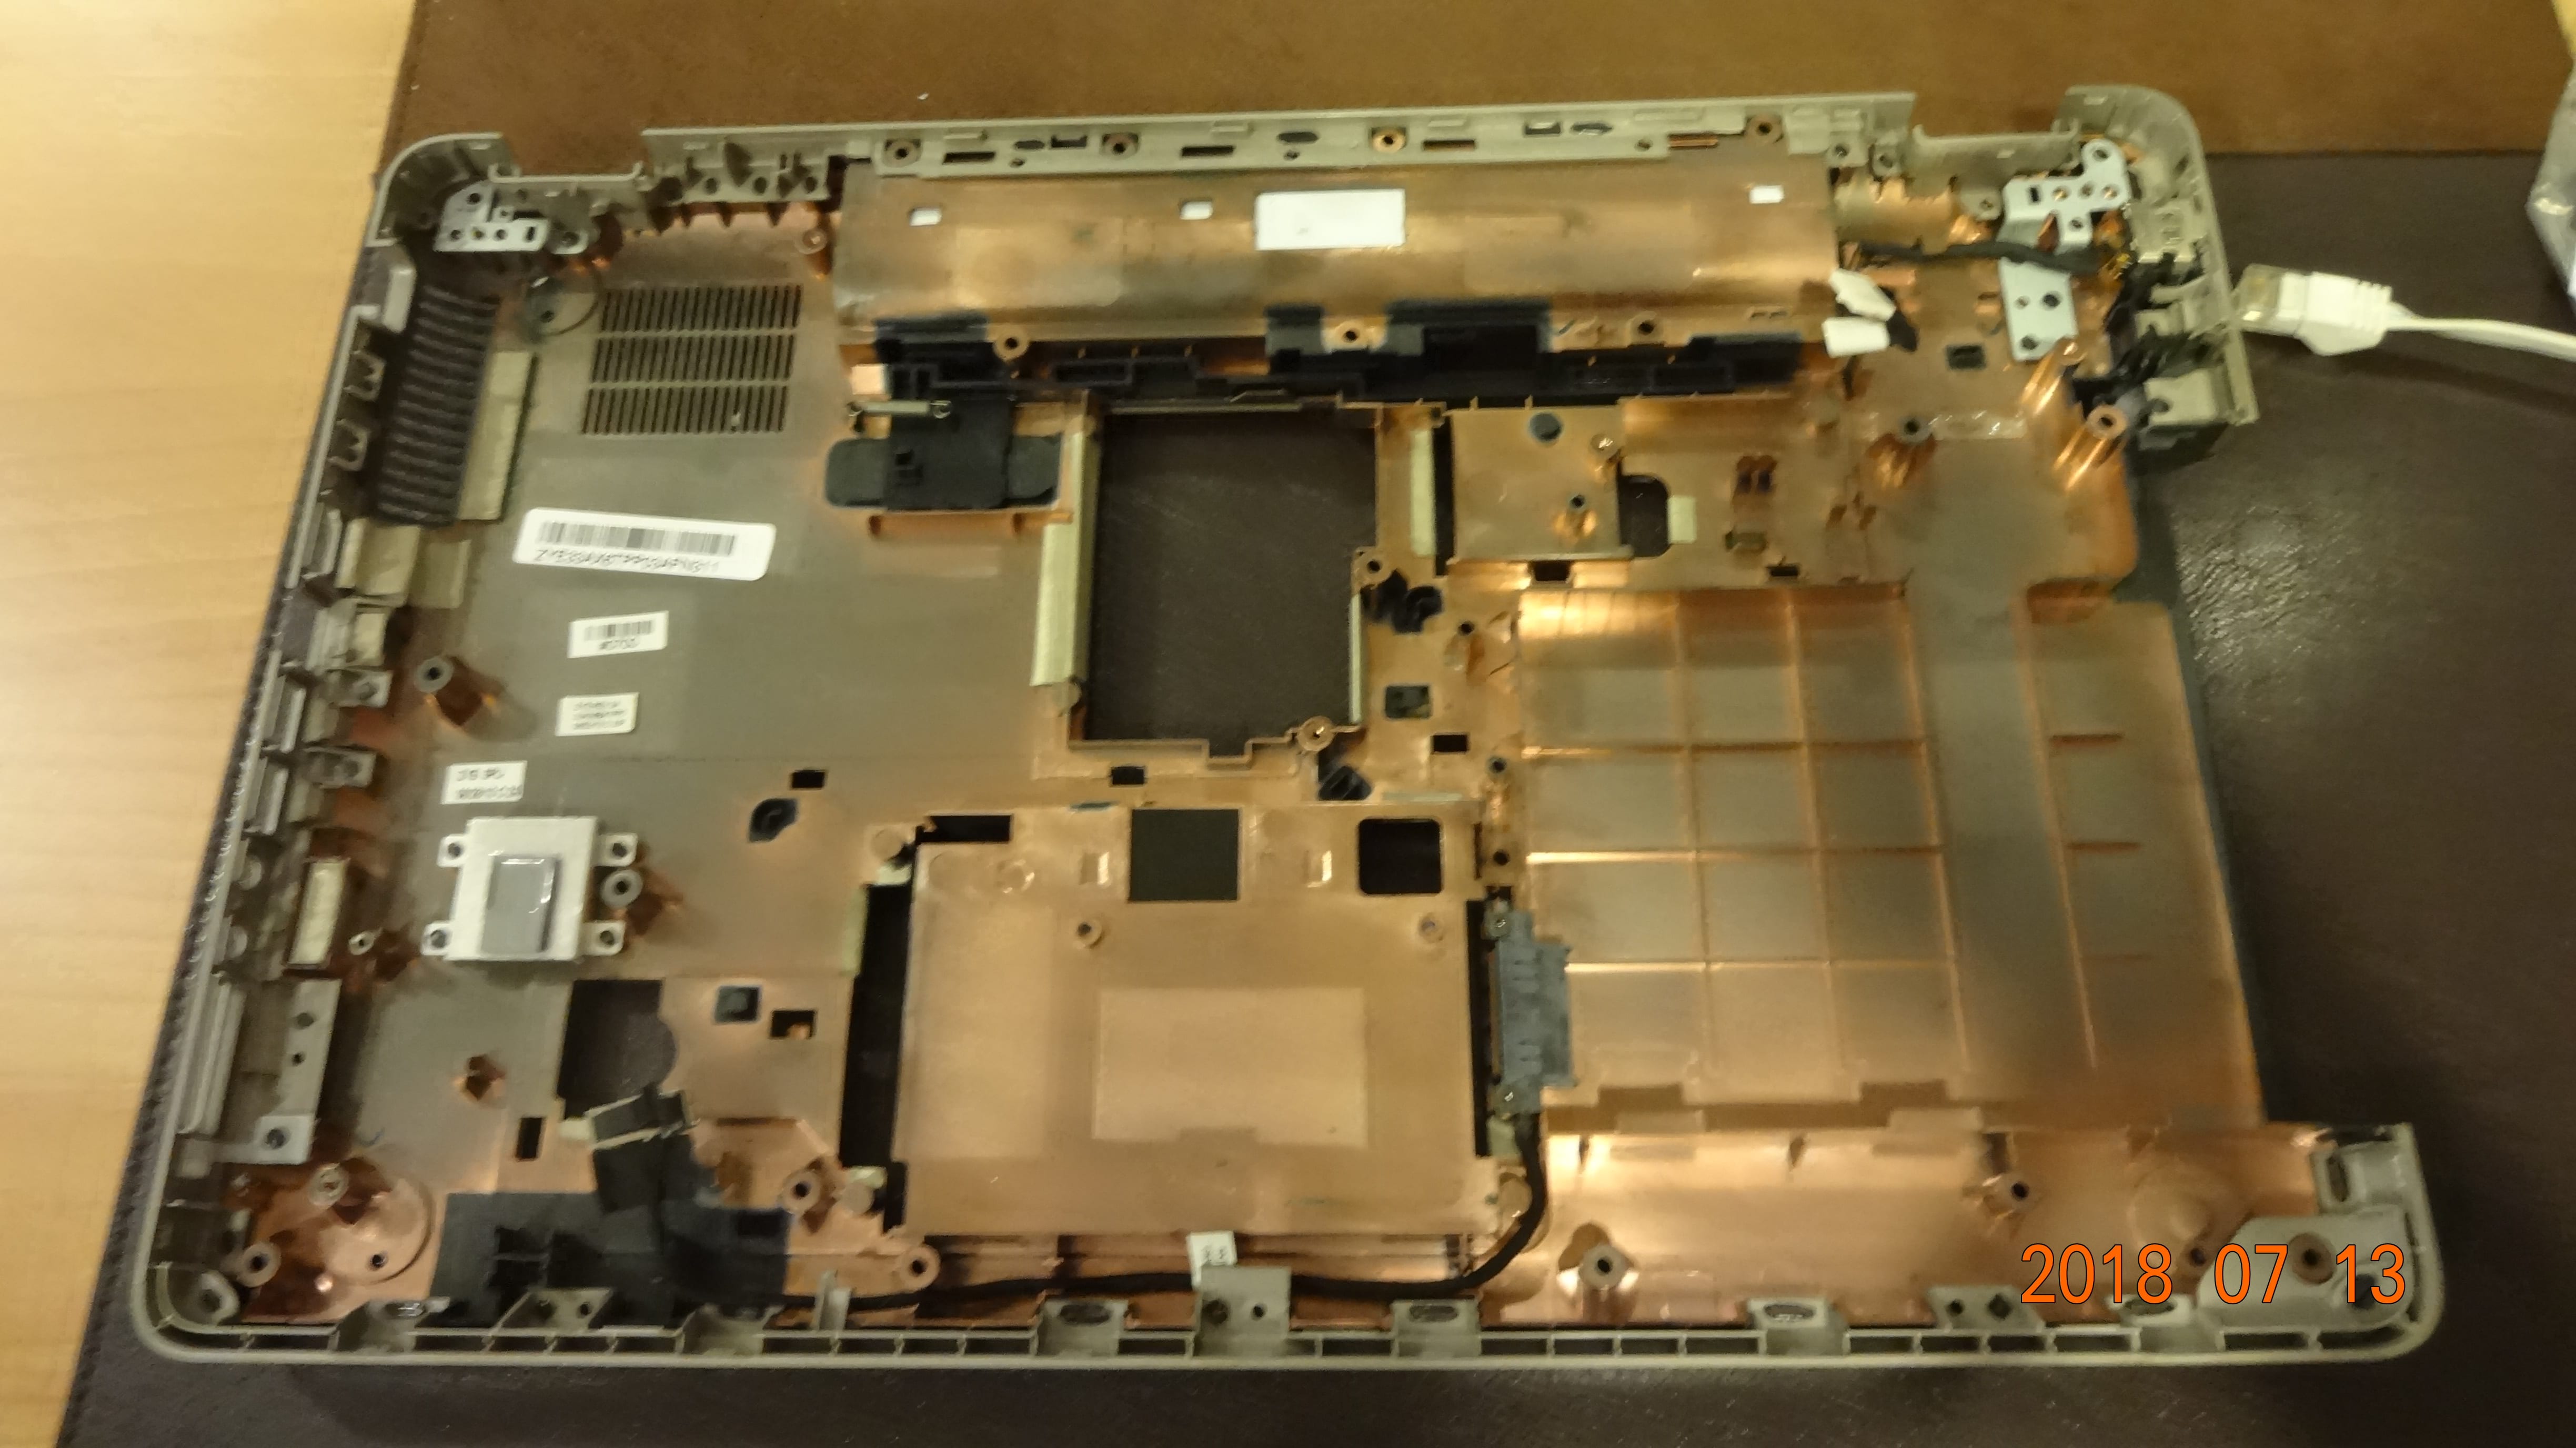 Back plate without the motherboard.
 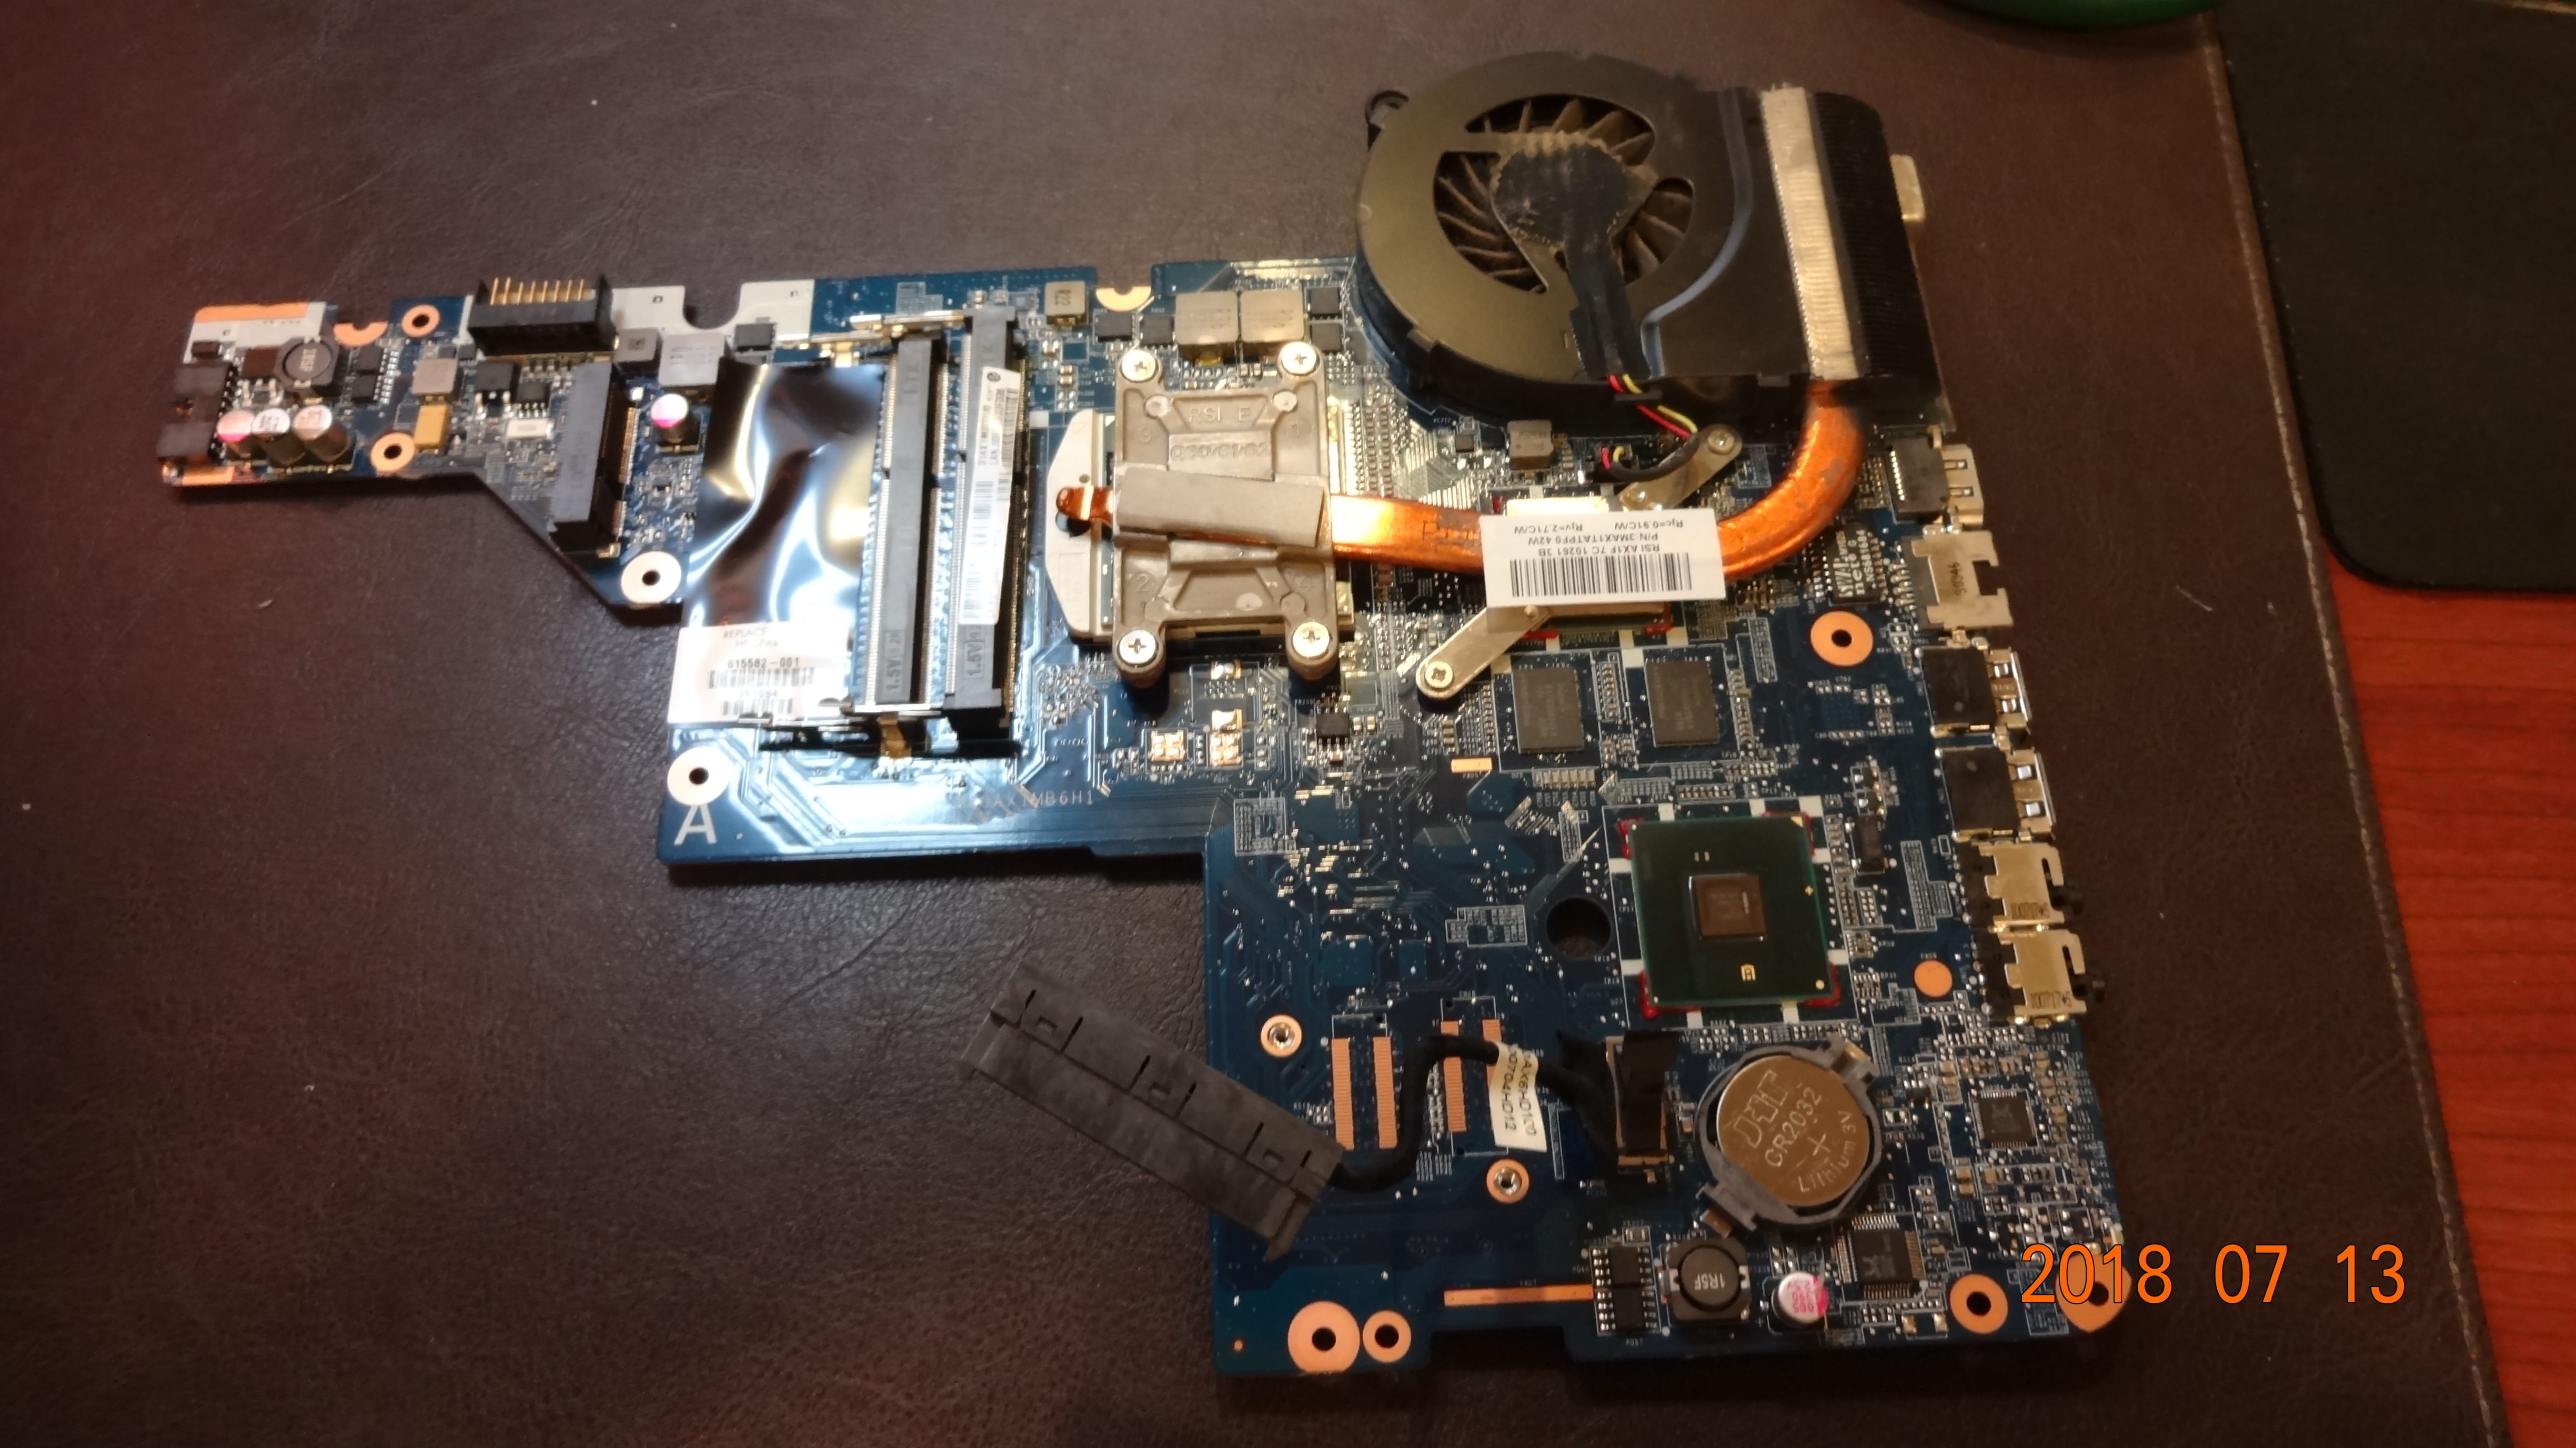 The motherboard with fan/heatsink assembly still attached. Note that the heat pipe contacts both the processor and the external GPU. That design flaw really causes a lot of overheating problems. The chipset can be seen at the bottom right.
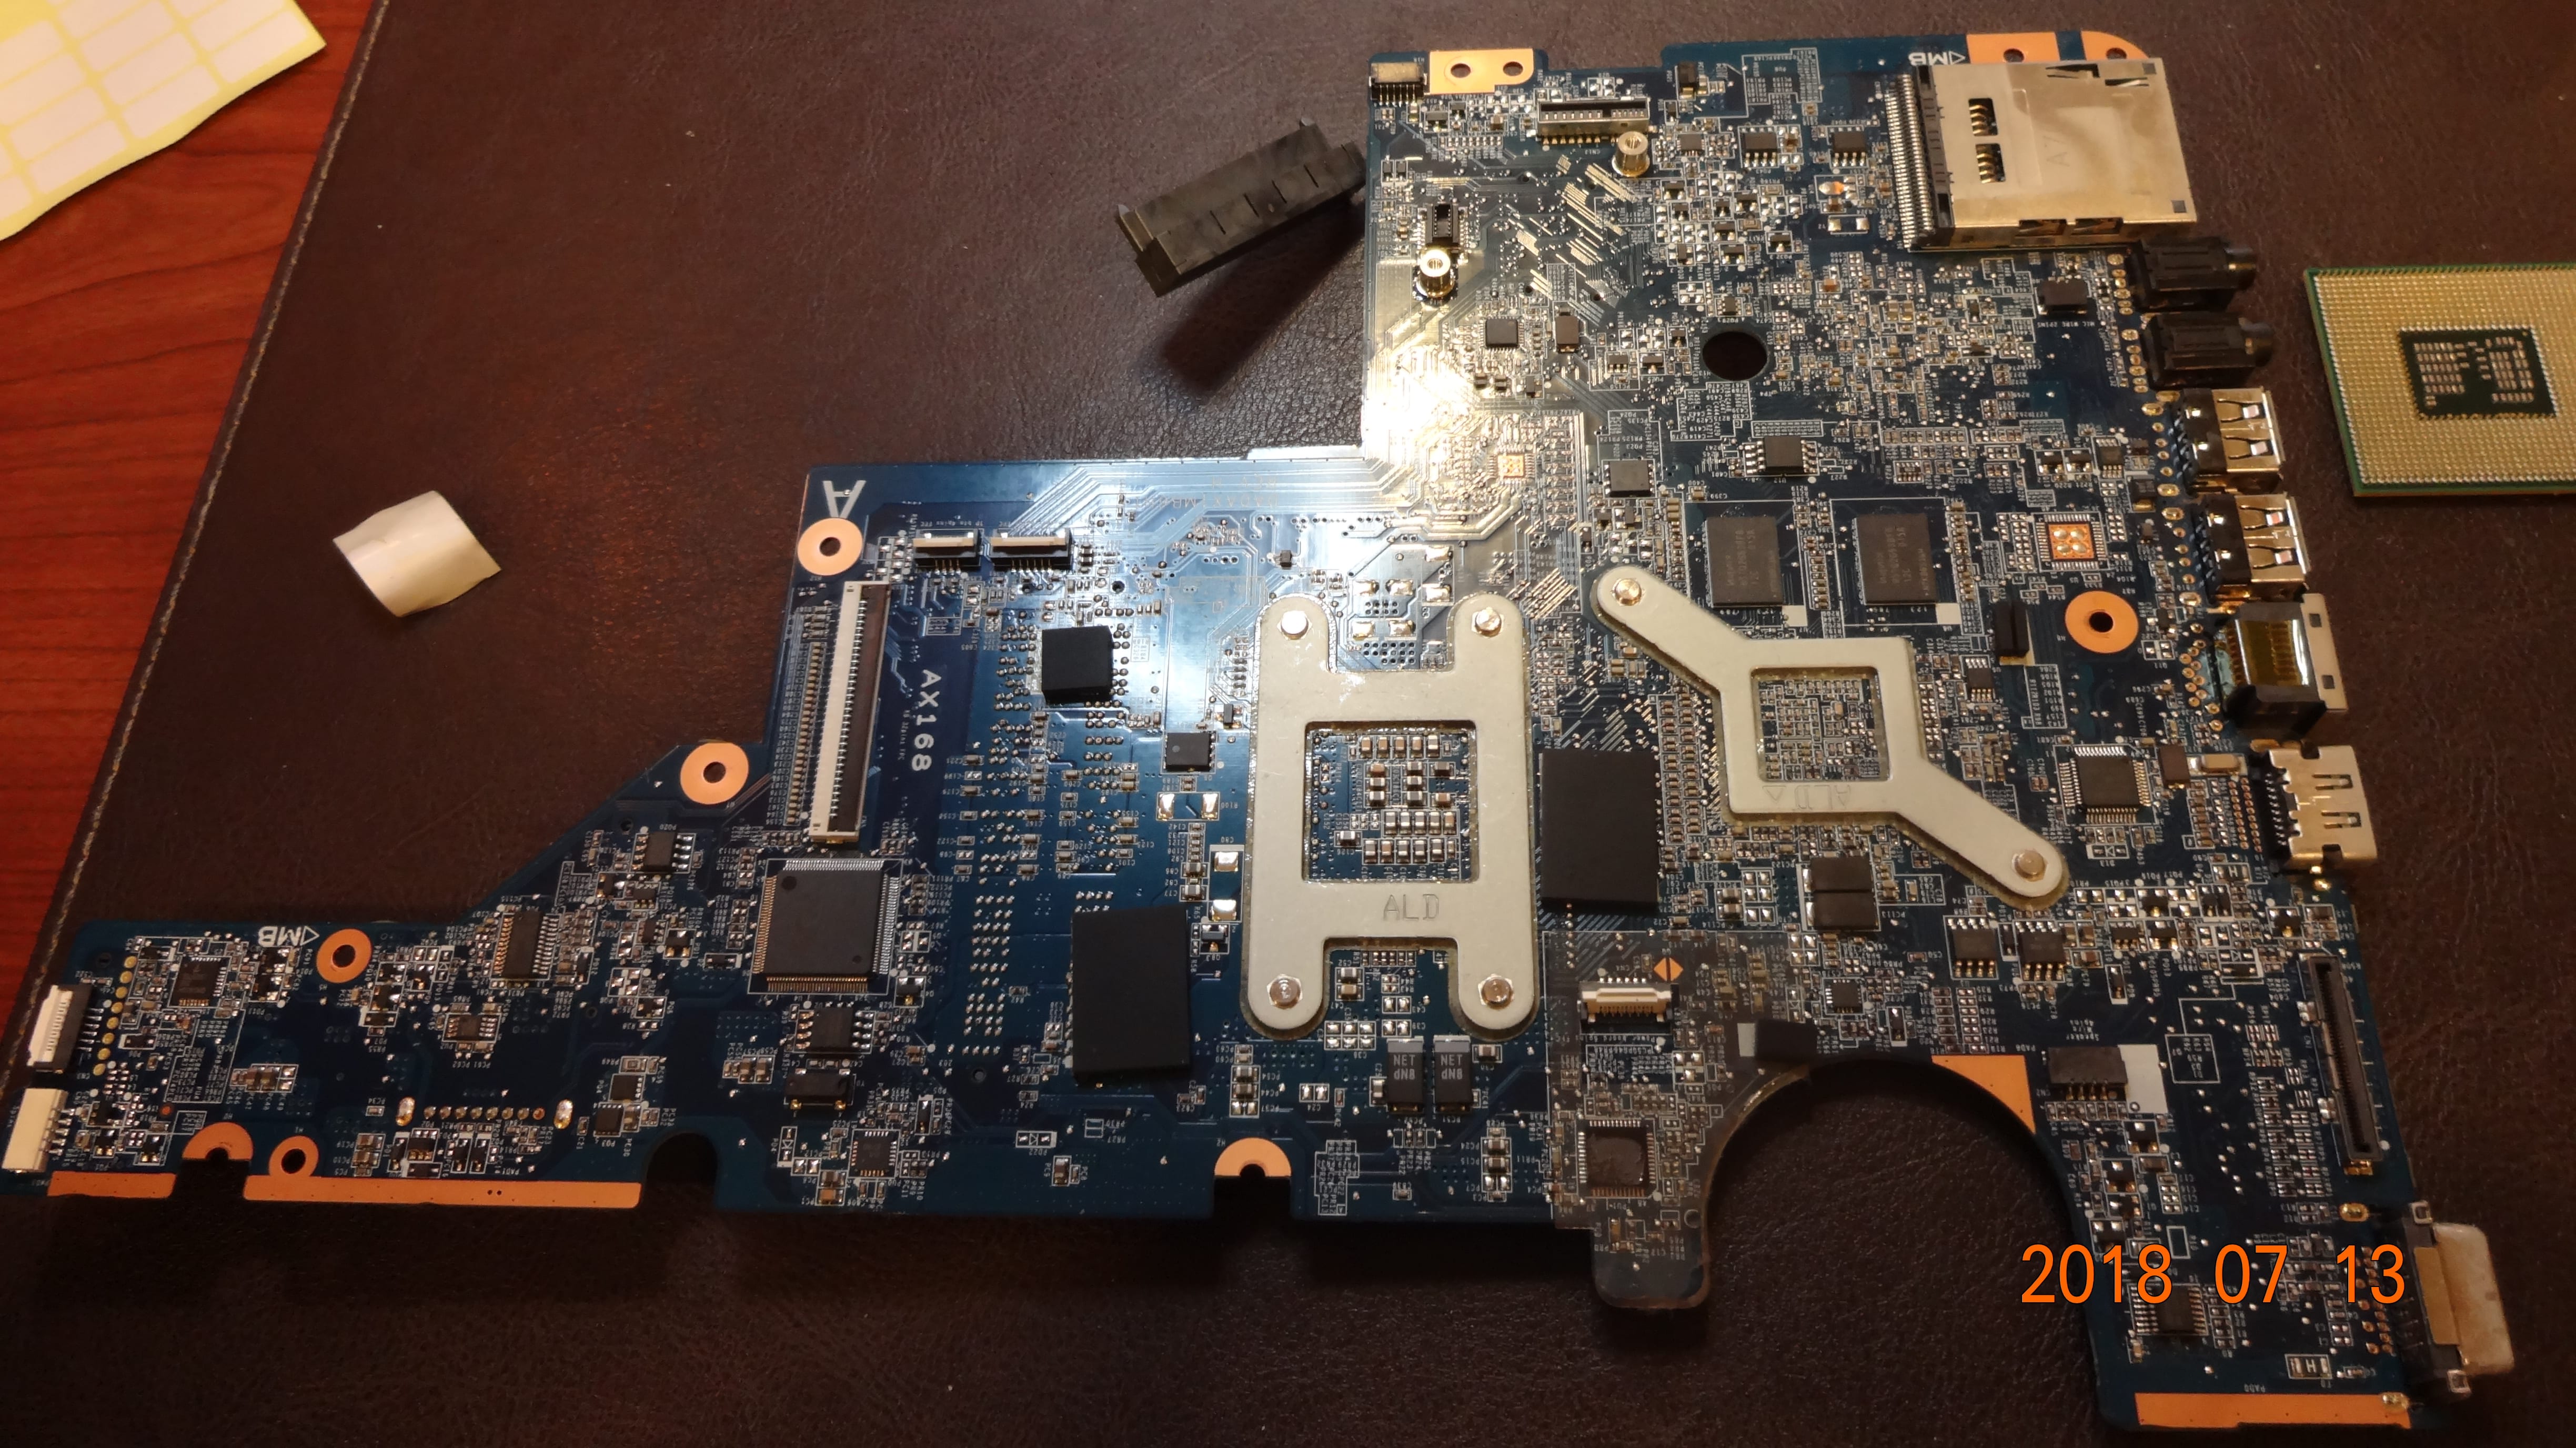
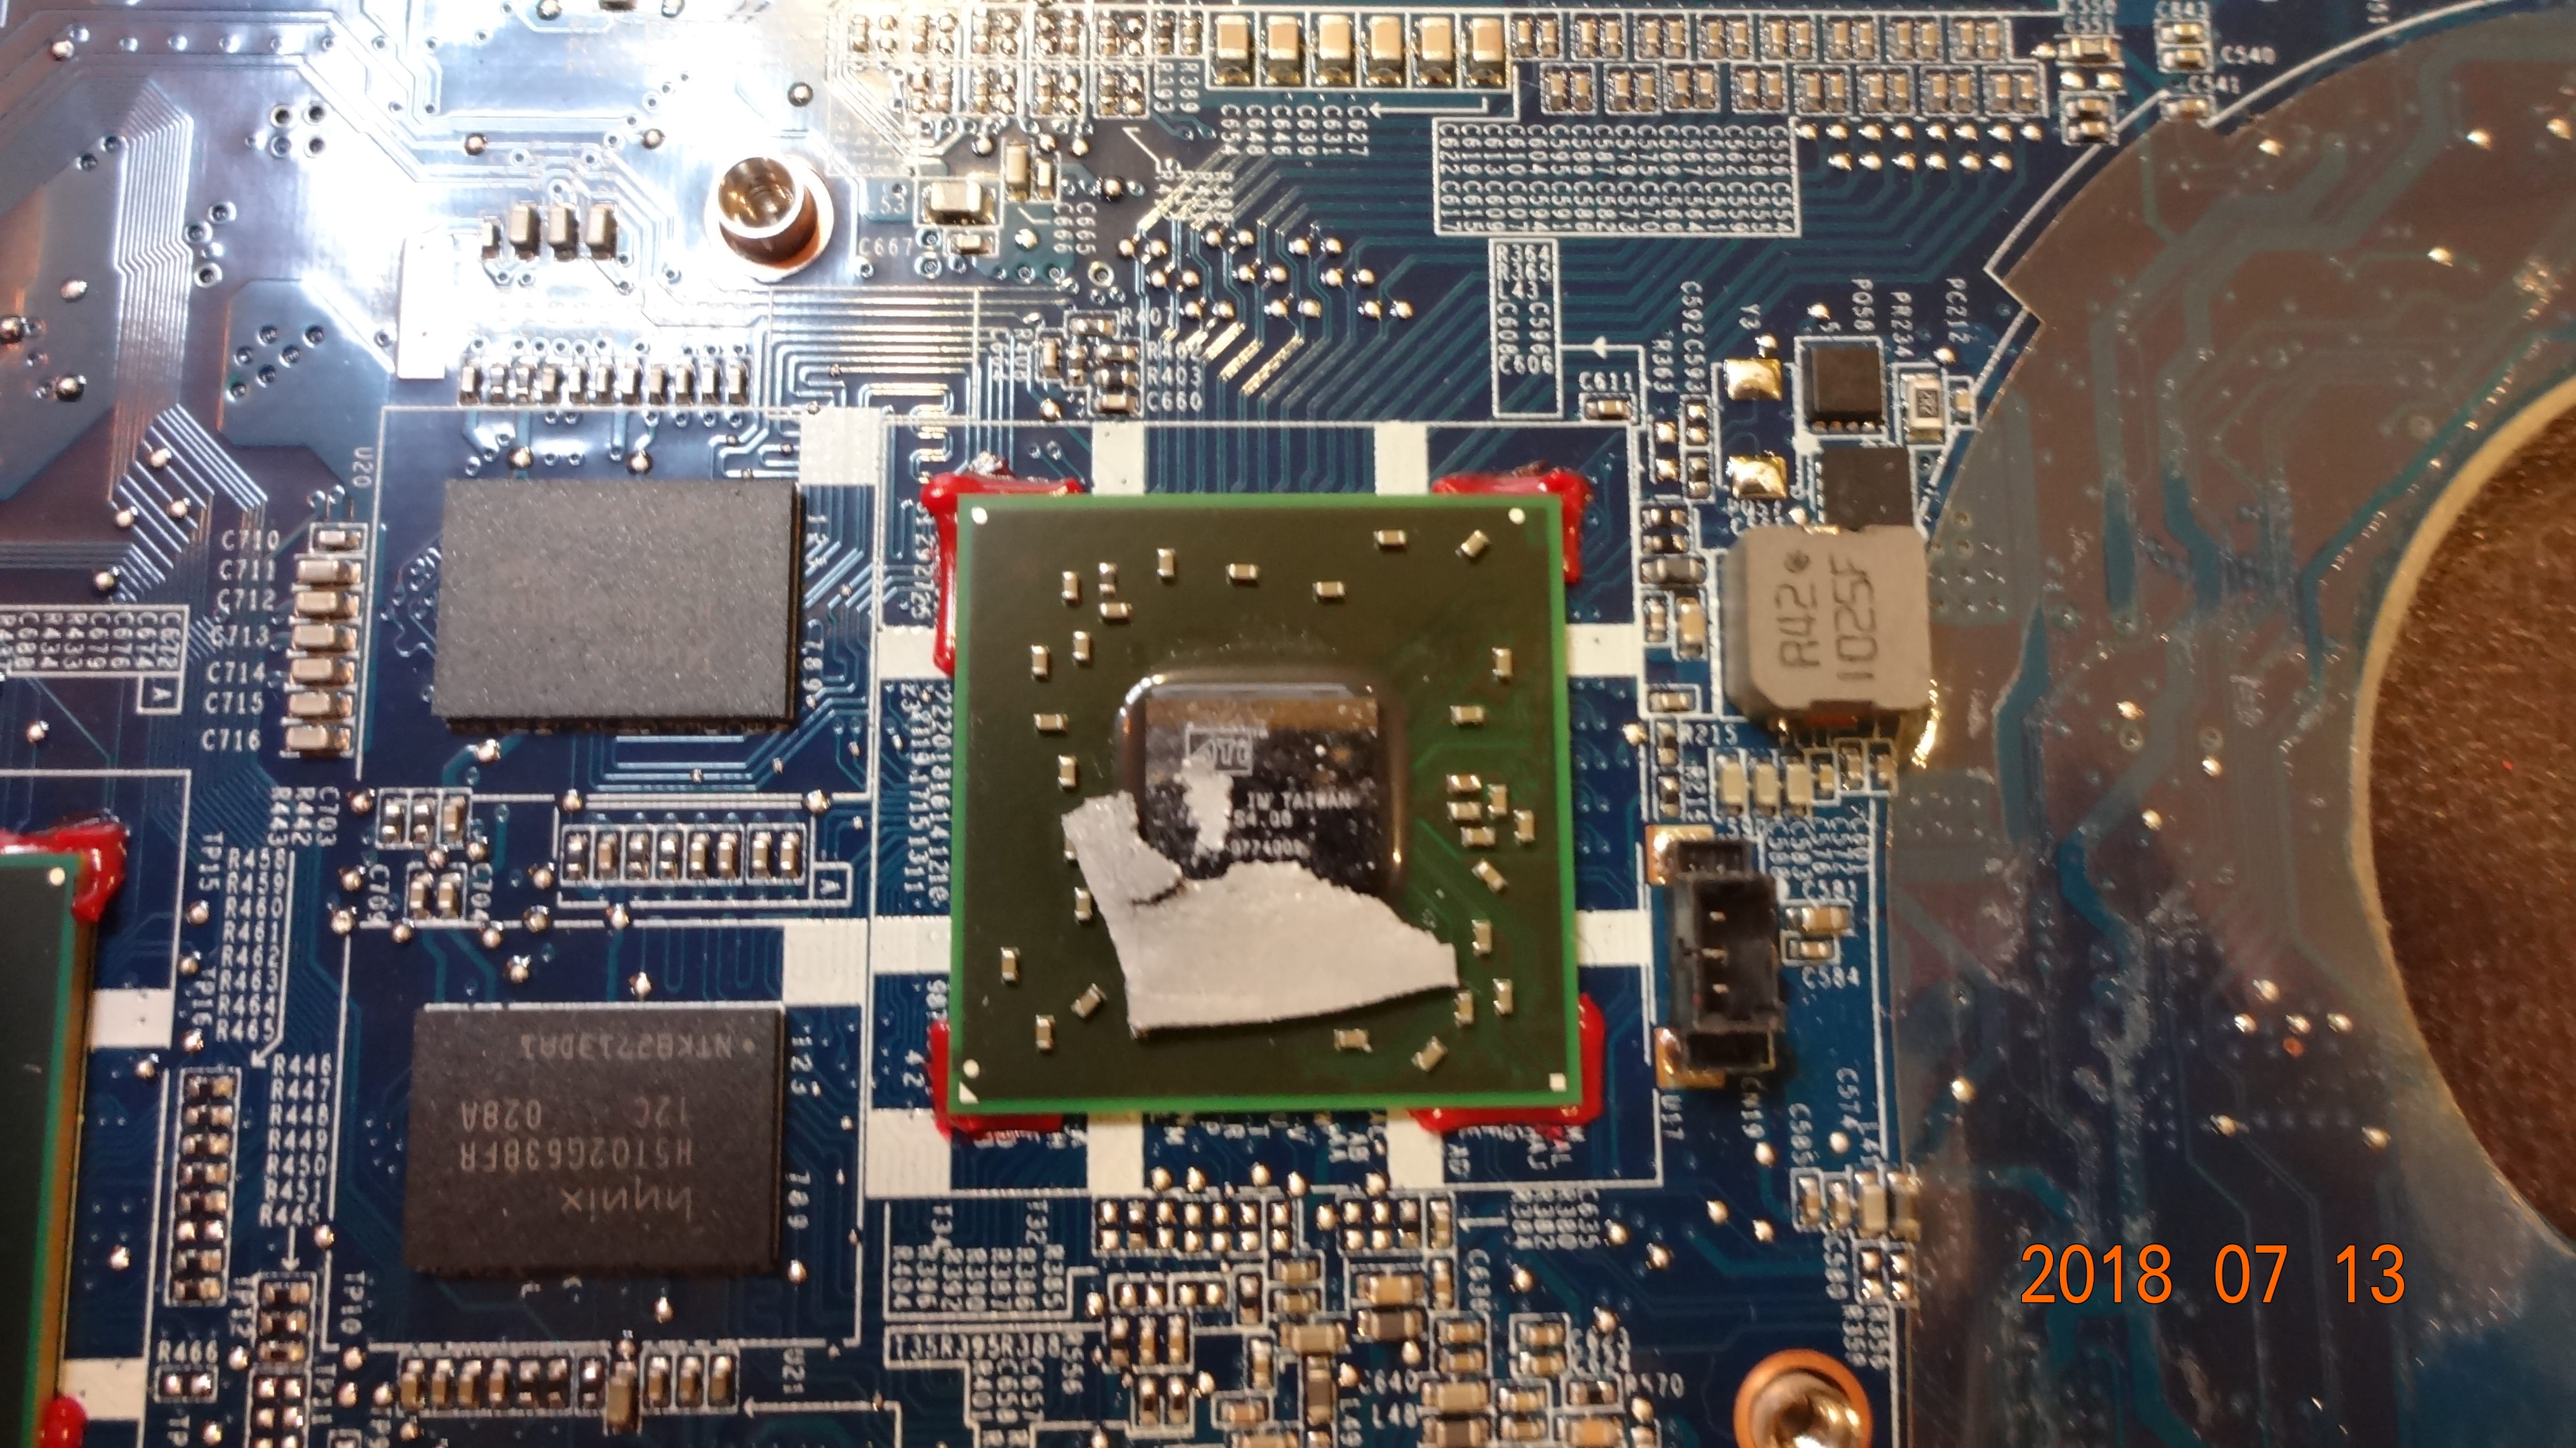
 The Mobile Intel HM55 Express Chipset, code-named Ibex Peak (or more formally, PCH, which stands for Platform Controller Hub). B3 stepping. It’s manufactured on a 65nm process (so old at the time it’s launched in Q1’2010) with a TDP of 3.5W.
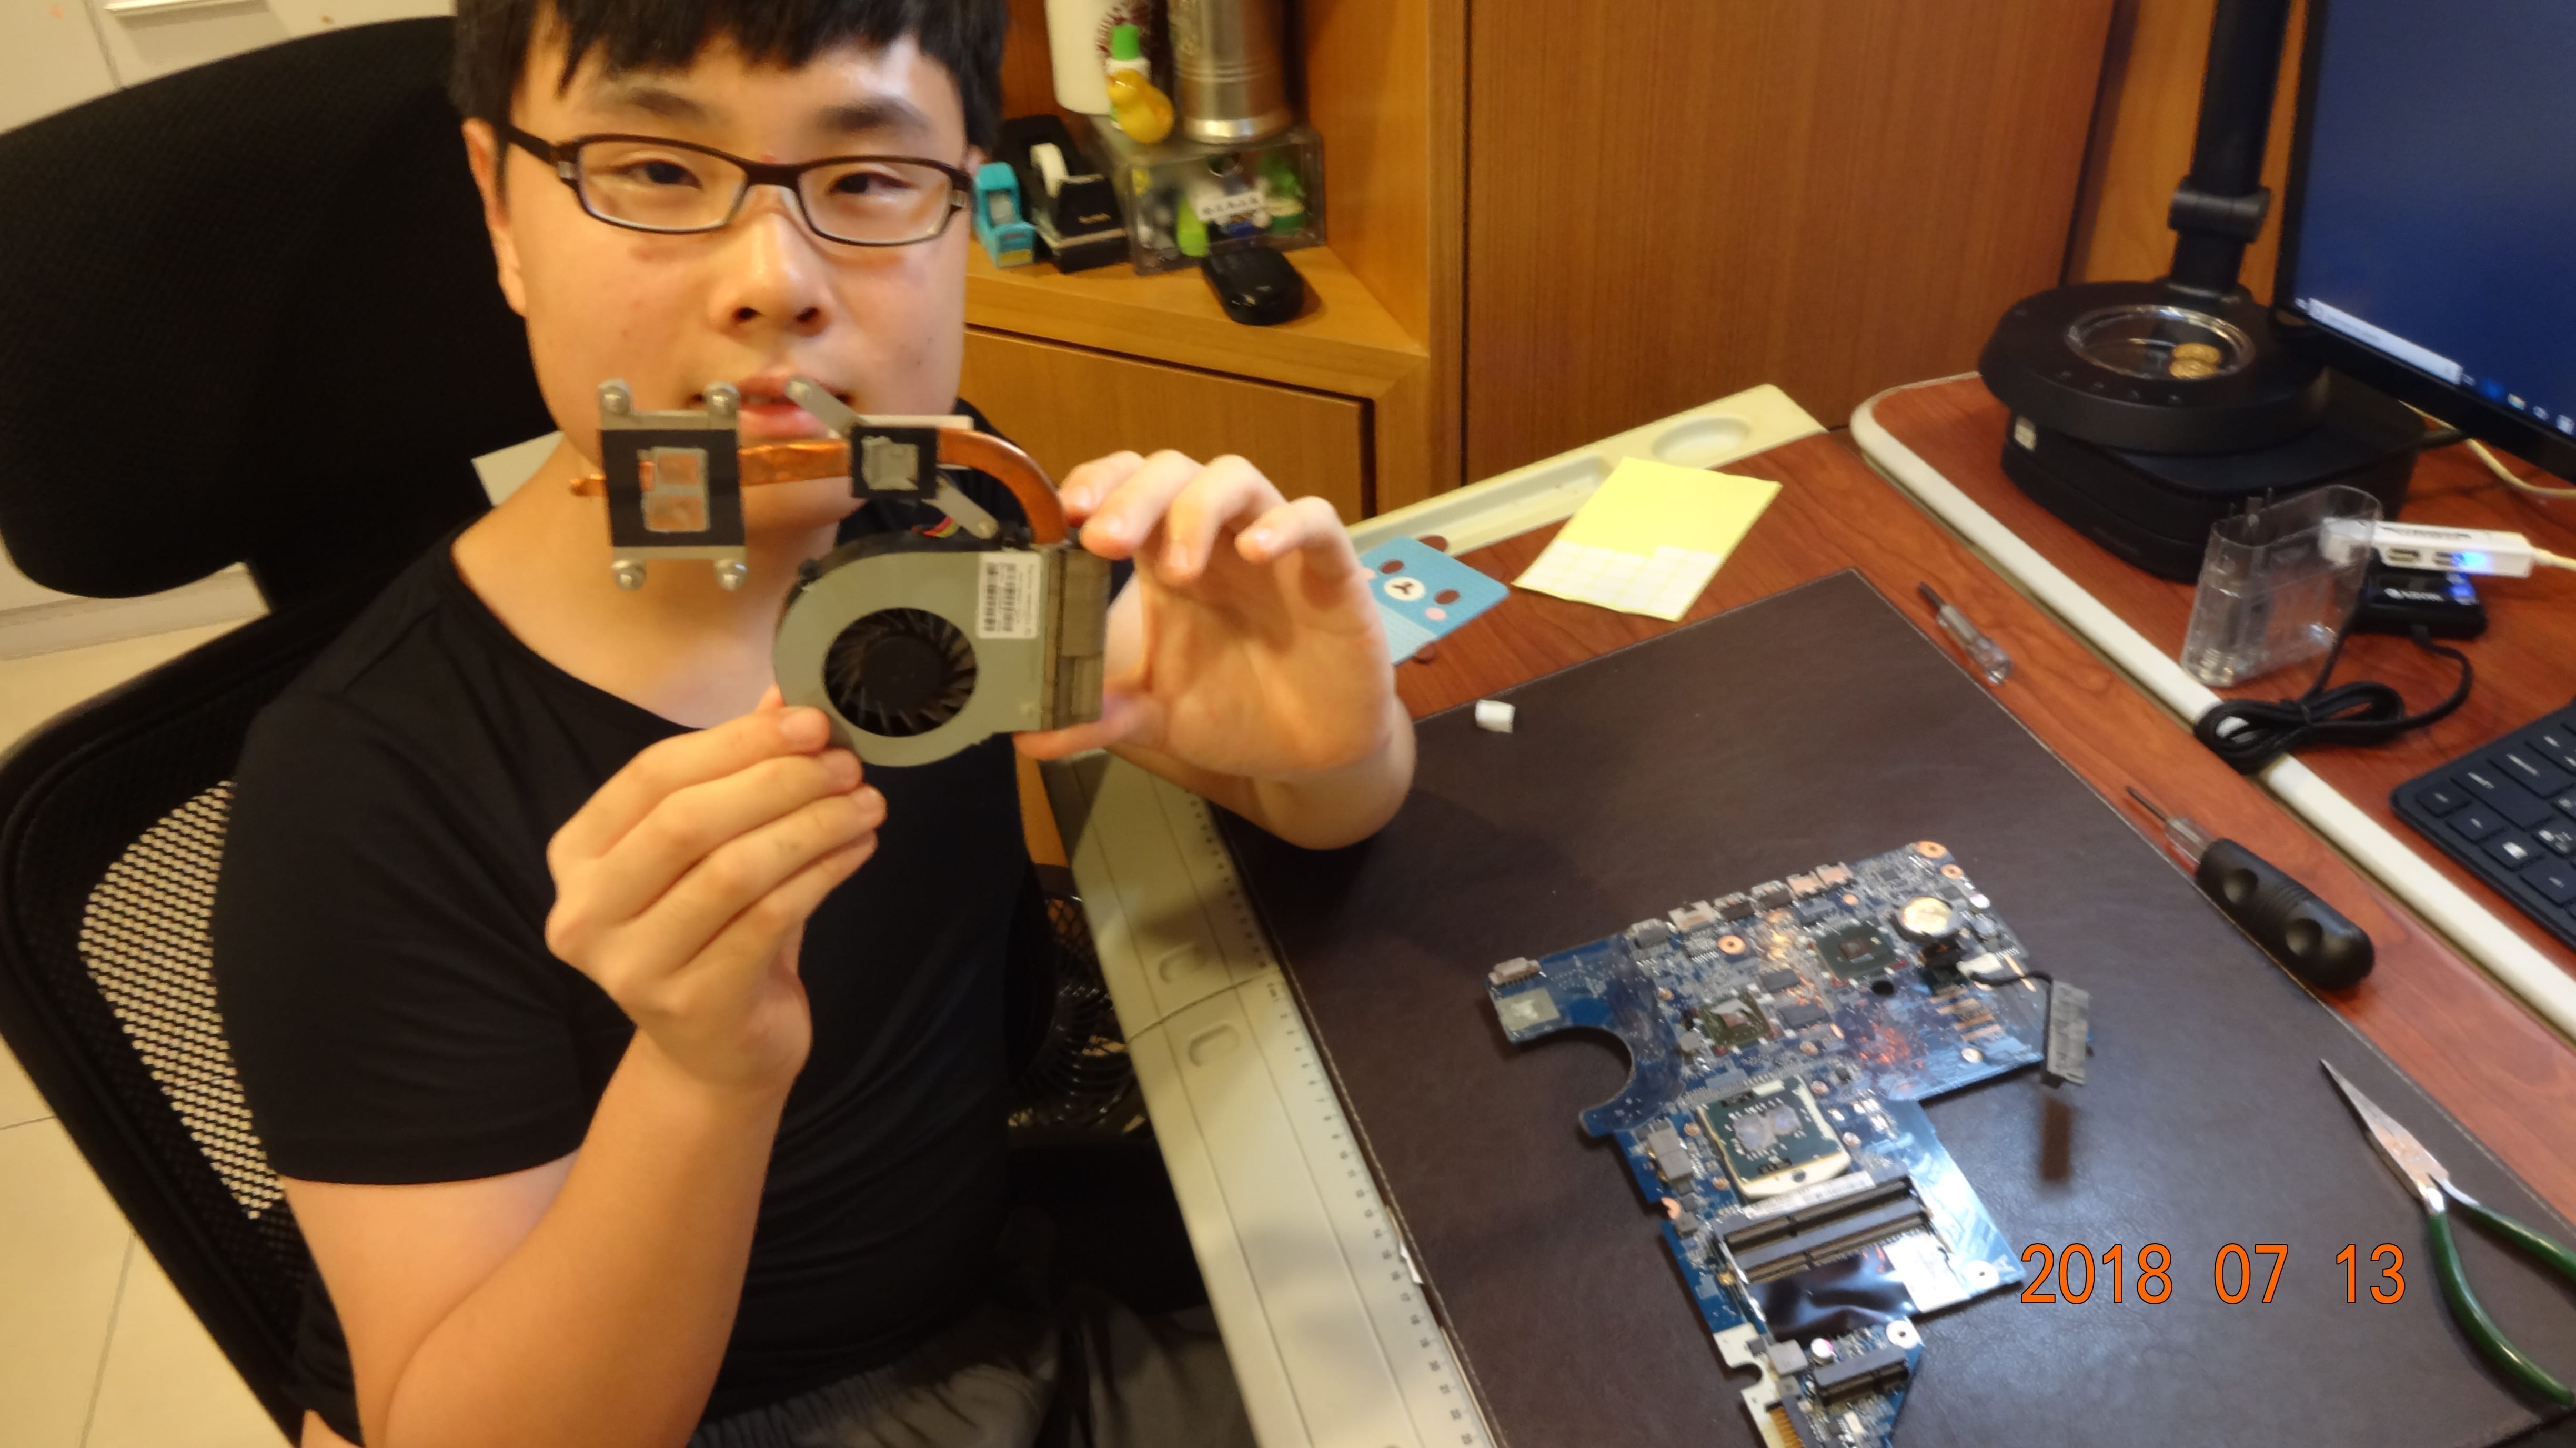 The fan/heatsink assembly. Notice that the assembly only uses 1 heat pipe to deliver all the heat produced from the CPU and the GPU to the fan.
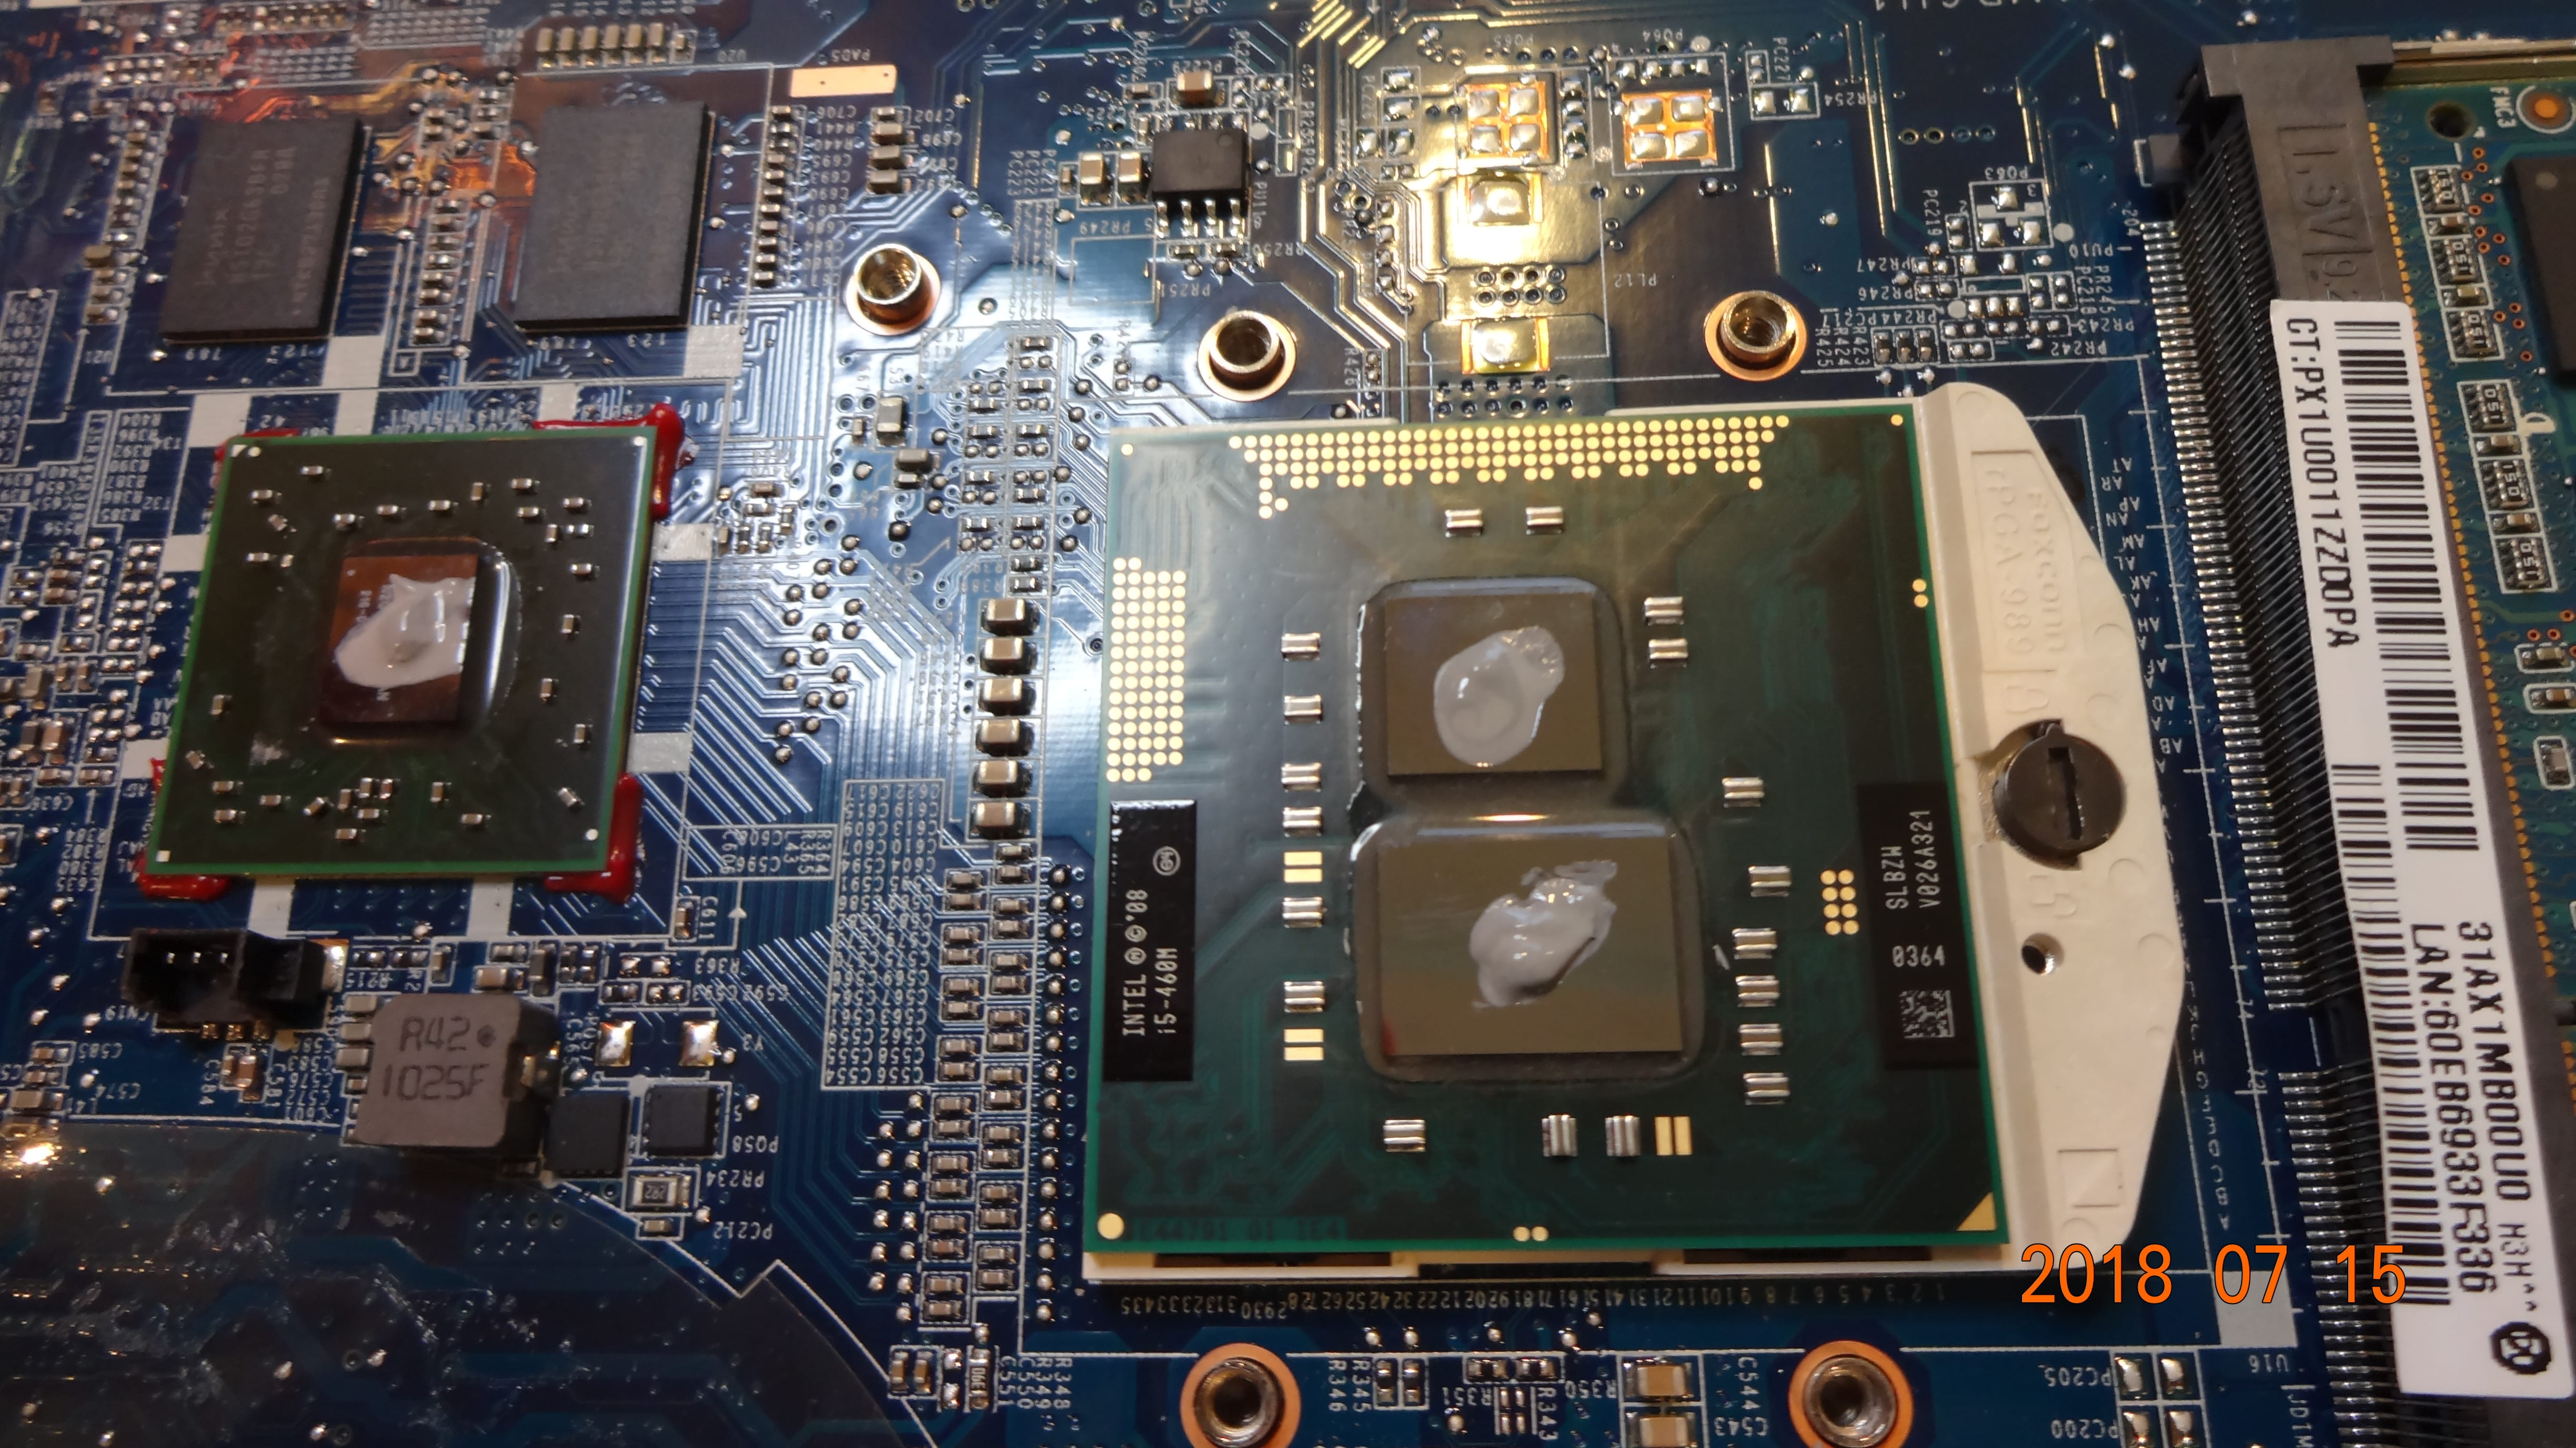
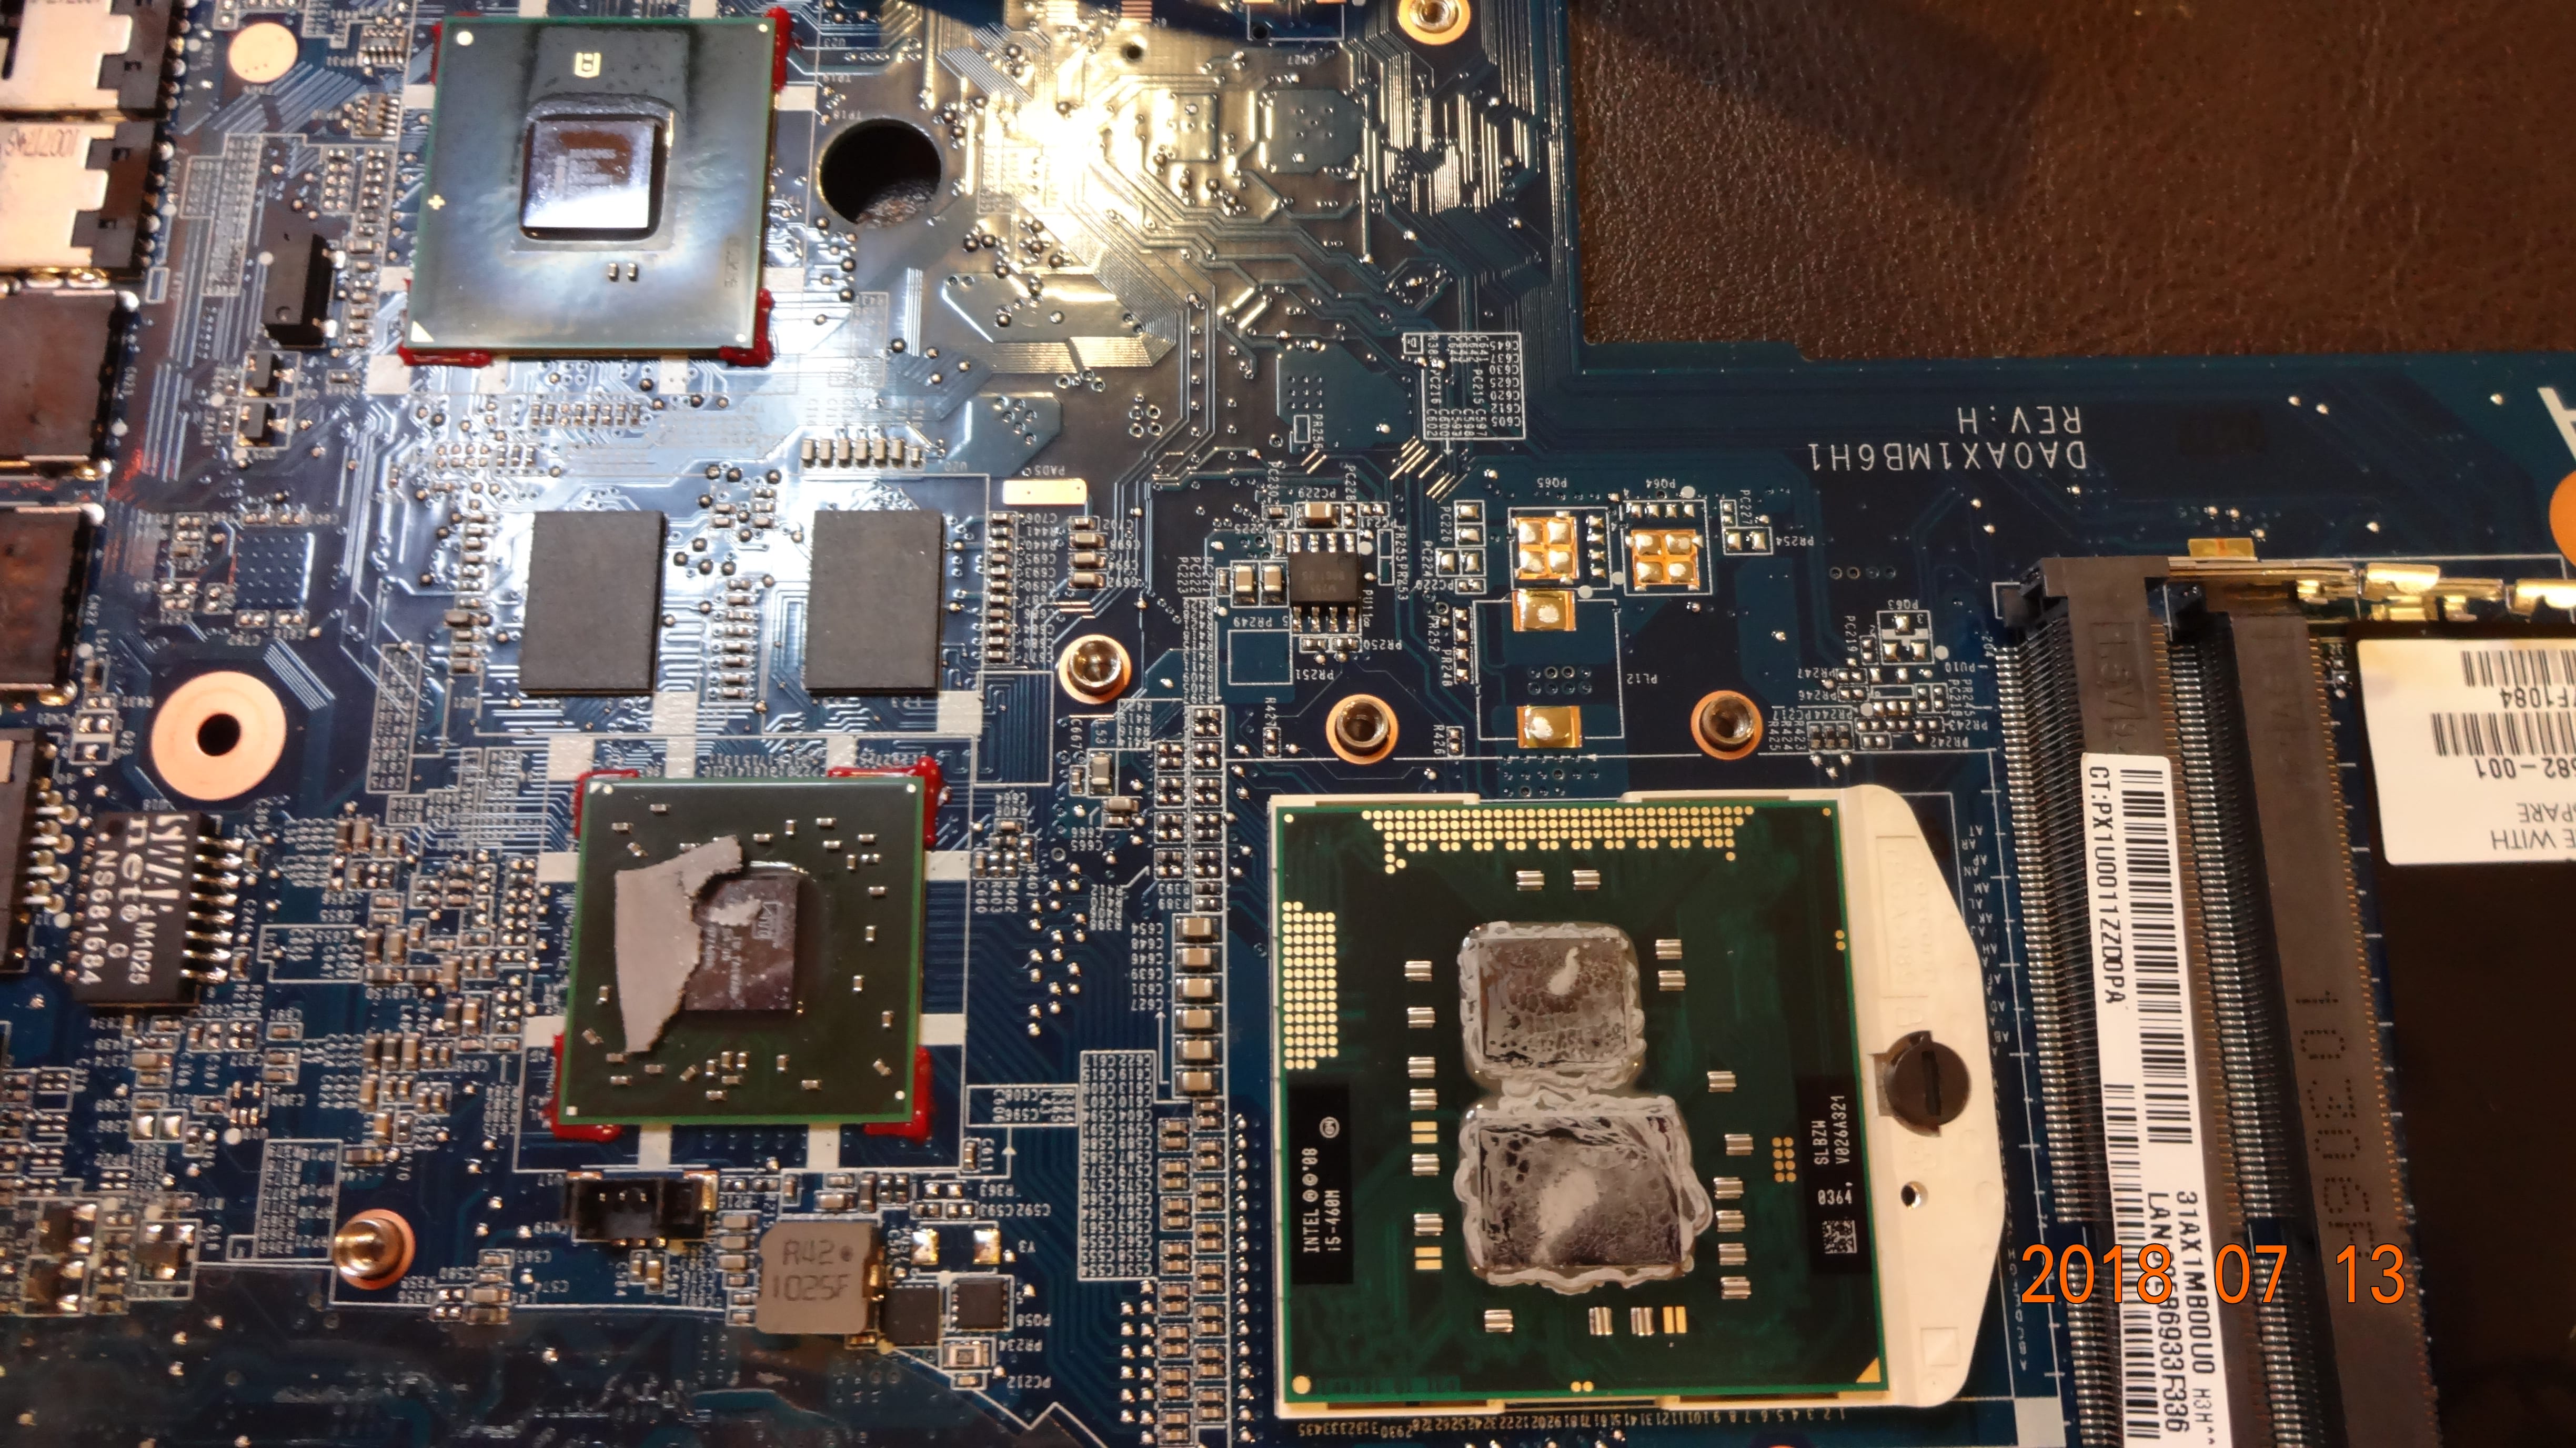 The processor and GPU can be seen here after the heatsink assembly was removed.
 The external GPU — the ATI Mobility Radeon HD 5470, code-named Cedar. It utilizes a much newer 40nm process and has a TDP of 13/15W.
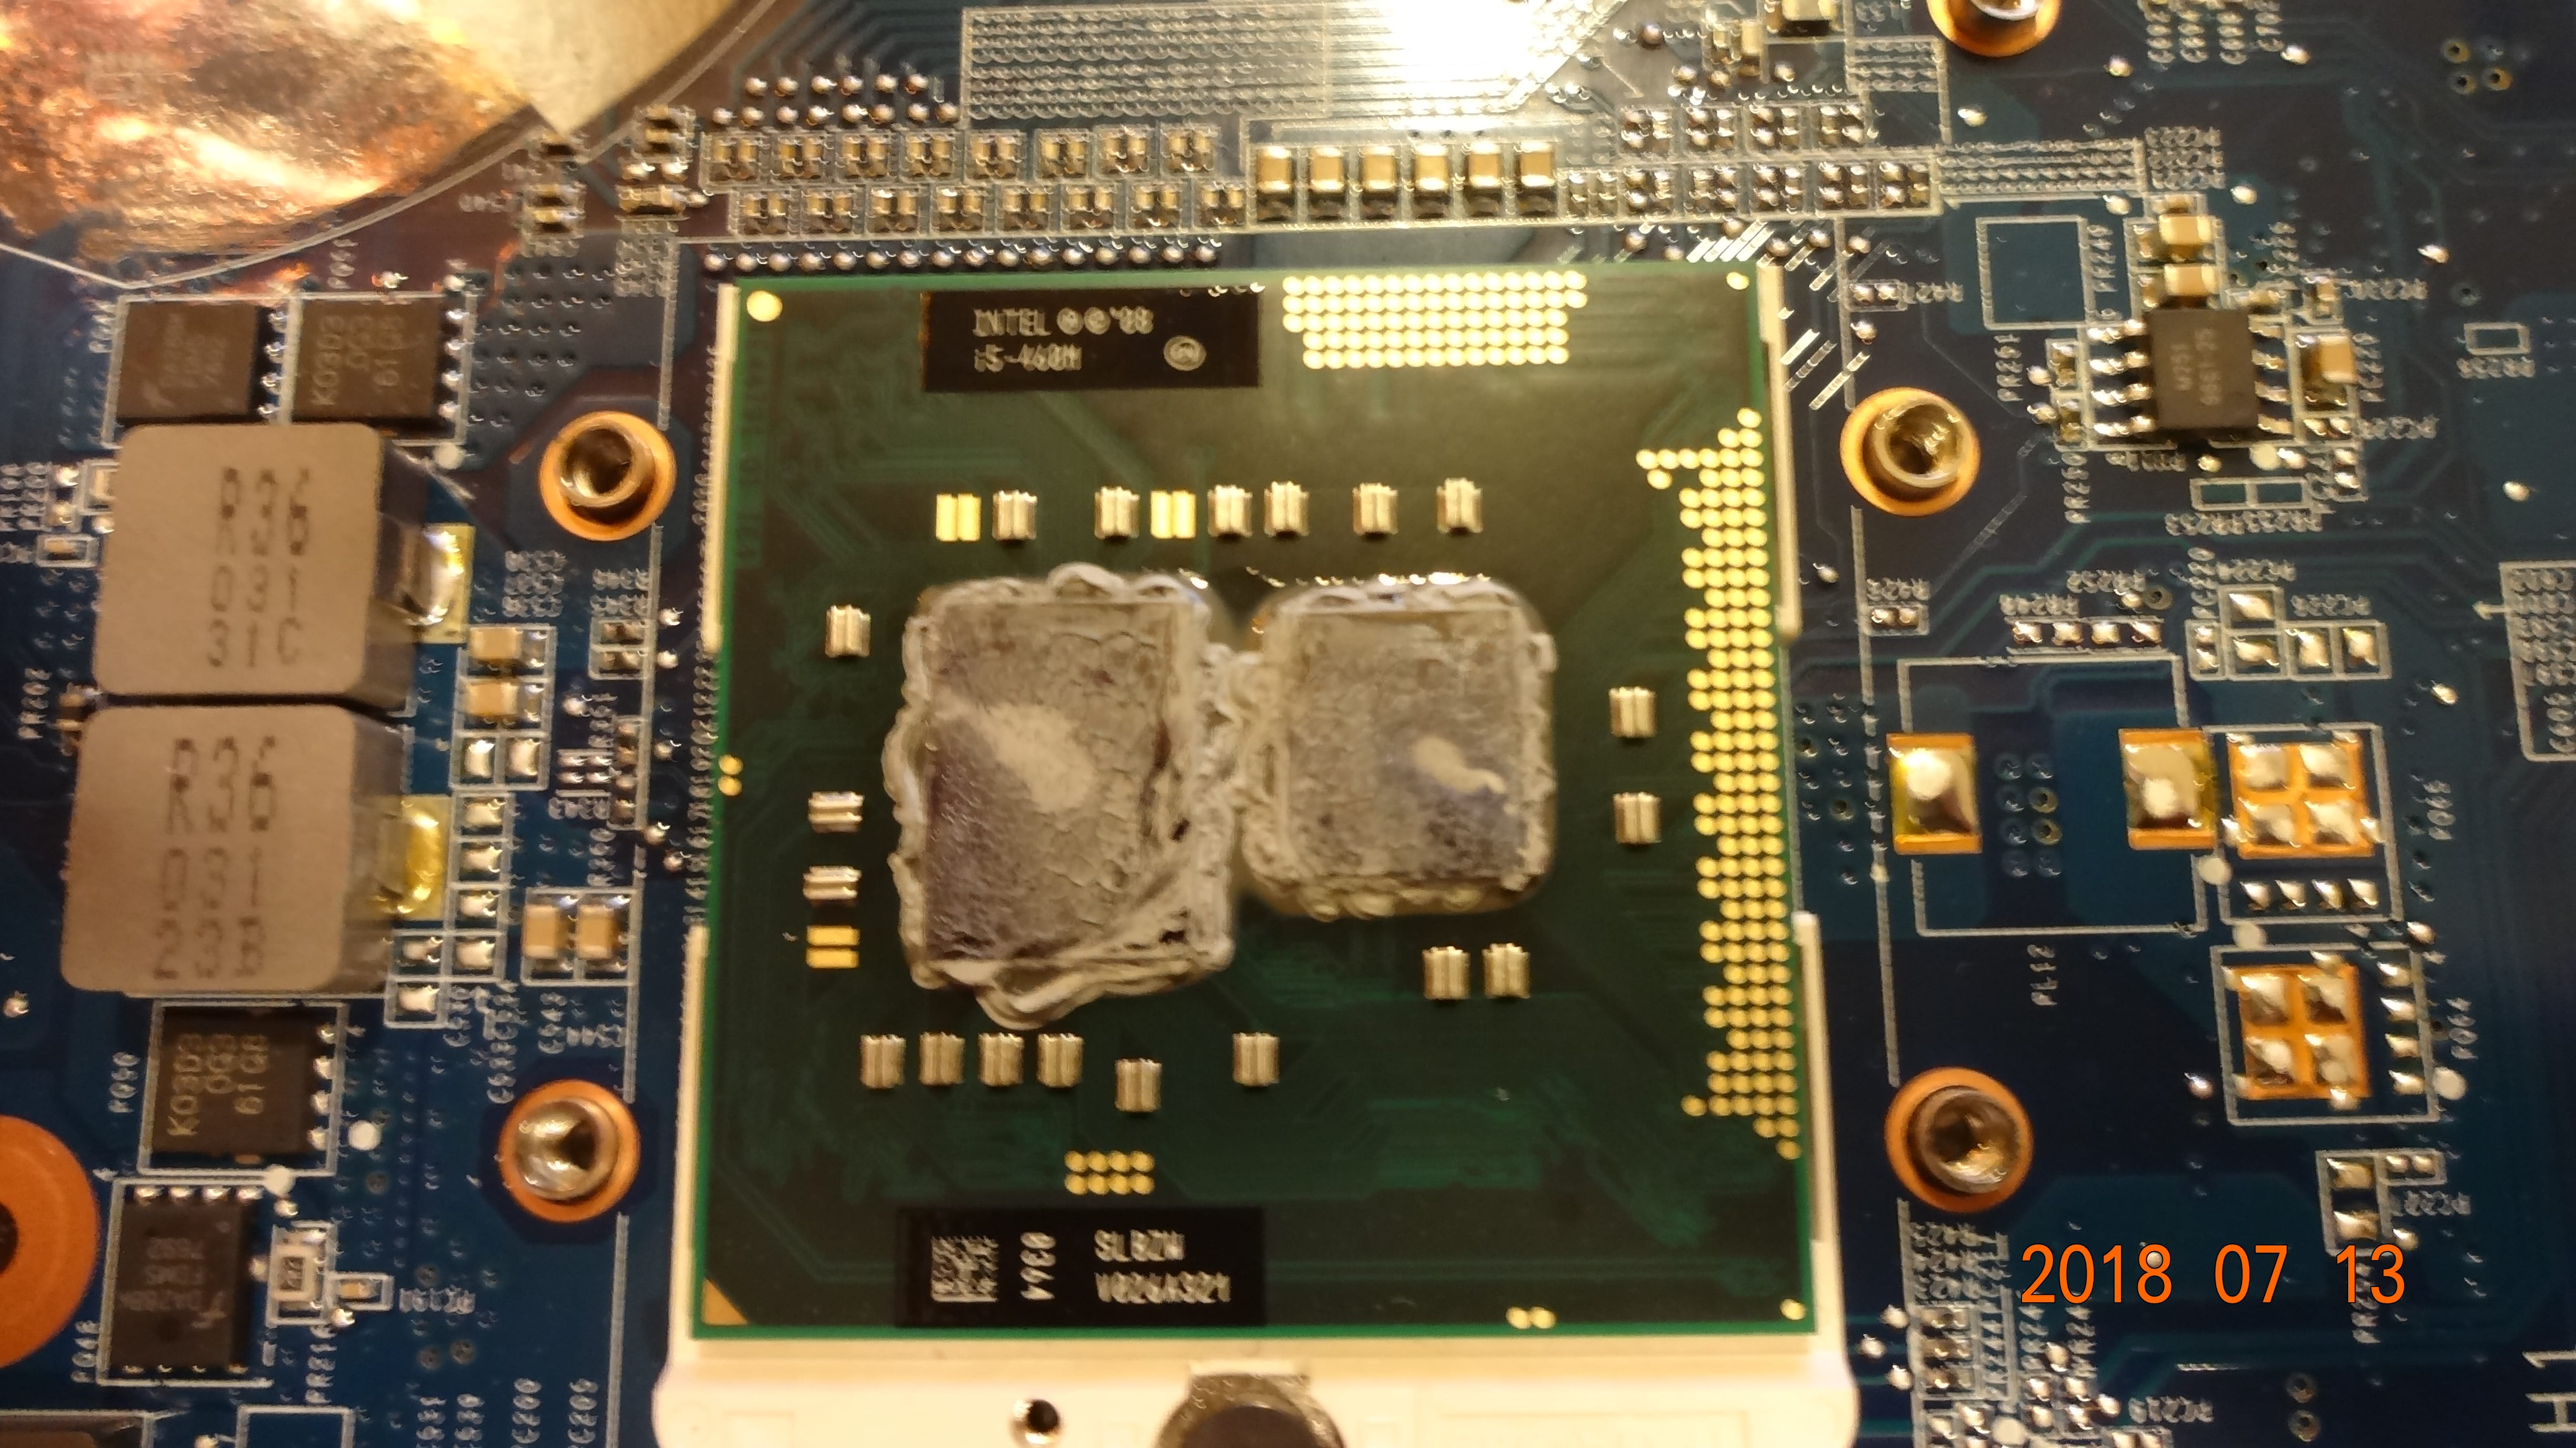 Finally, we get to the heart of the laptop — the Intel Core i5-460M CPU running at 2.53GHz and can boost up to 2.8GHz with Intel Turbo Boost 1.0. K0 stepping, launched in Q3’2010. It has 2 cores and 4 threads (as with other “Arrandale” CPUs), and has a TDP of 35W. (By the way, it has a cache of 3MB.) Note that this particular CPU (as with other CPUs in the “Arrandale” familiy) has 2 dies: the integrated GPU and memory controller die (left, 45nm lithography) and the processing die (right, 32nm lithography). [It also offers a BGA variant which is directly soldered to the motherboard and can’t be upgraded. This CPU is a PGA variant which requires a socket and upgradable.]
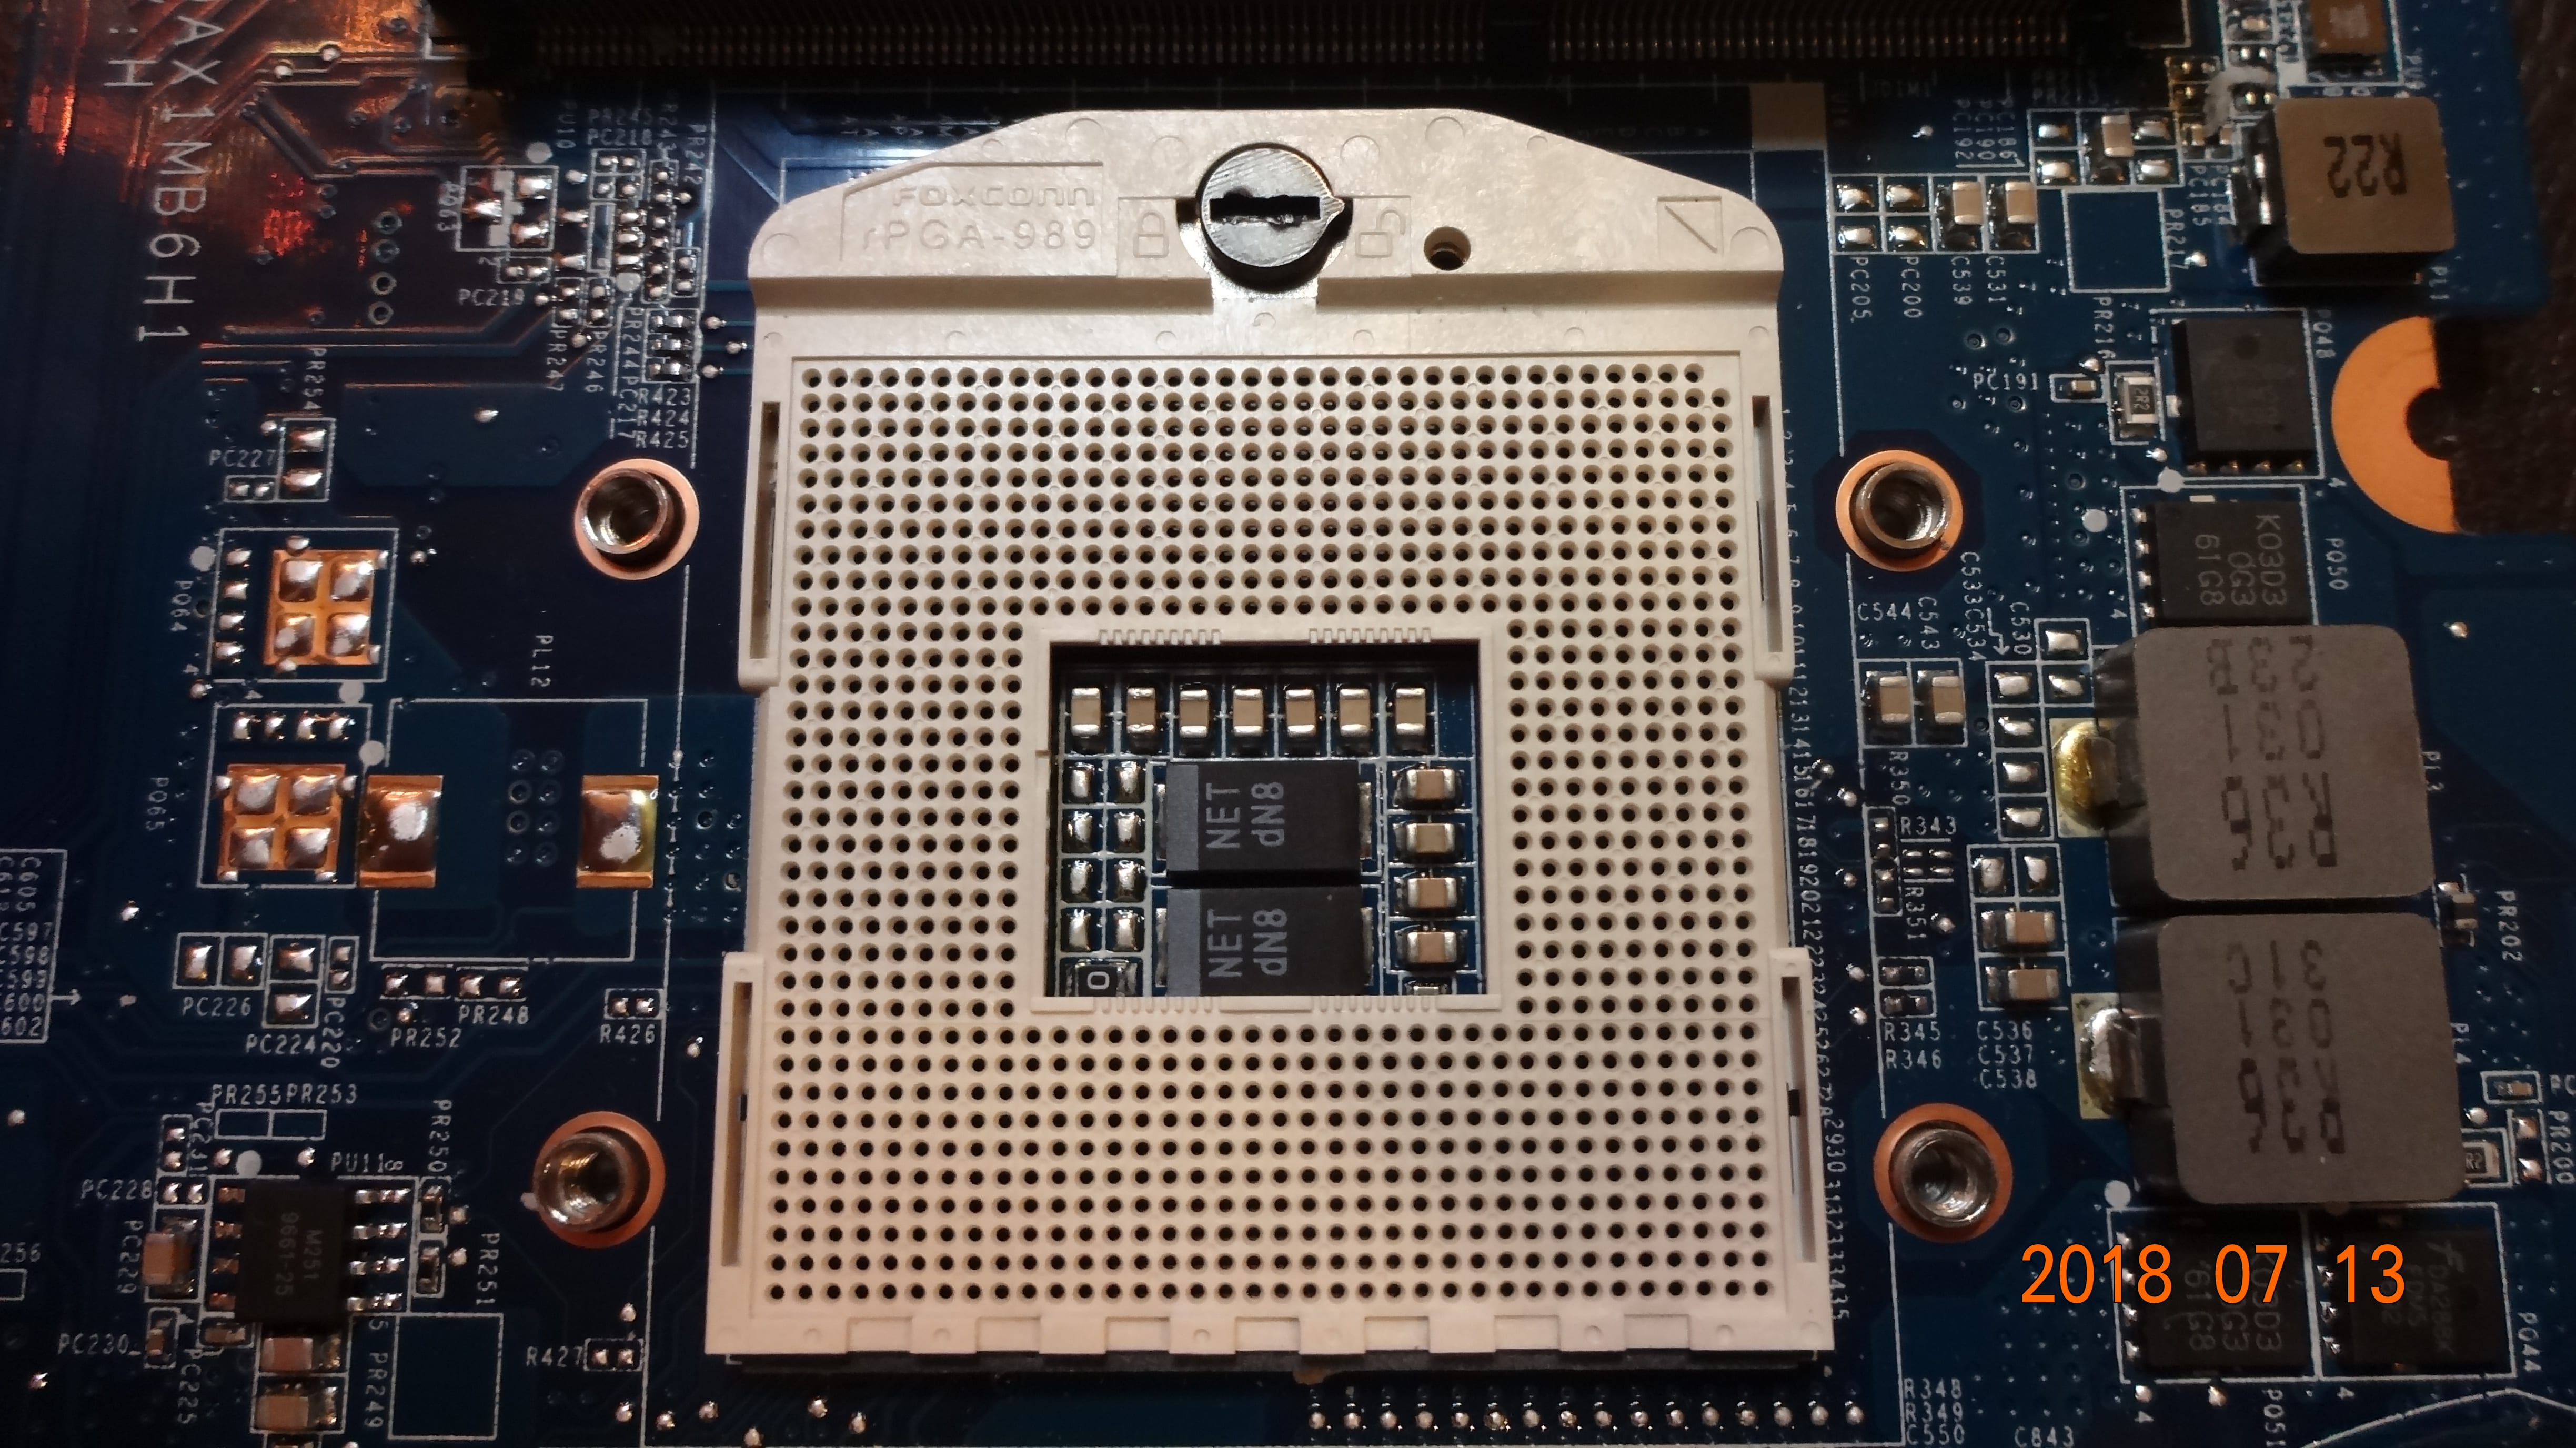 The socket, which allows user to upgrade the CPU to a higher model. (Even though the CPU has 988 pins, it has 989 pins. It’s possibly designed for users who have 1st generation CPUs to upgrade to newer generation CPUs due to a different pin placement in 2nd and 3rd generation CPUs.) [I’m not sure if the BIOS and the chipset will allow users to upgrade to 2nd or 3rd generation Intel Core CPUs.]
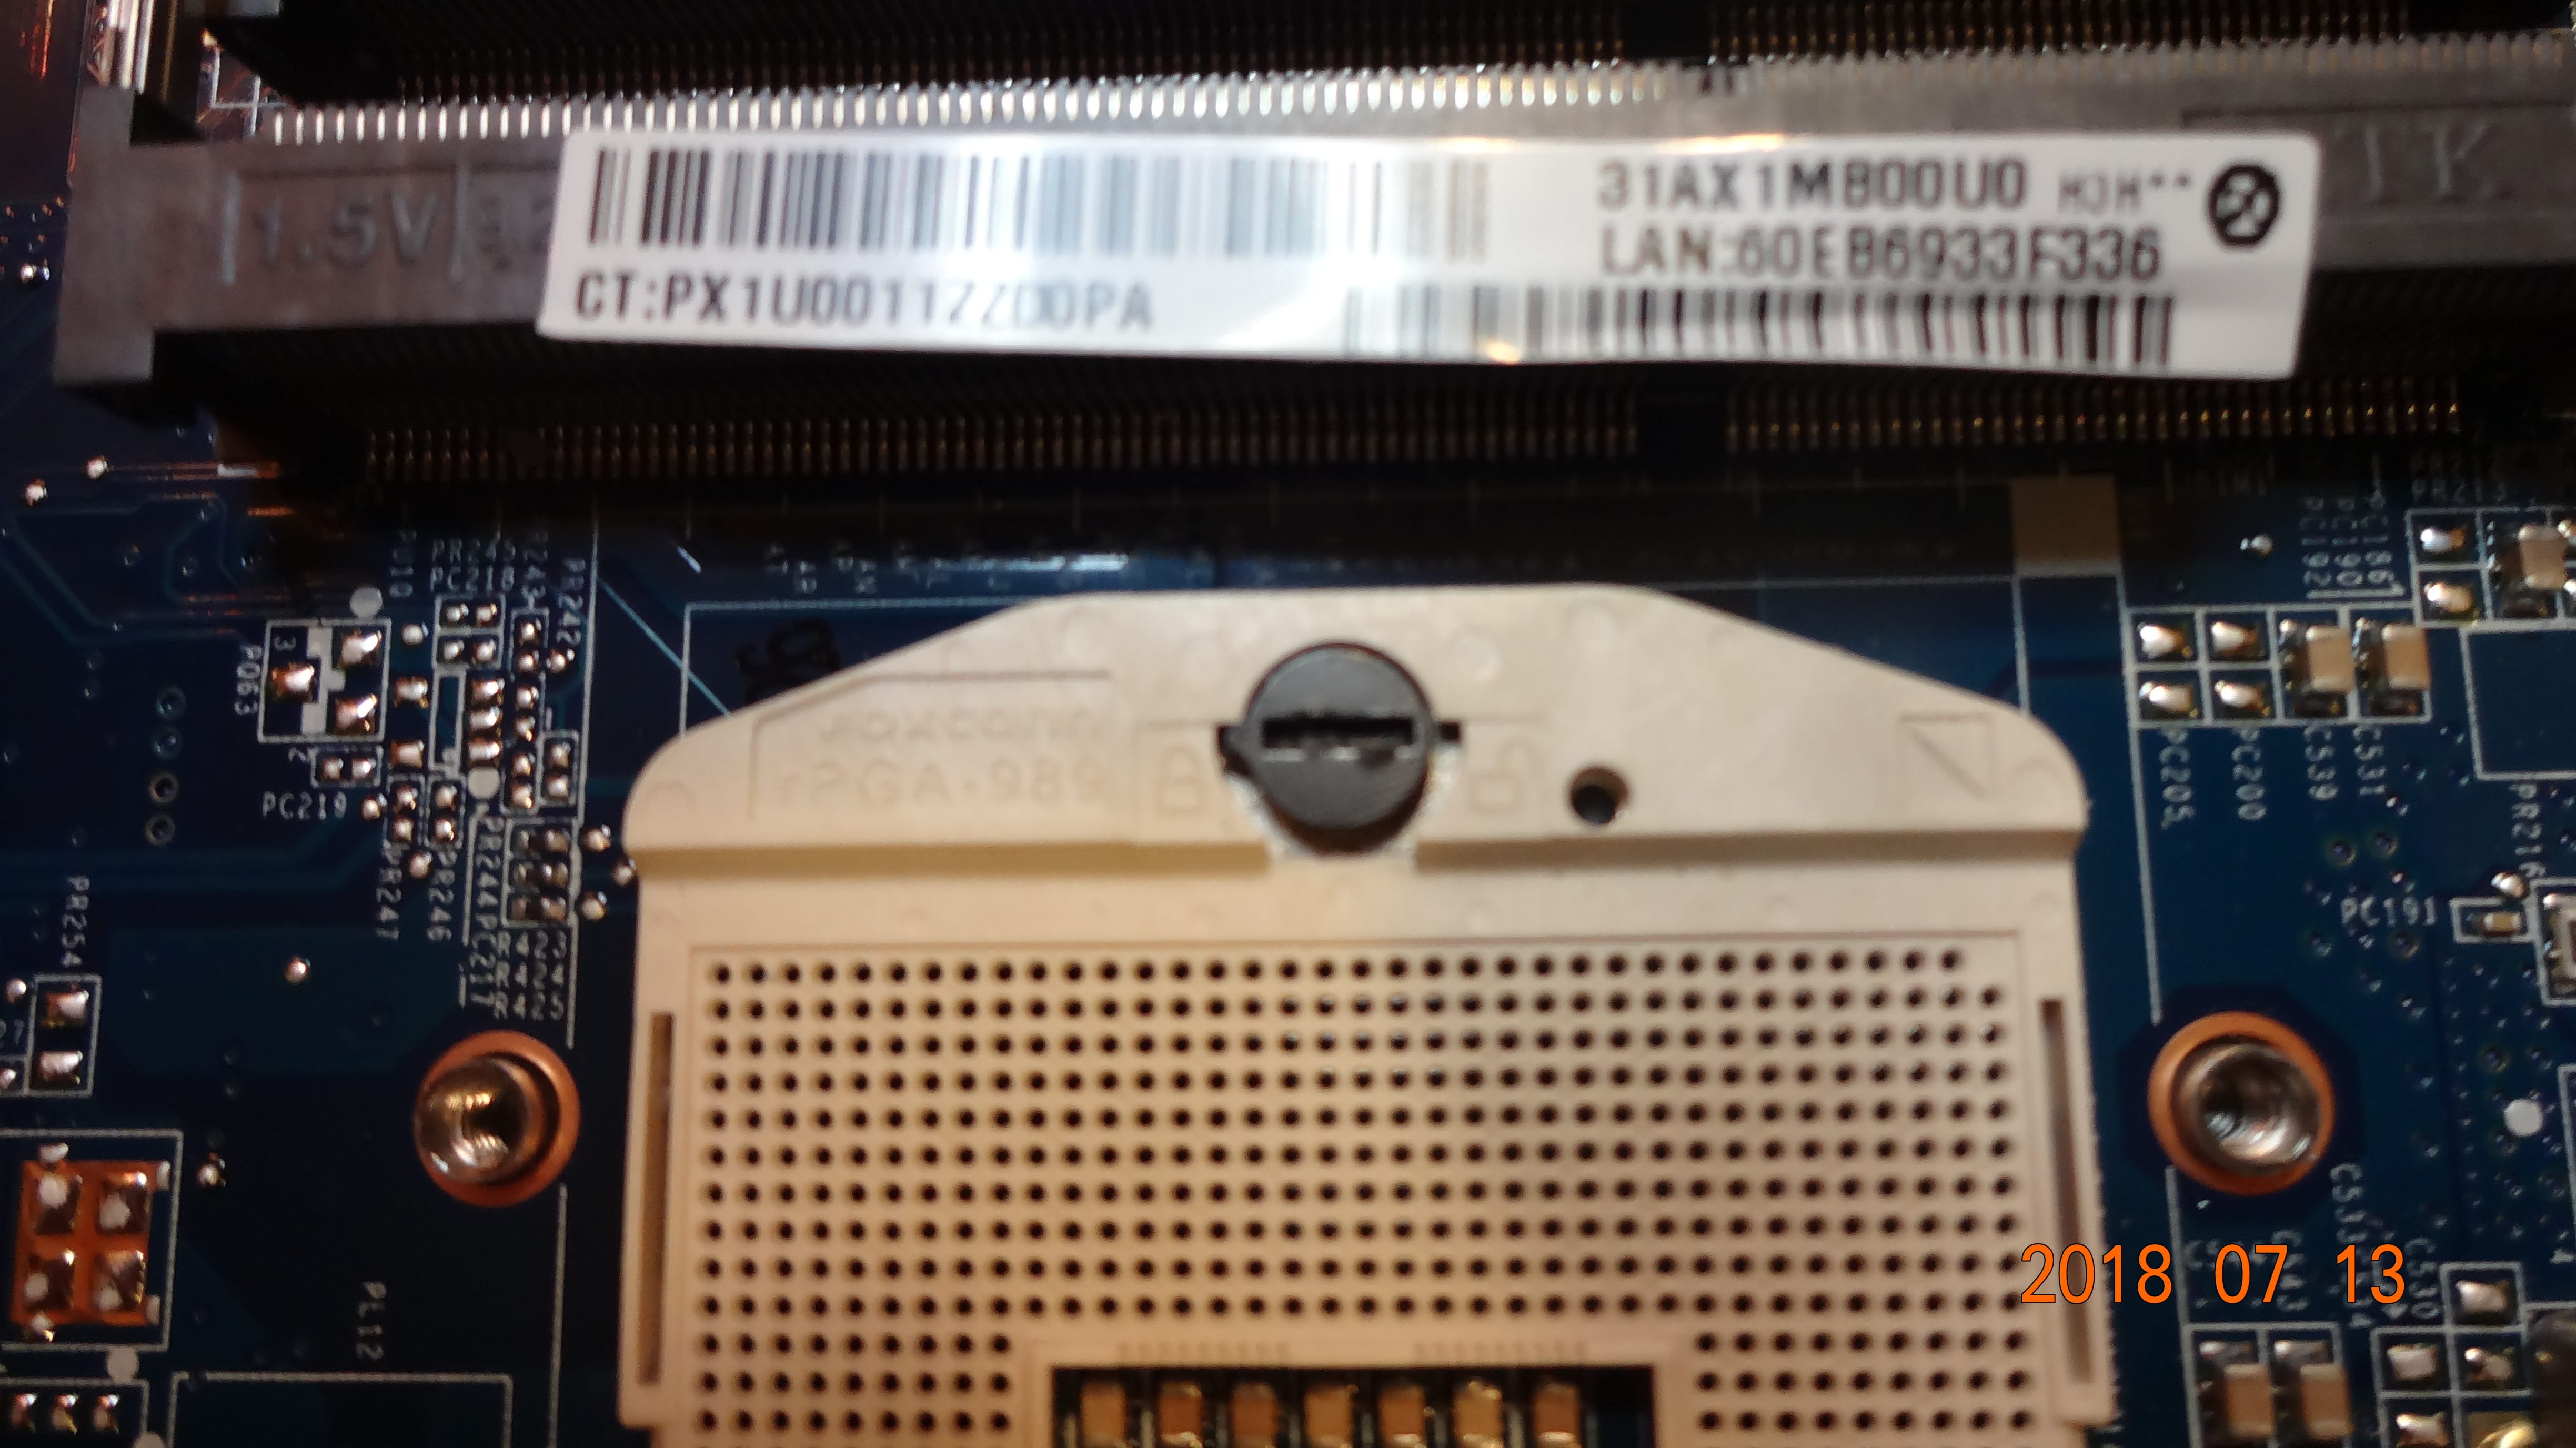 A closeup of the socket, which shows that it’s made by Foxconn (Hon Hai Precision).
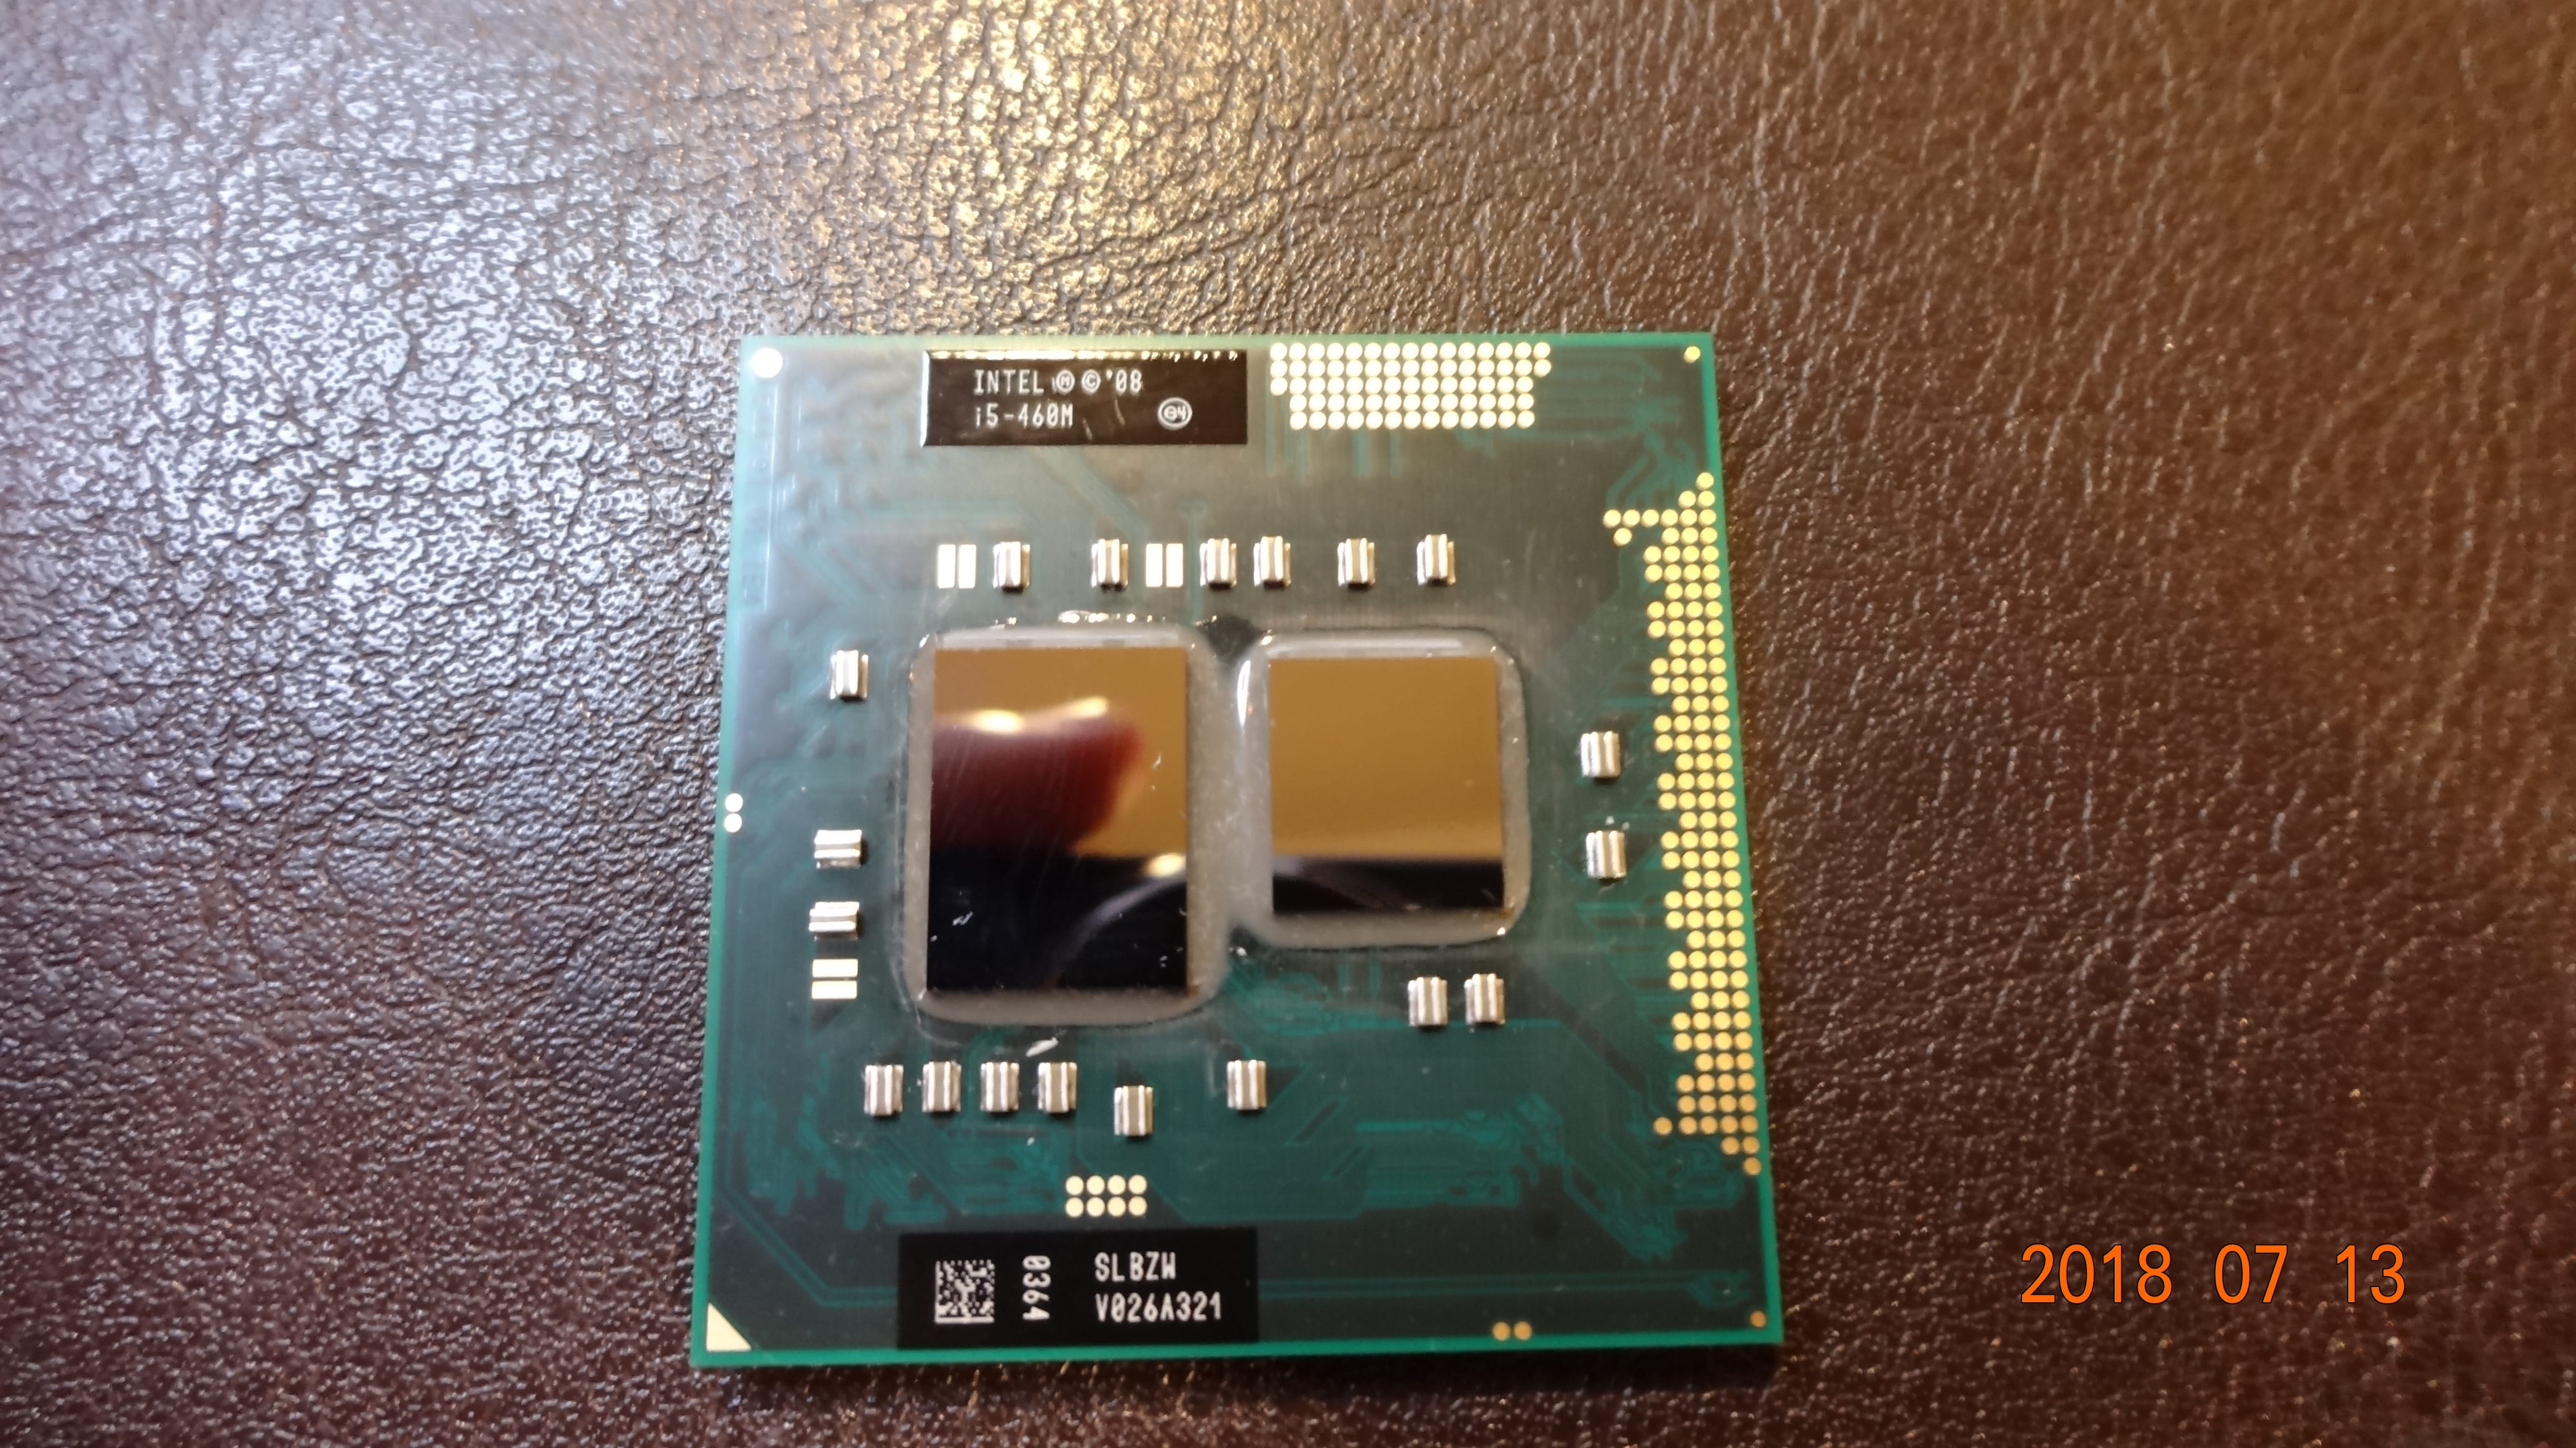 A closeup of the CPU, with thermal grease cleaned thoroughly.
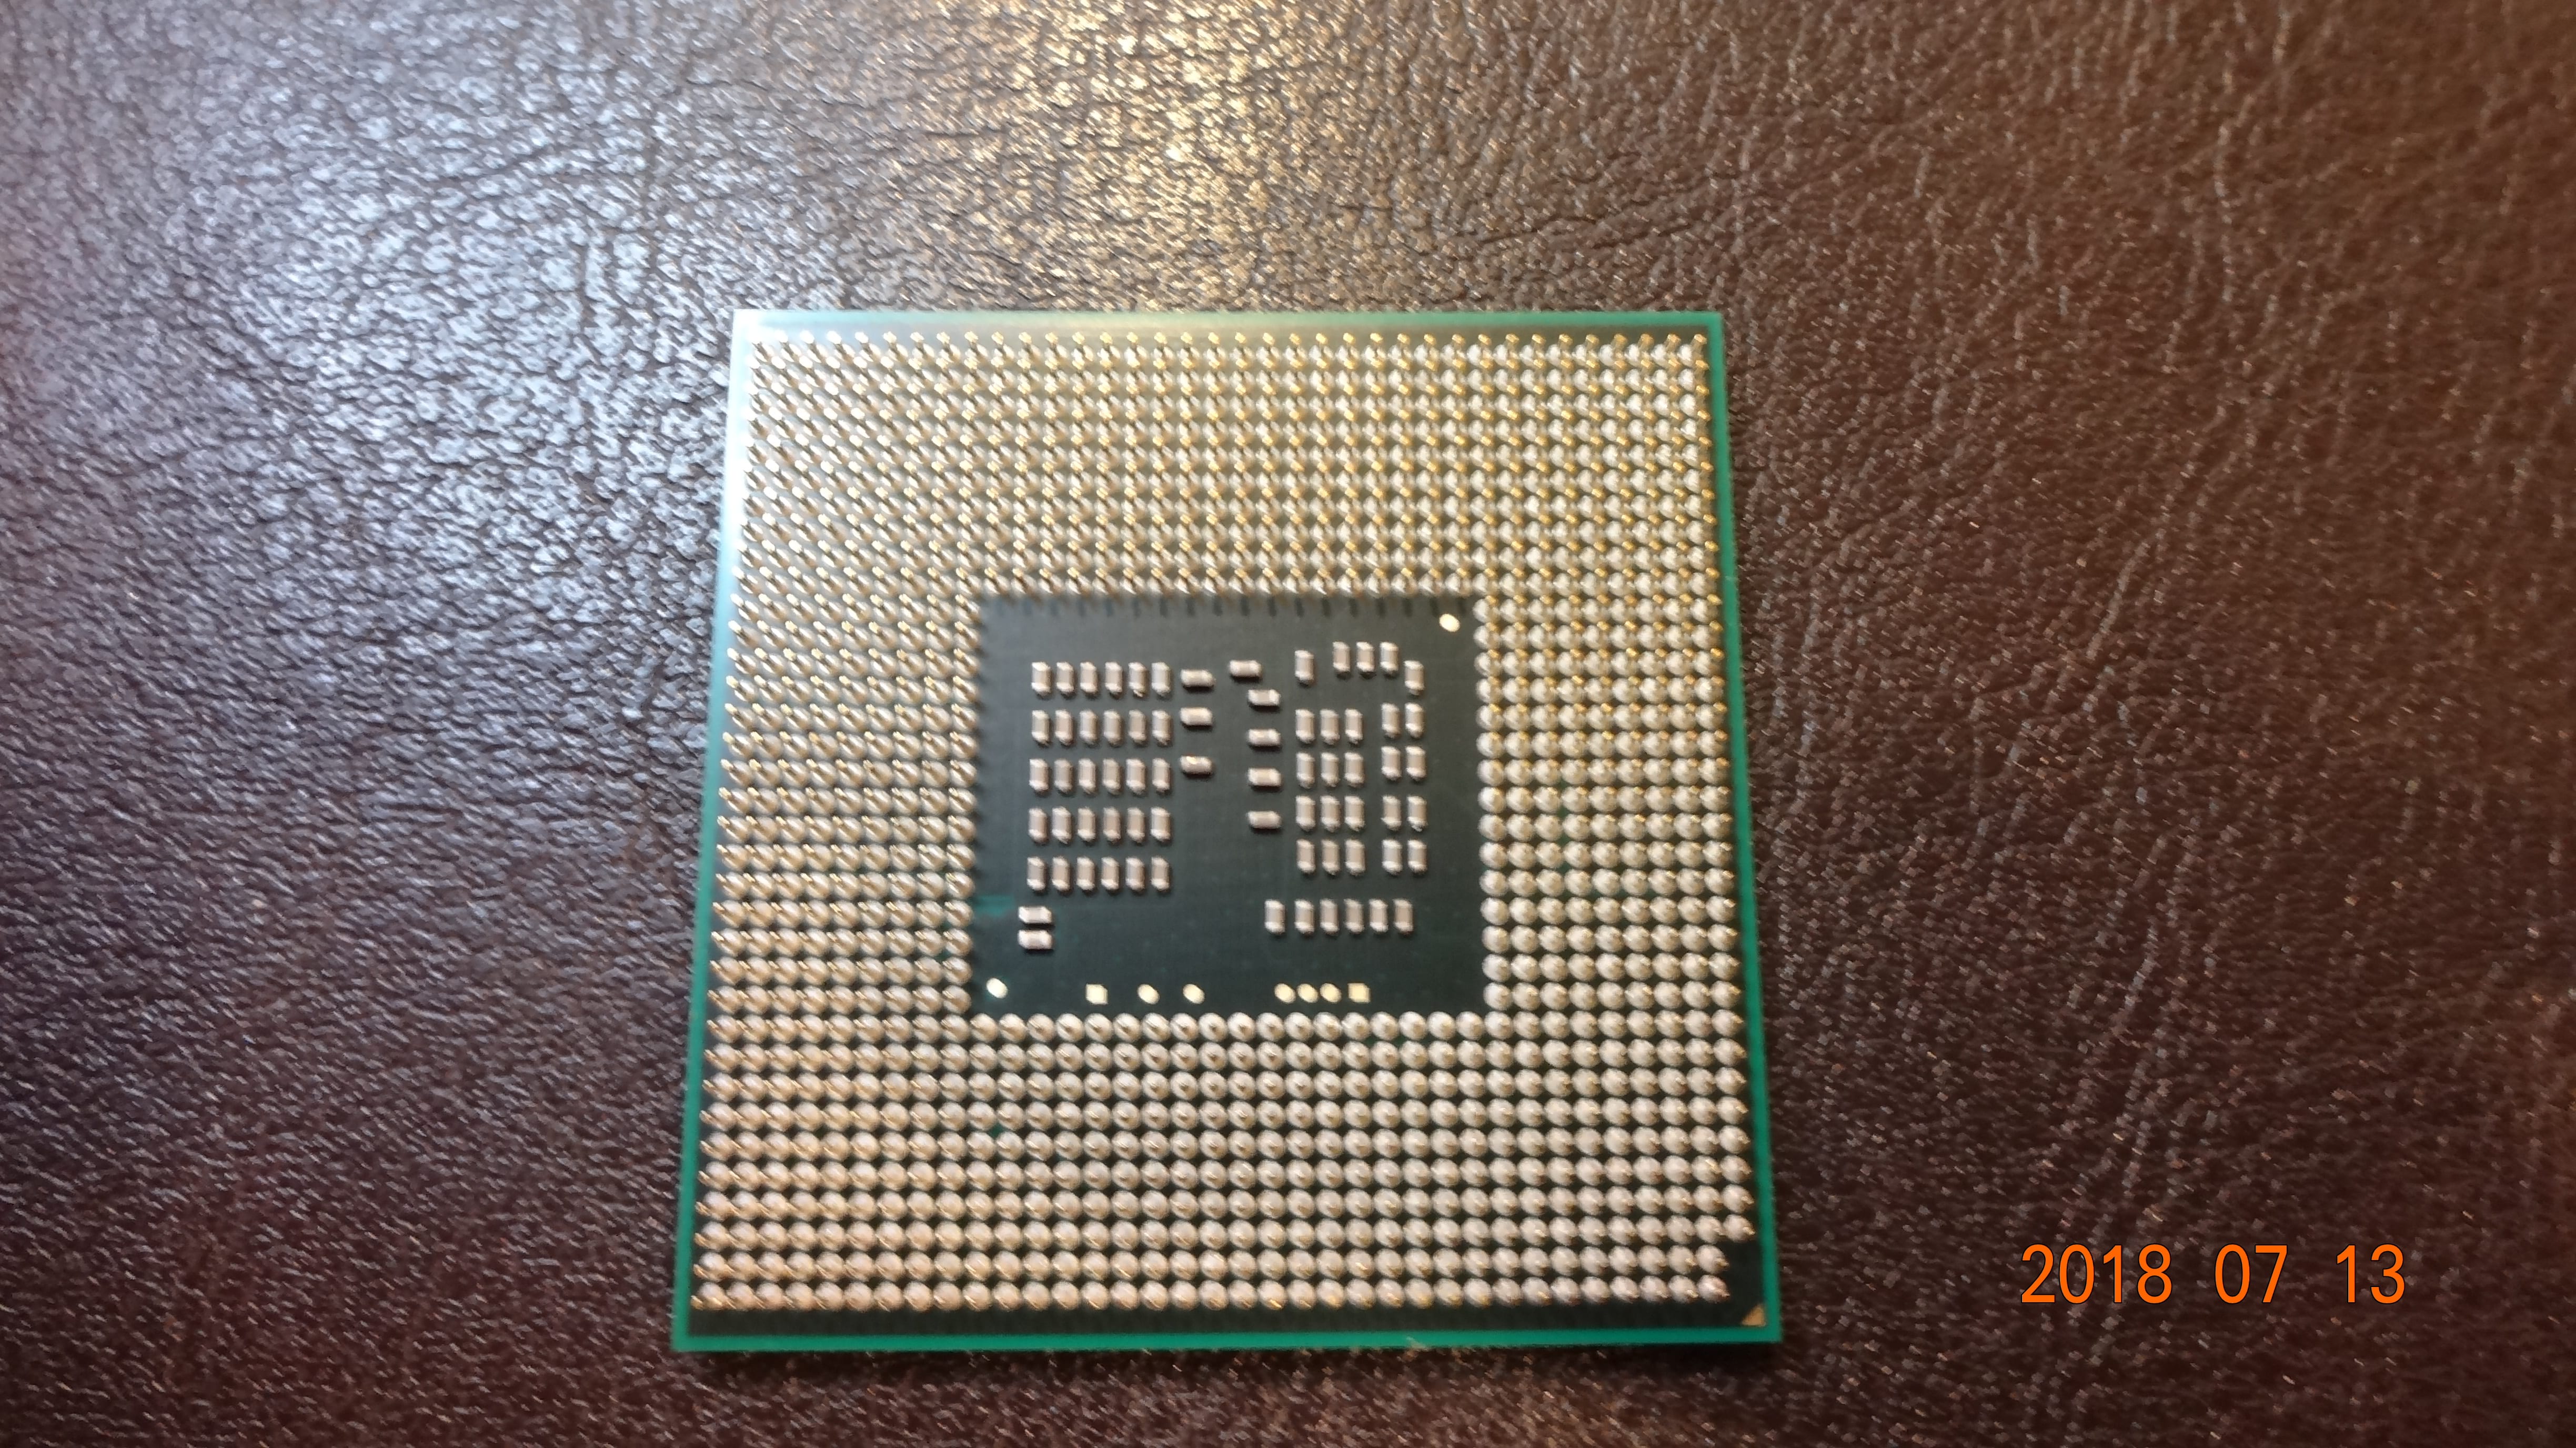 Pin side of CPU. Notice the “reduced” pin pitch of only 1mm * 1mm. This particular CPU is only compatible with Socket G1, not Socket G2 which 2nd and 3rd generation processors use with a different position of 1 pin.
 Back side of the motherboard — the hard drive connector can be seen at the top.
Putting it all back together!
—Final thoughts—
After rebuilding the entire laptop, it worked magically after a few more thermal shutdowns due to overheating and a notorious Blue Screen of Death. [Bug Check: 0x116, VIDEO_TDR_ERROR] The display worked, the processor worked just as I expected, and no more thermal shutdowns afterwards! (Even though I broke the delete key of the keyboard when I put it back.) Maybe the display issue was caused by disconnected connectors, or the software itself. It ran Windows 7 SP1 before all this happened, and now the laptop is running the original version of Windows 7. Thank goodness I just saved nearly $20,000 for servicing fee! That money could have allowed my parent to buy a new laptop!
<This blog post was finalized on the fixed HP G62 computer, which is now running smoothly than ever.>