Quite a few days ago, I had begun a brand new hobby — tearing down and rebuilding computers. The first computer I tore down was the HP G62-371TX laptop last week, and you can see the post here. Today, I’m posting pictures of the second computer I tore down on July 17… The Asus A6J Entertainment laptop from 2006. It had a defective display and wireless connection, and that’s the reason I’m tearing down — trying to fix anything defective.
Let’s start again with a brief introduction of the exterior…
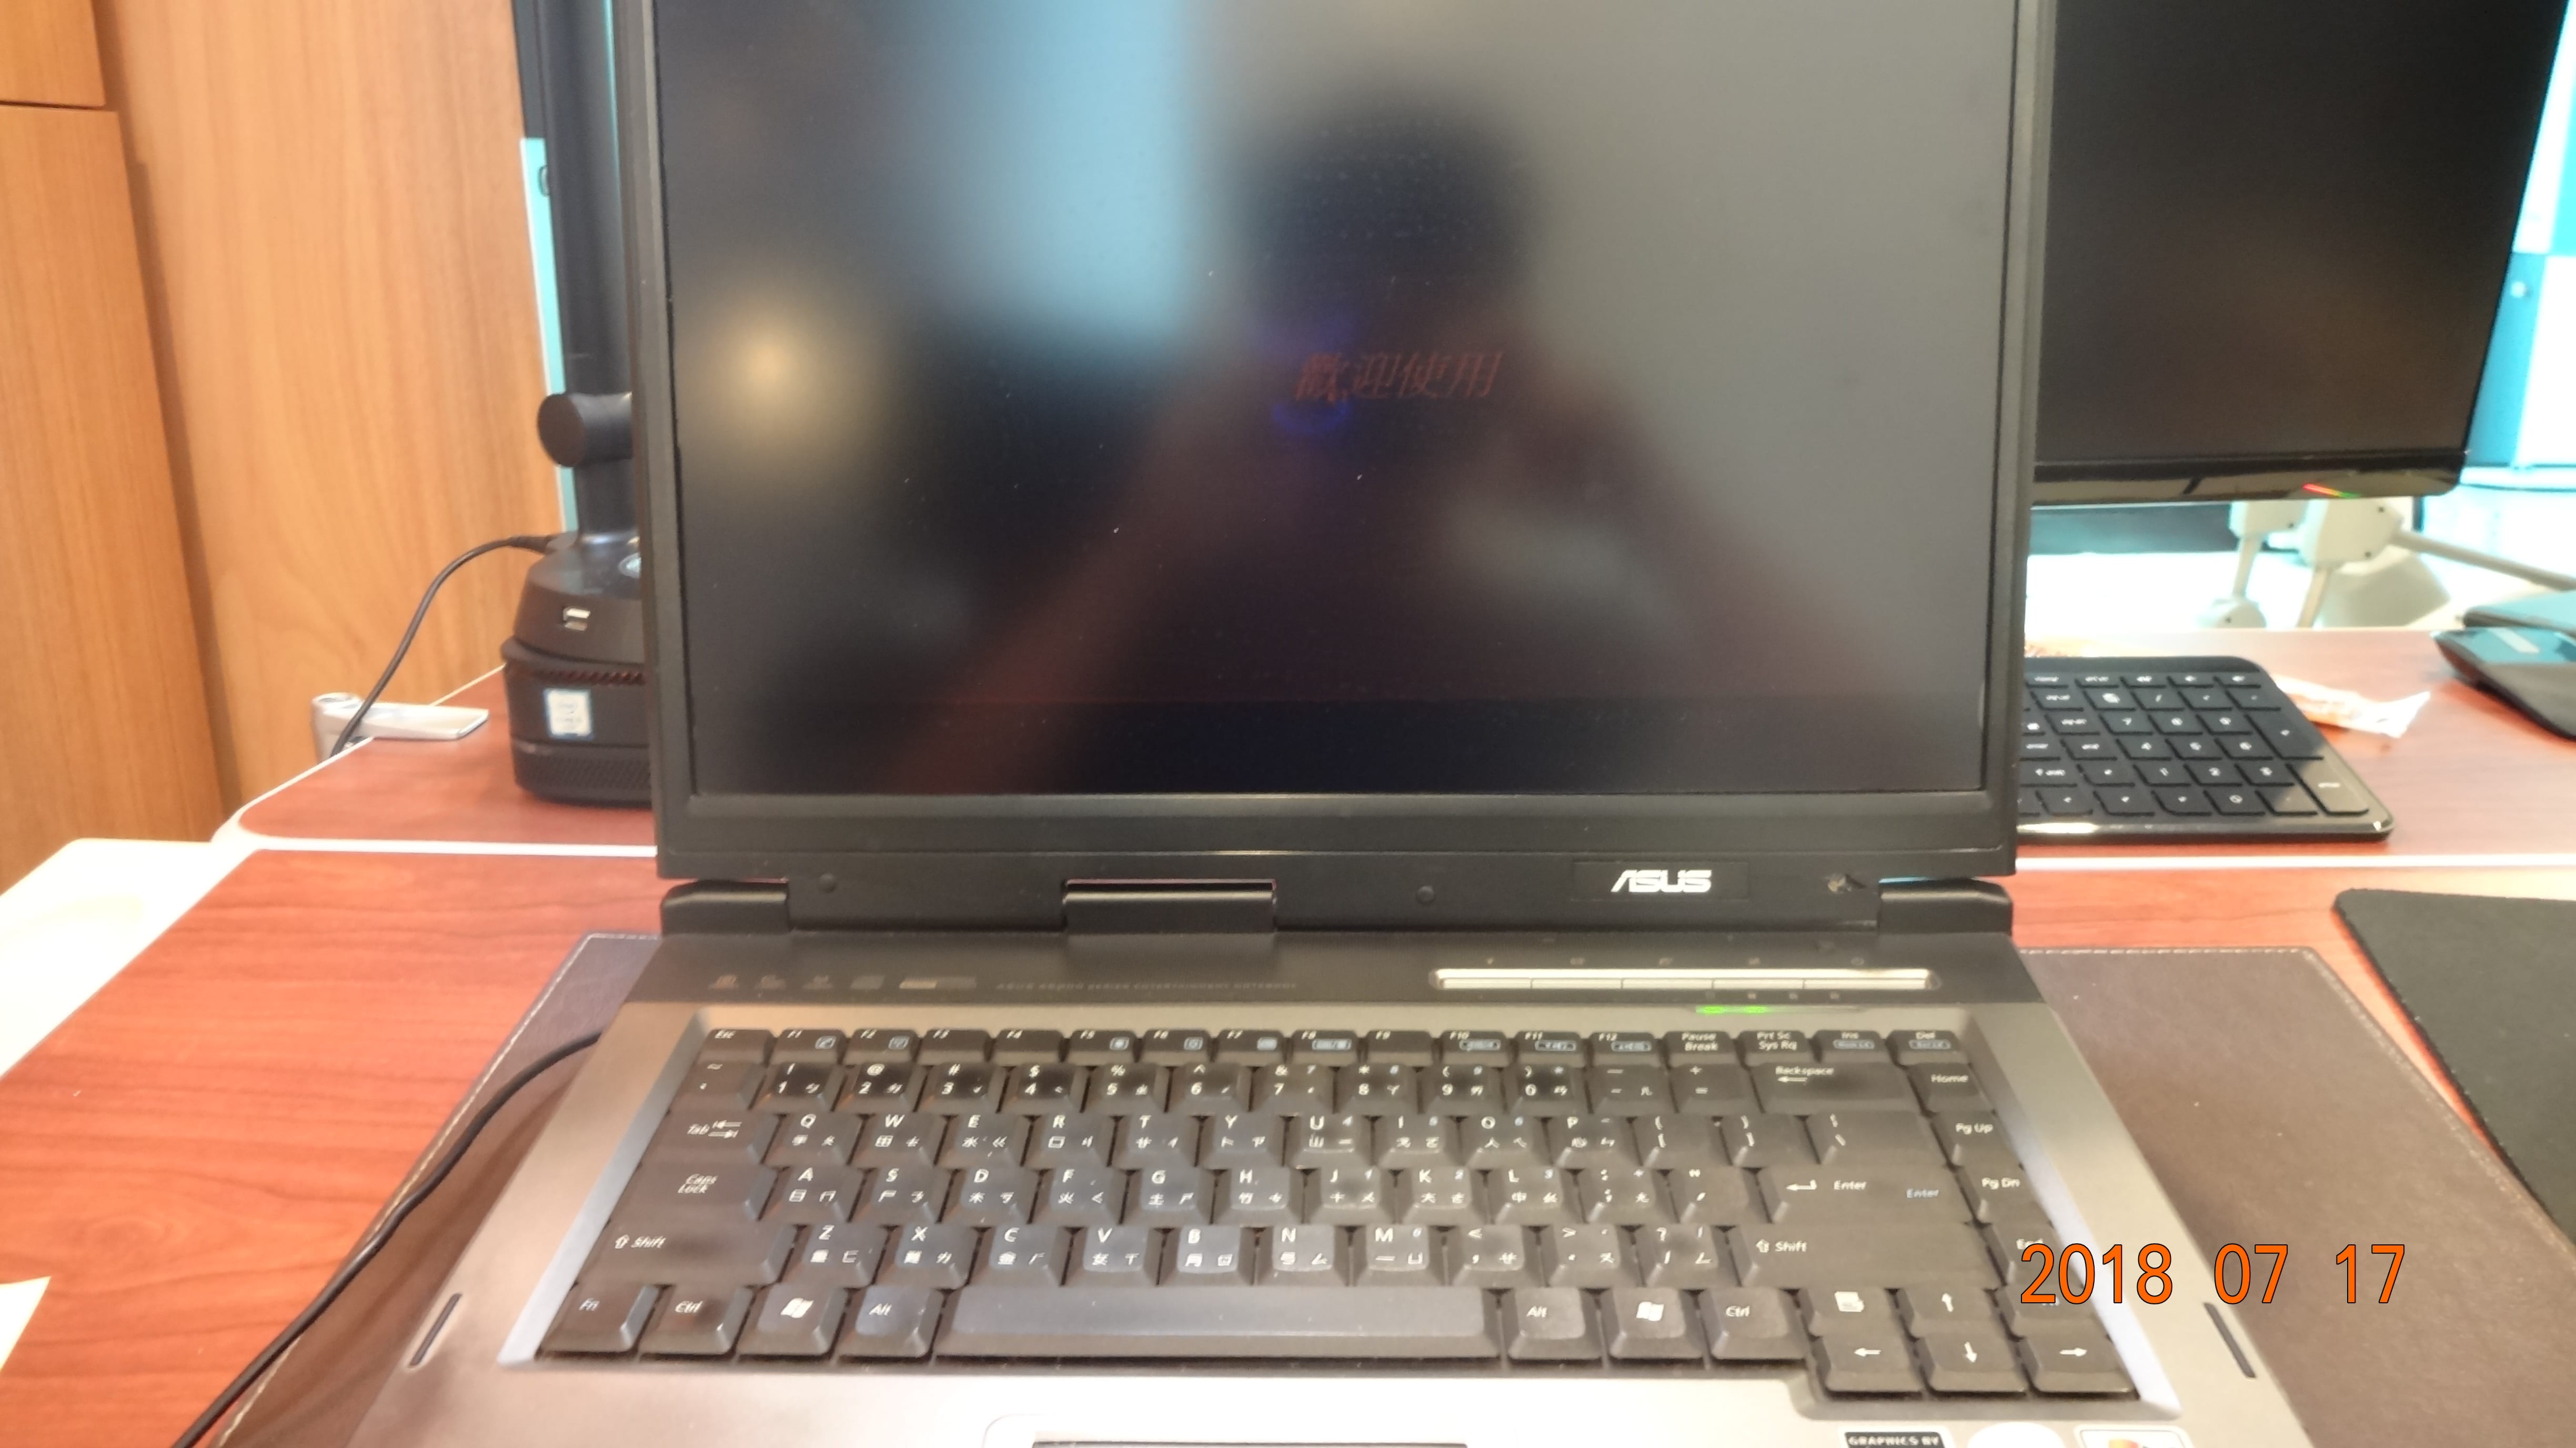 Exterior of laptop — Note the faint display showing on the screen

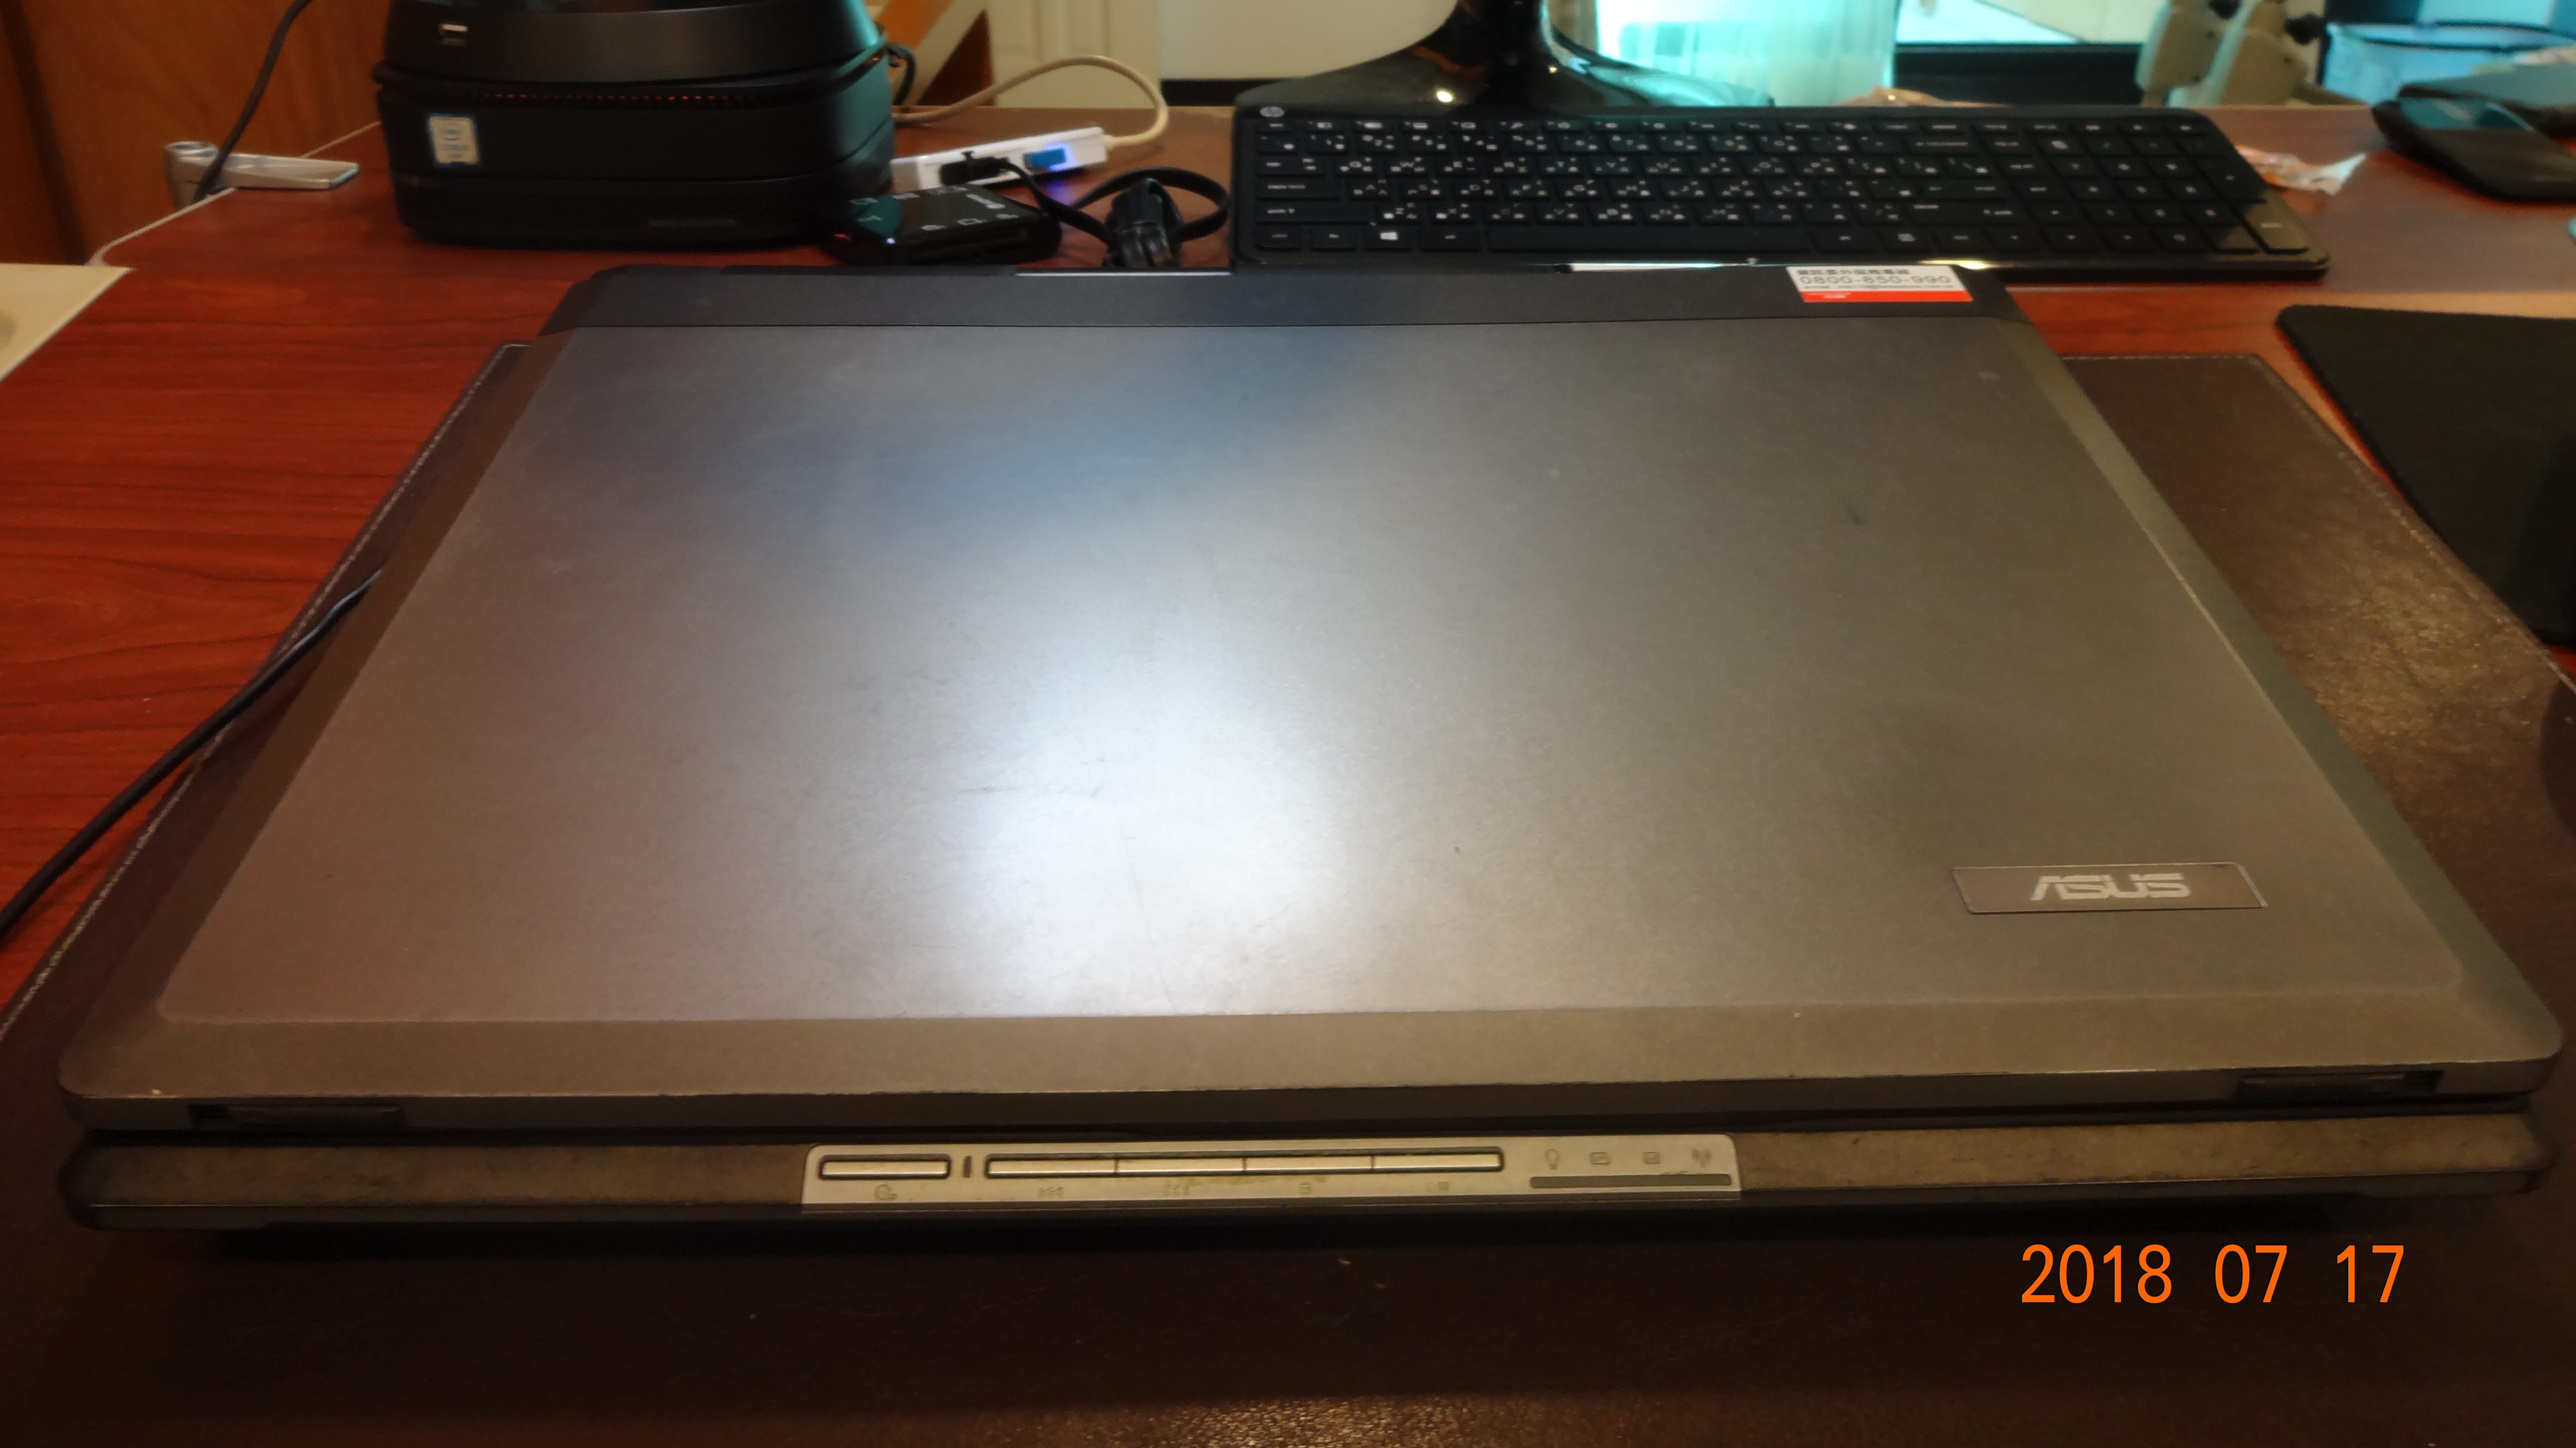 Laptop with lid closed. Notice the extra buttons for media controls below the lid.
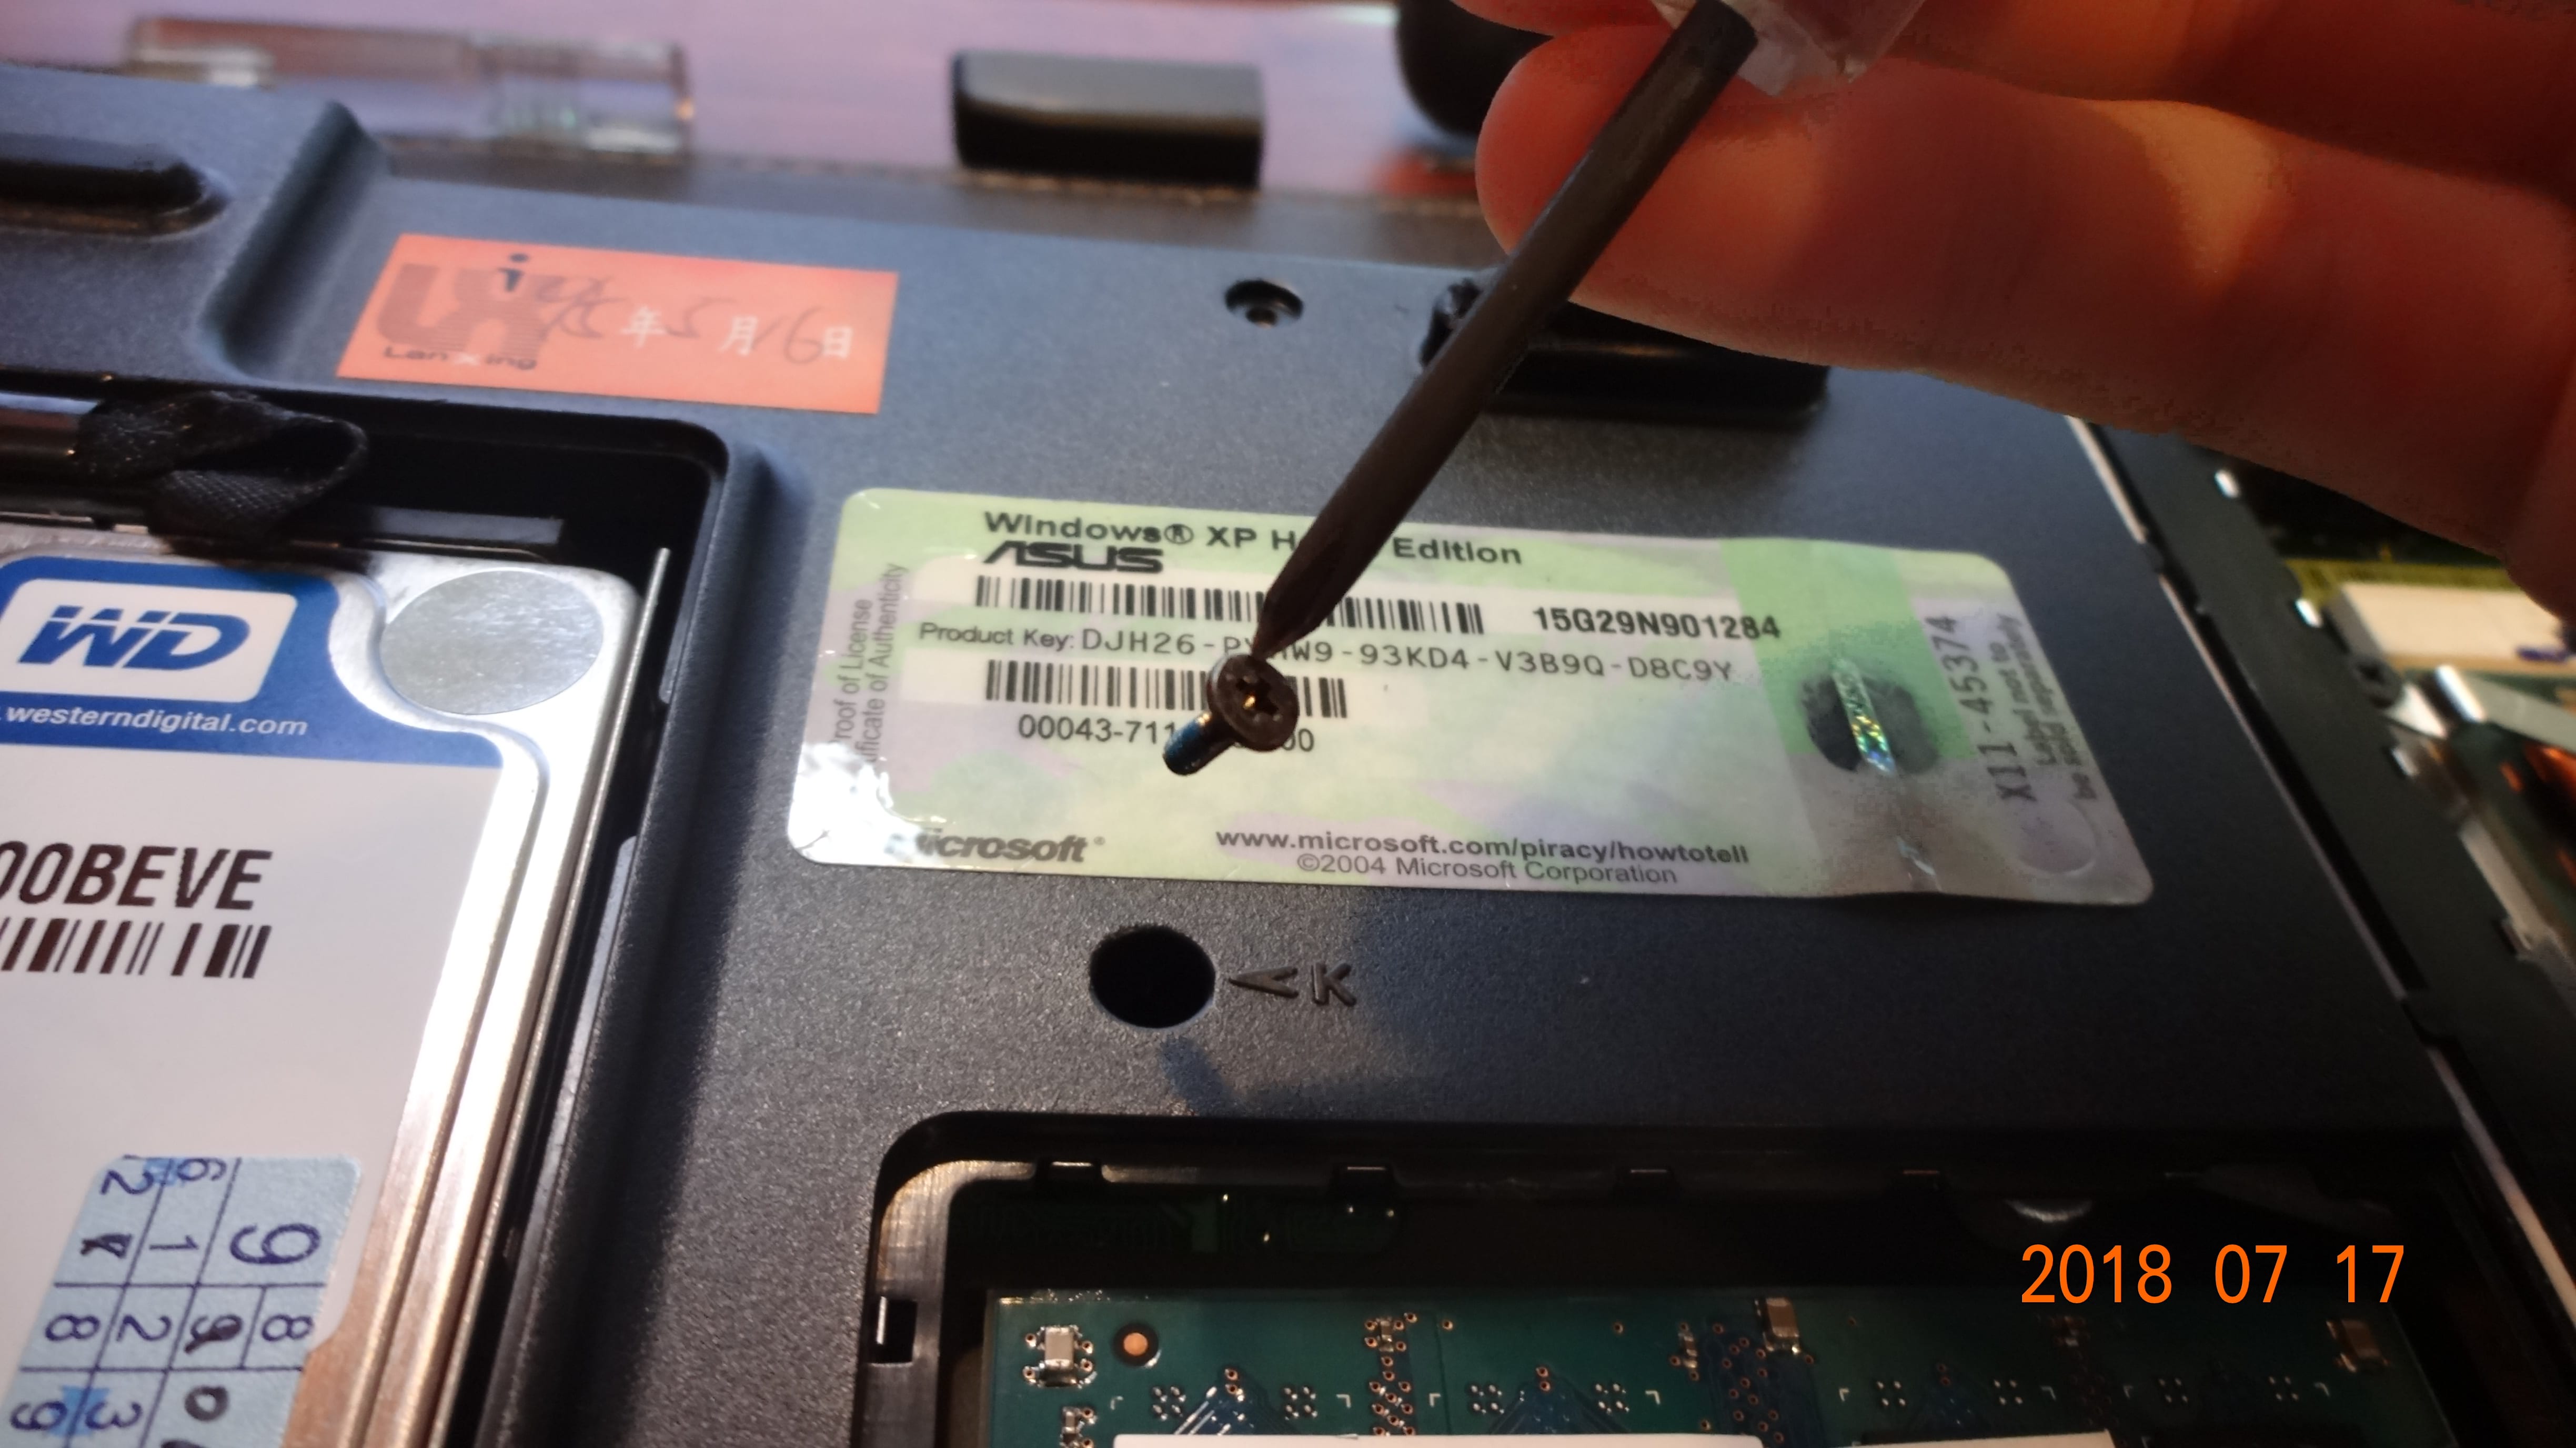
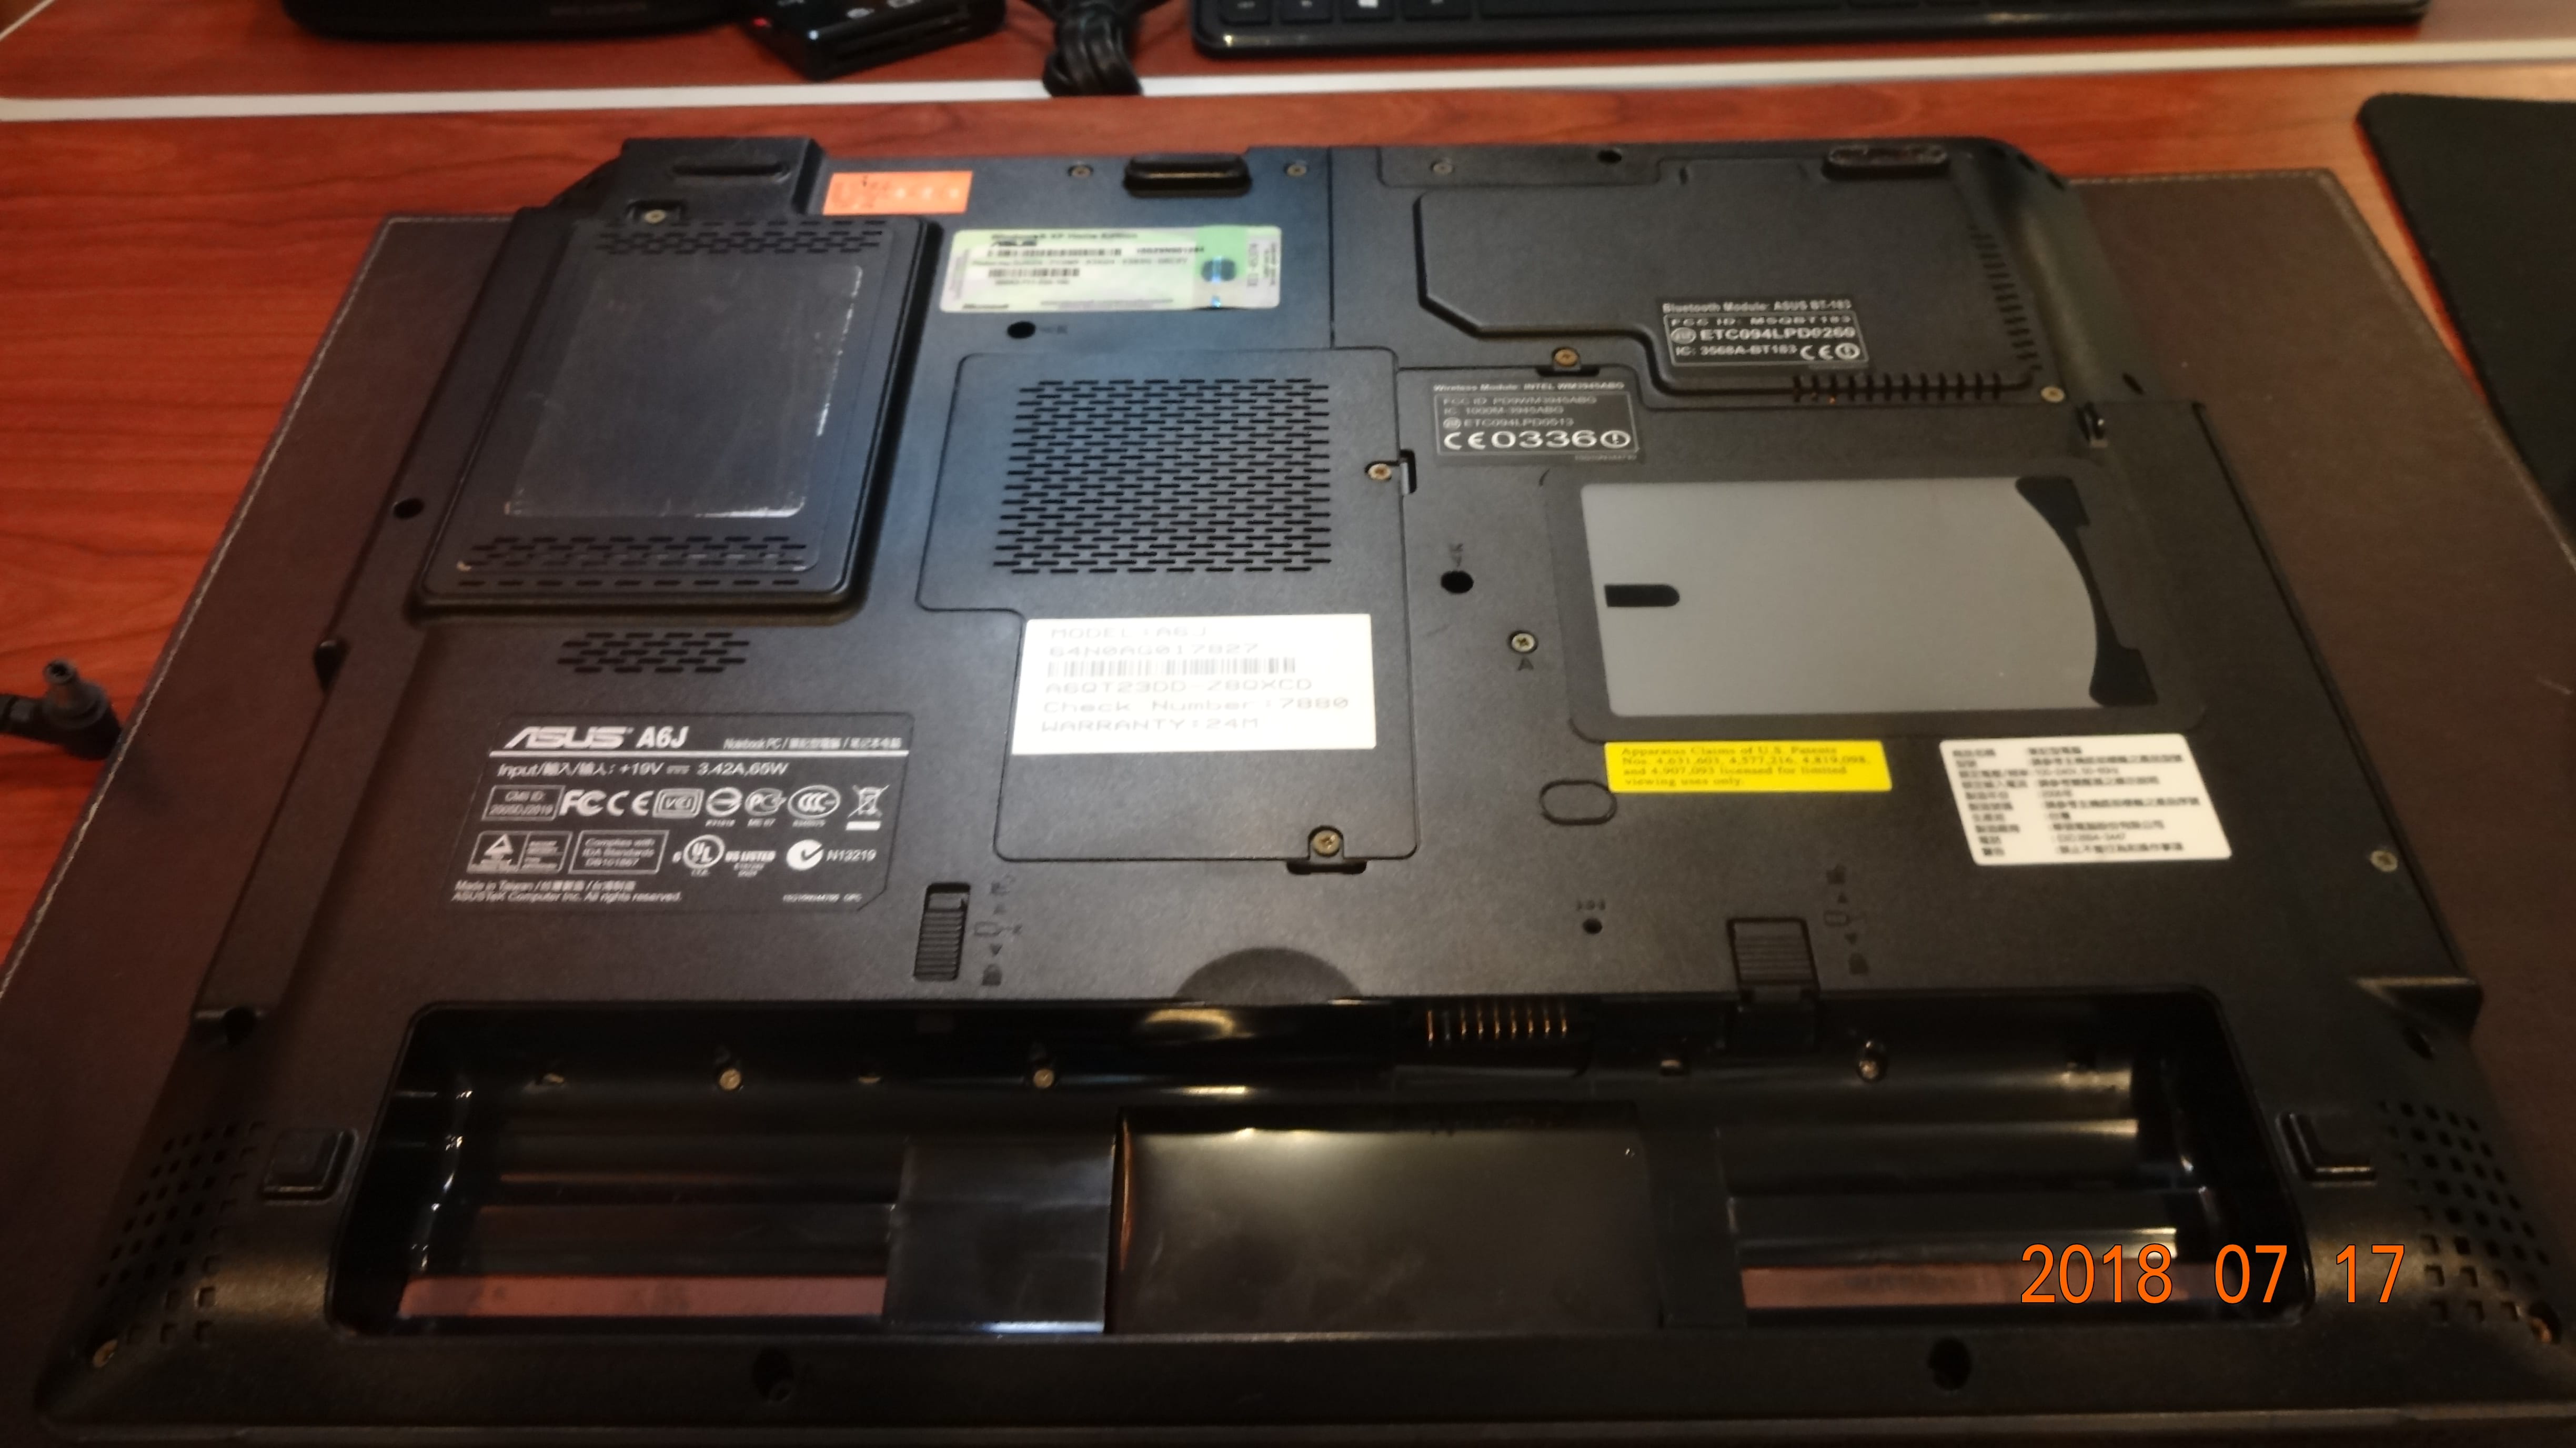 Back cover of laptop. (The battery pack is not present since it’s removed and it’s now in nowhere.)
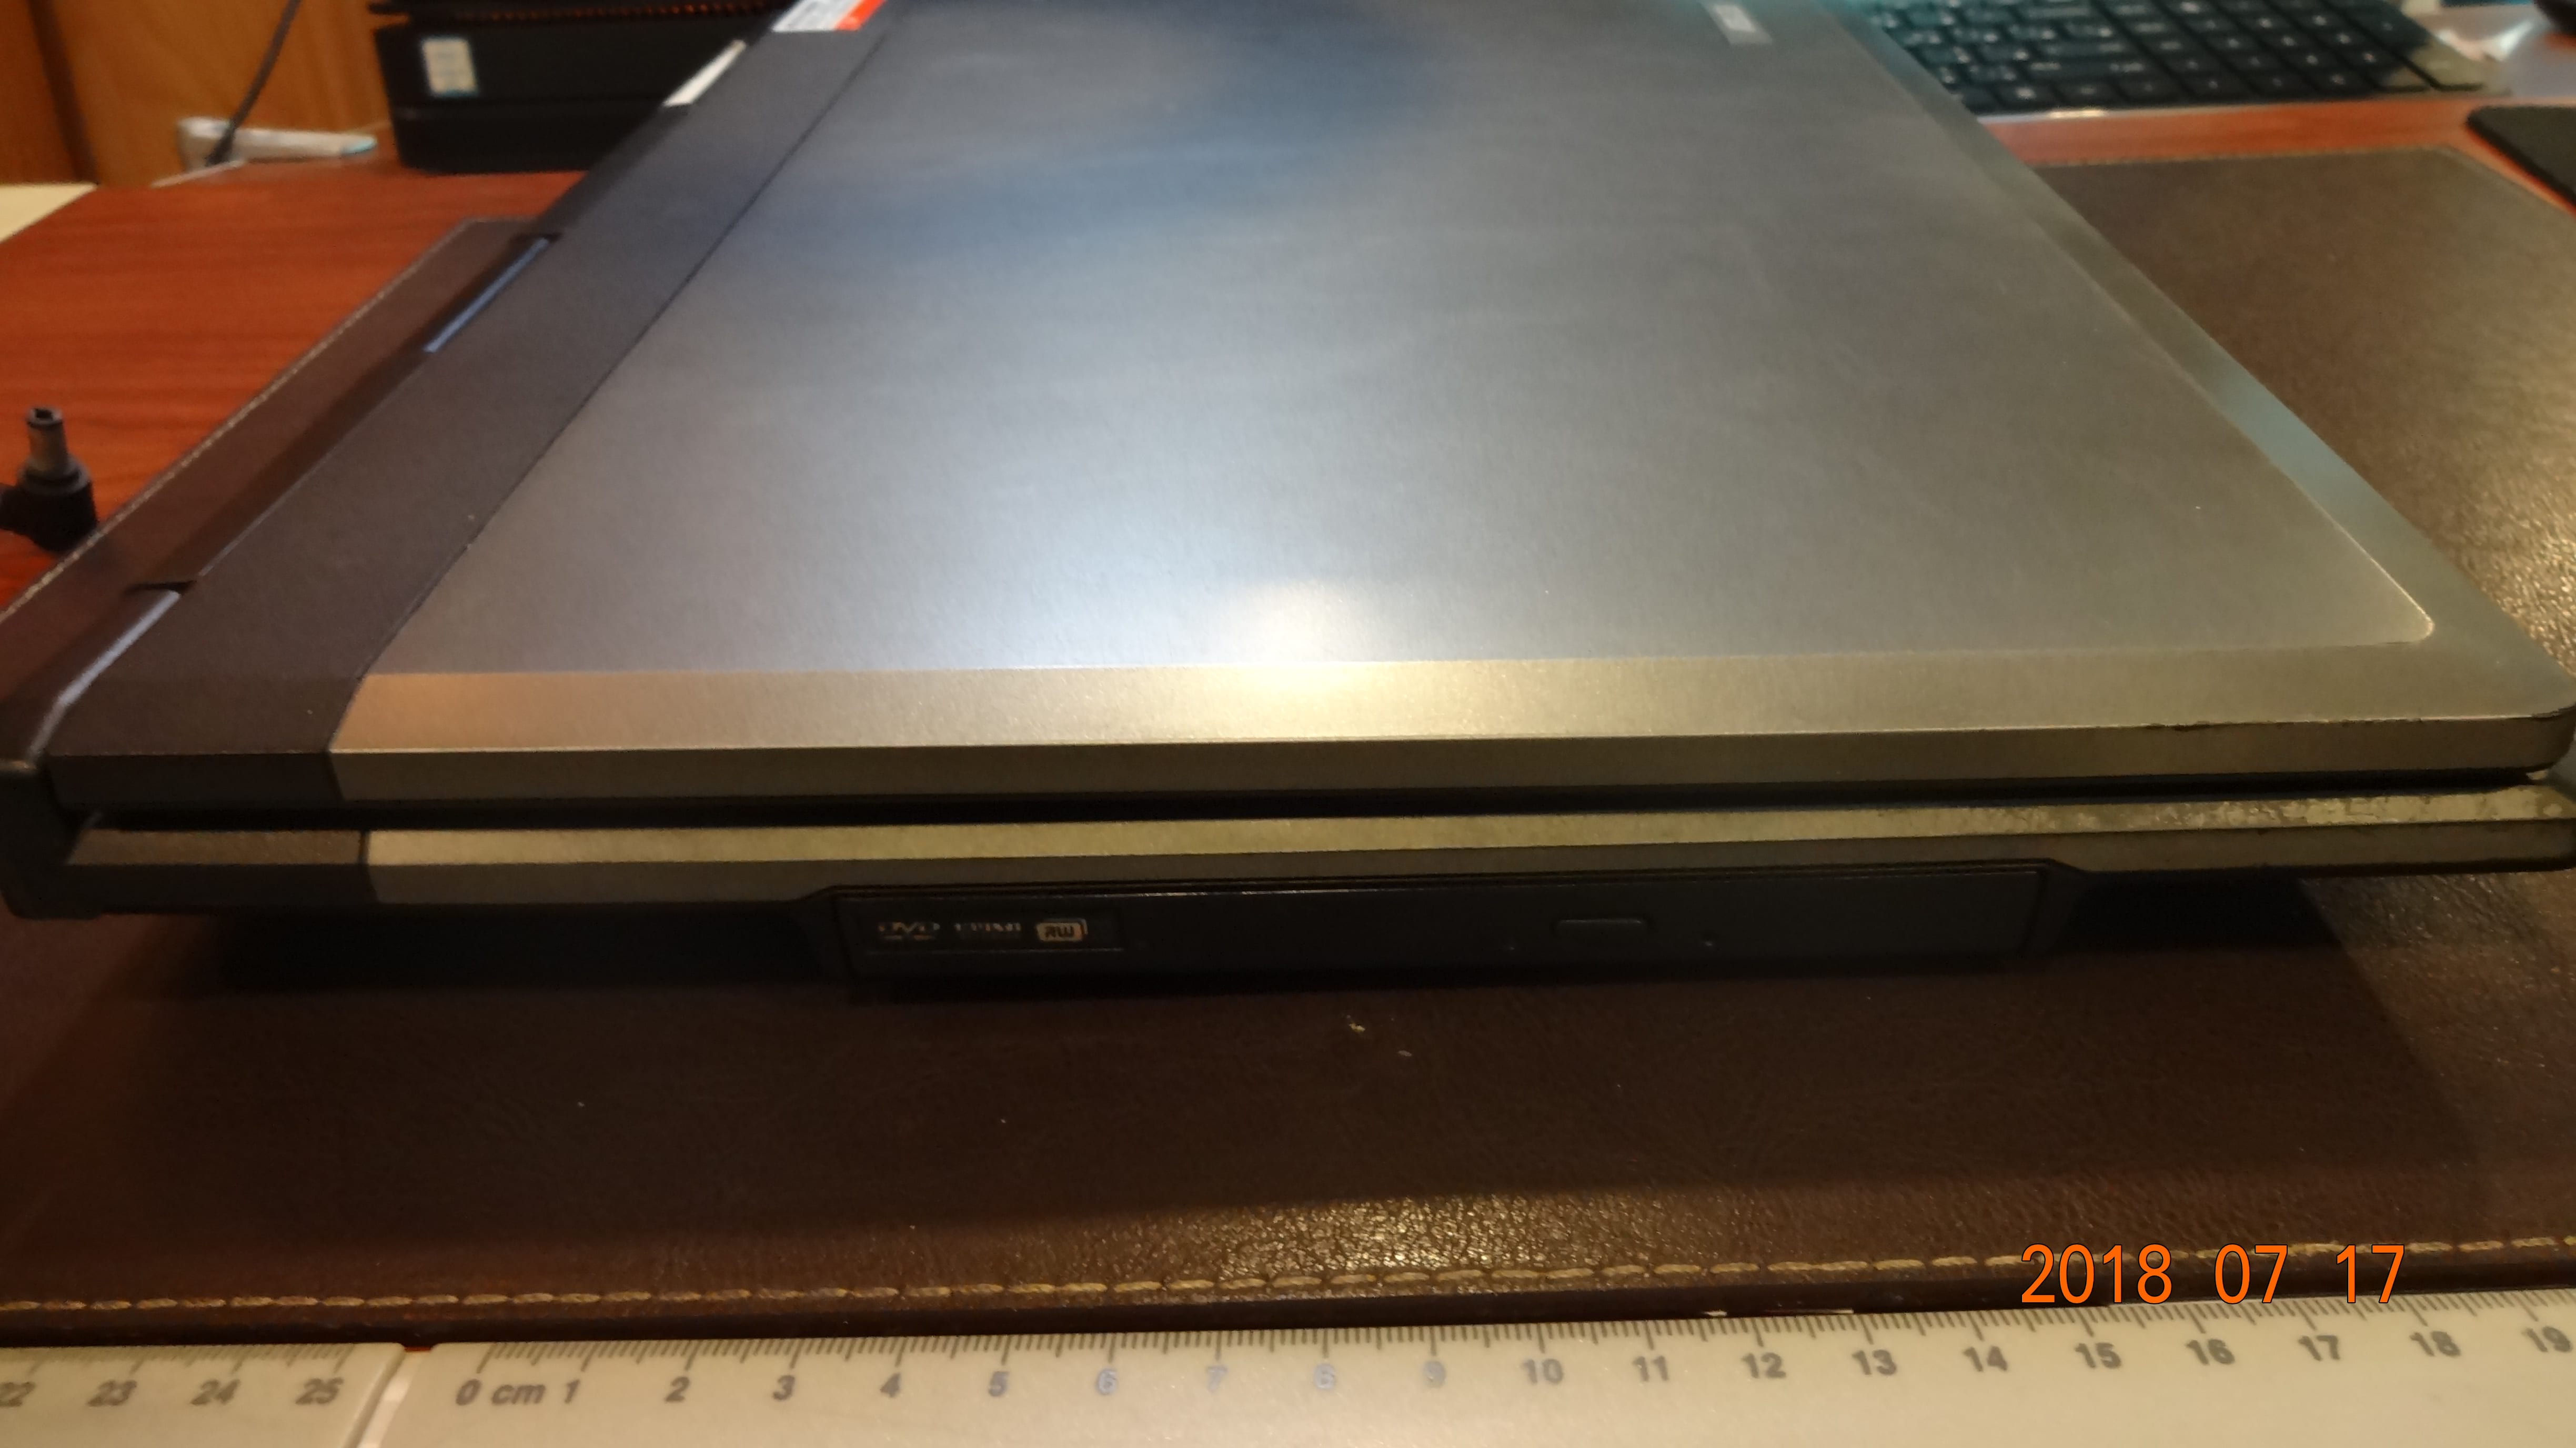 Left side of laptop — featuring only a CD/DVD drive. (It works!)
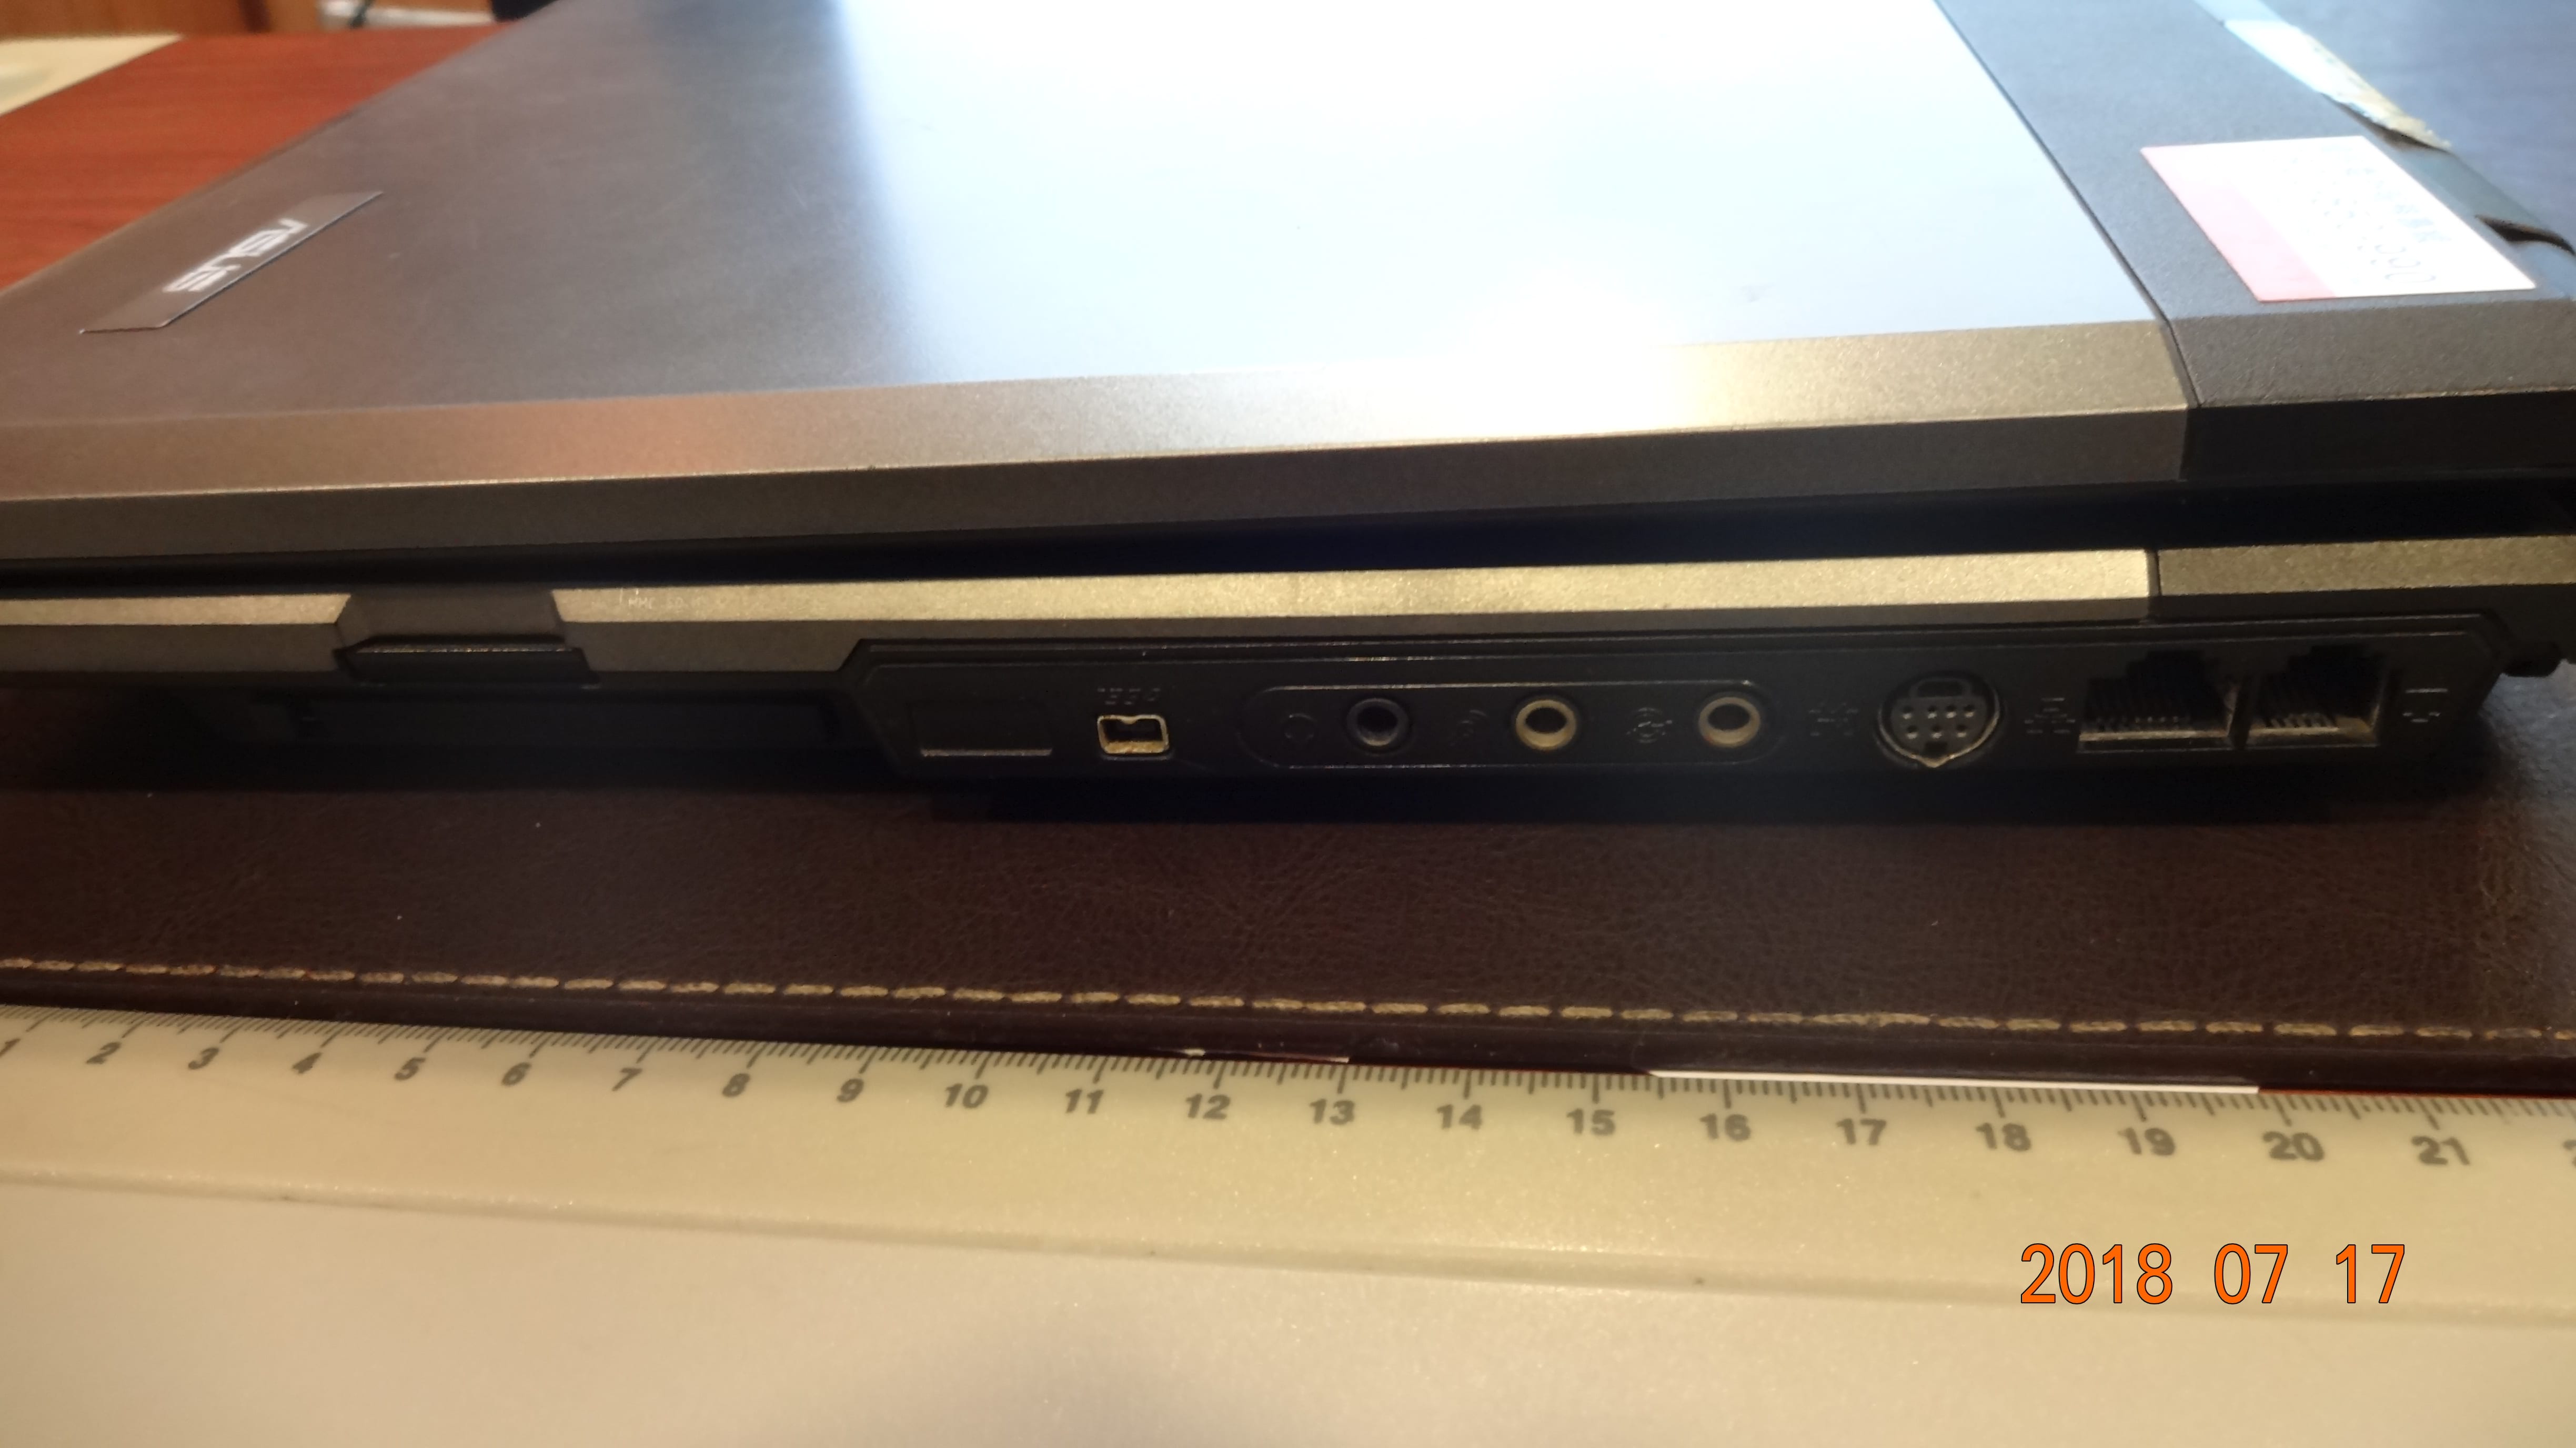 Right side of laptop — with SD card + PC card (obsolete) slots {Not compatible with CompactFlash due to its vast size, even though the contact pin fits both PC cards and CF cards.}, IEEE 1394 (FireWire) connector, headphone + microphone jacks (in/out), S-Video (7-pin mini-DIN) connector, LAN port and a modem port.
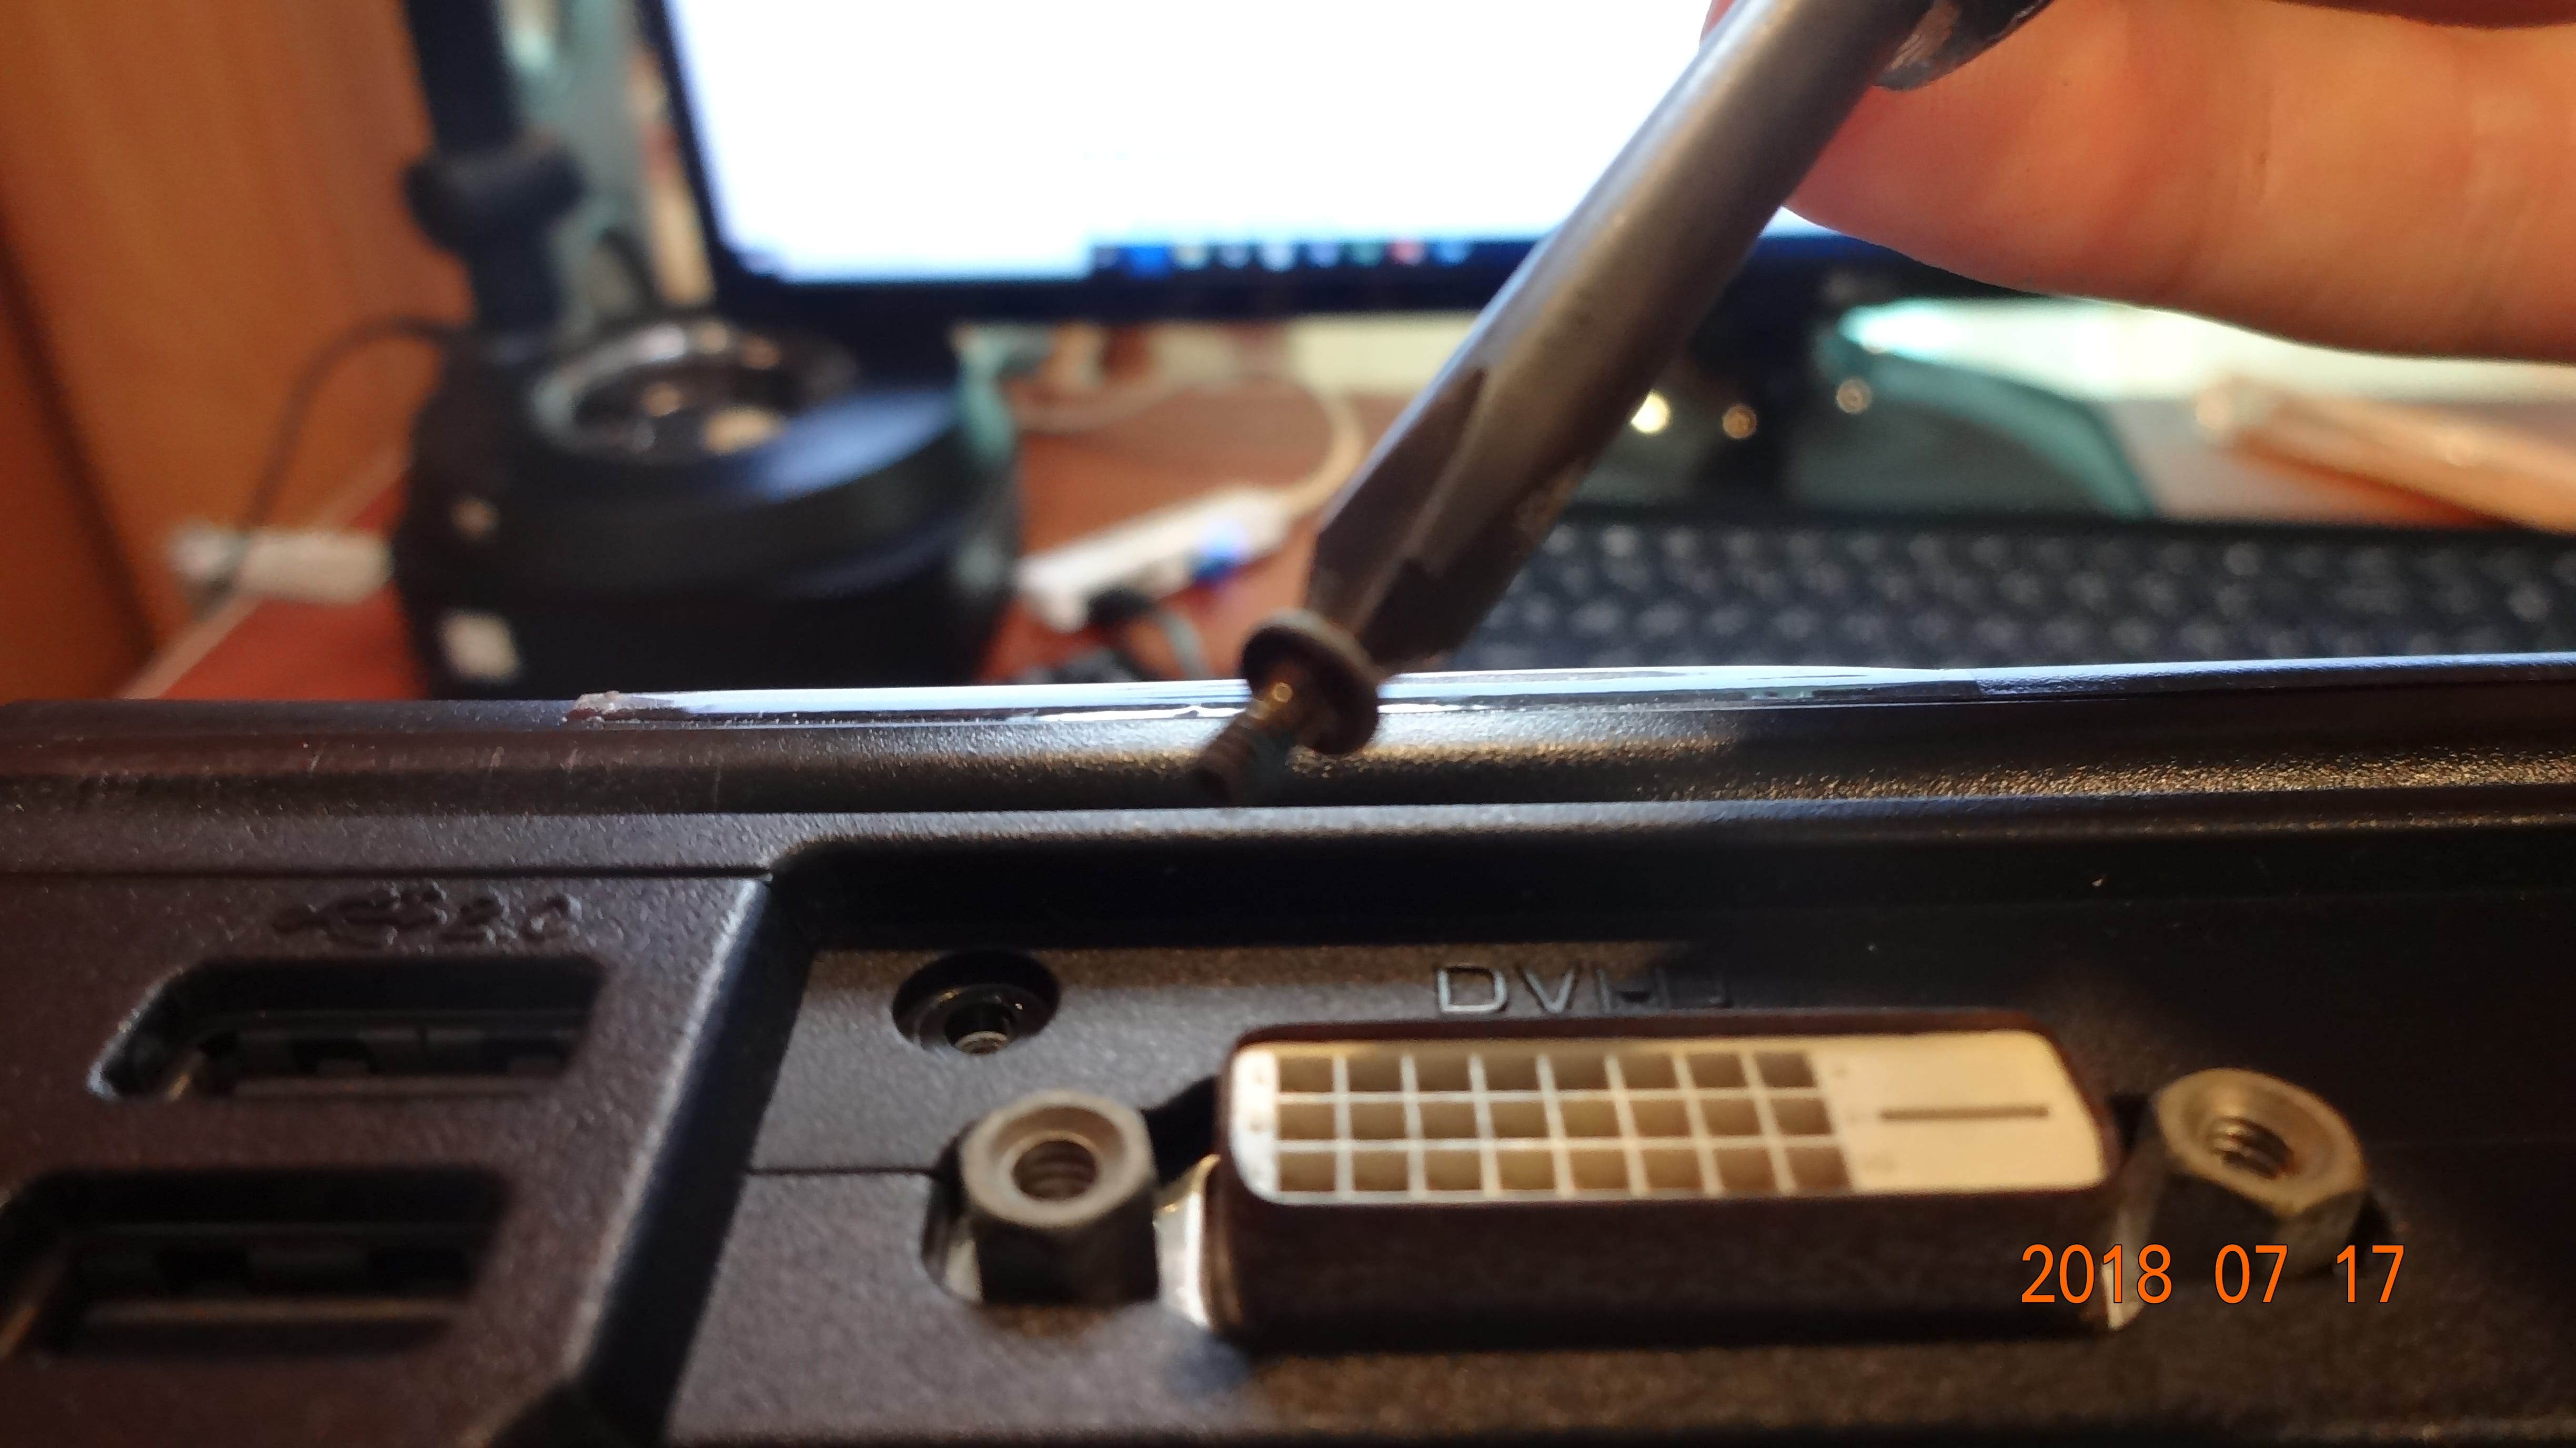
 Behind the laptop we can find 4 USB ports, a VGA port, a DVI-D port, power input port, and a Kensington Lock port. Air vents are also visible.
Now, let’s start the tear down…
There are 3 covers on the back cover that are screwed in by a few screws. With the top right cover removed, the cooling fan and the CPU socket is already visible, making it friendly to upgrade your CPU.
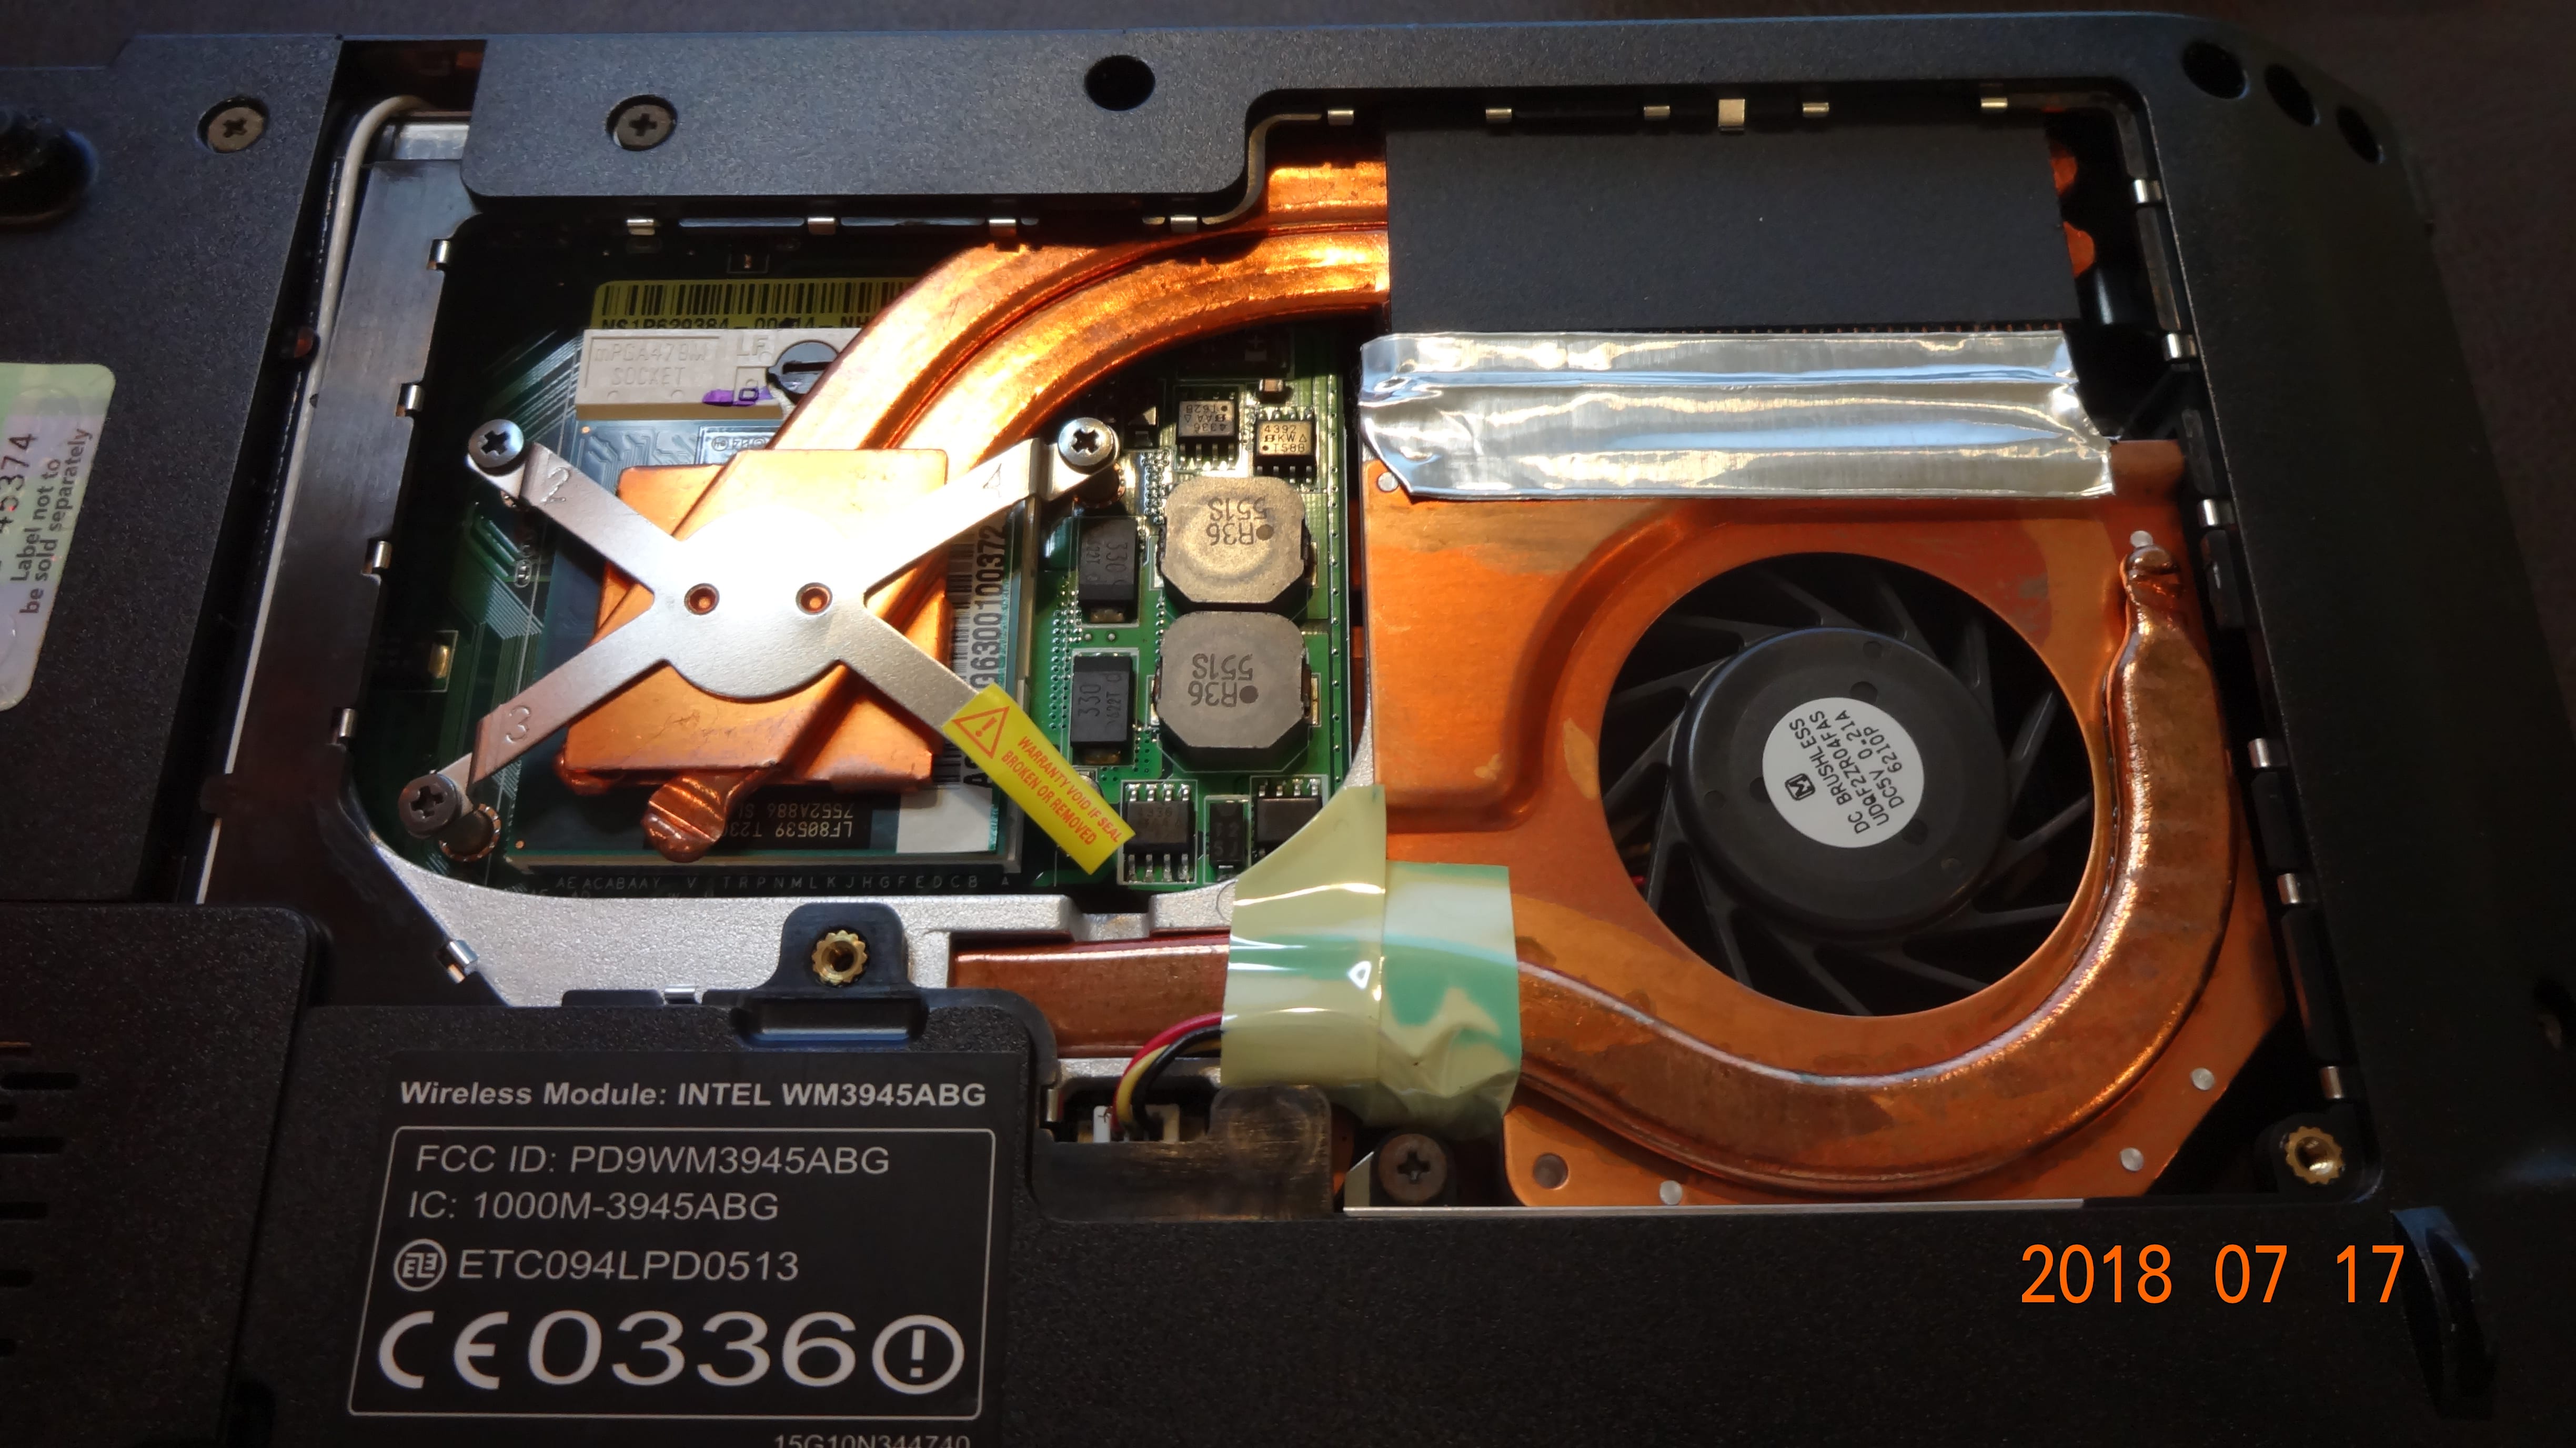 The cooling system is comprised of 2 heat pipes (1 extra from the HP G62. Yeah!): 1 extending from the GPU (bottom) and one from the CPU. (top)
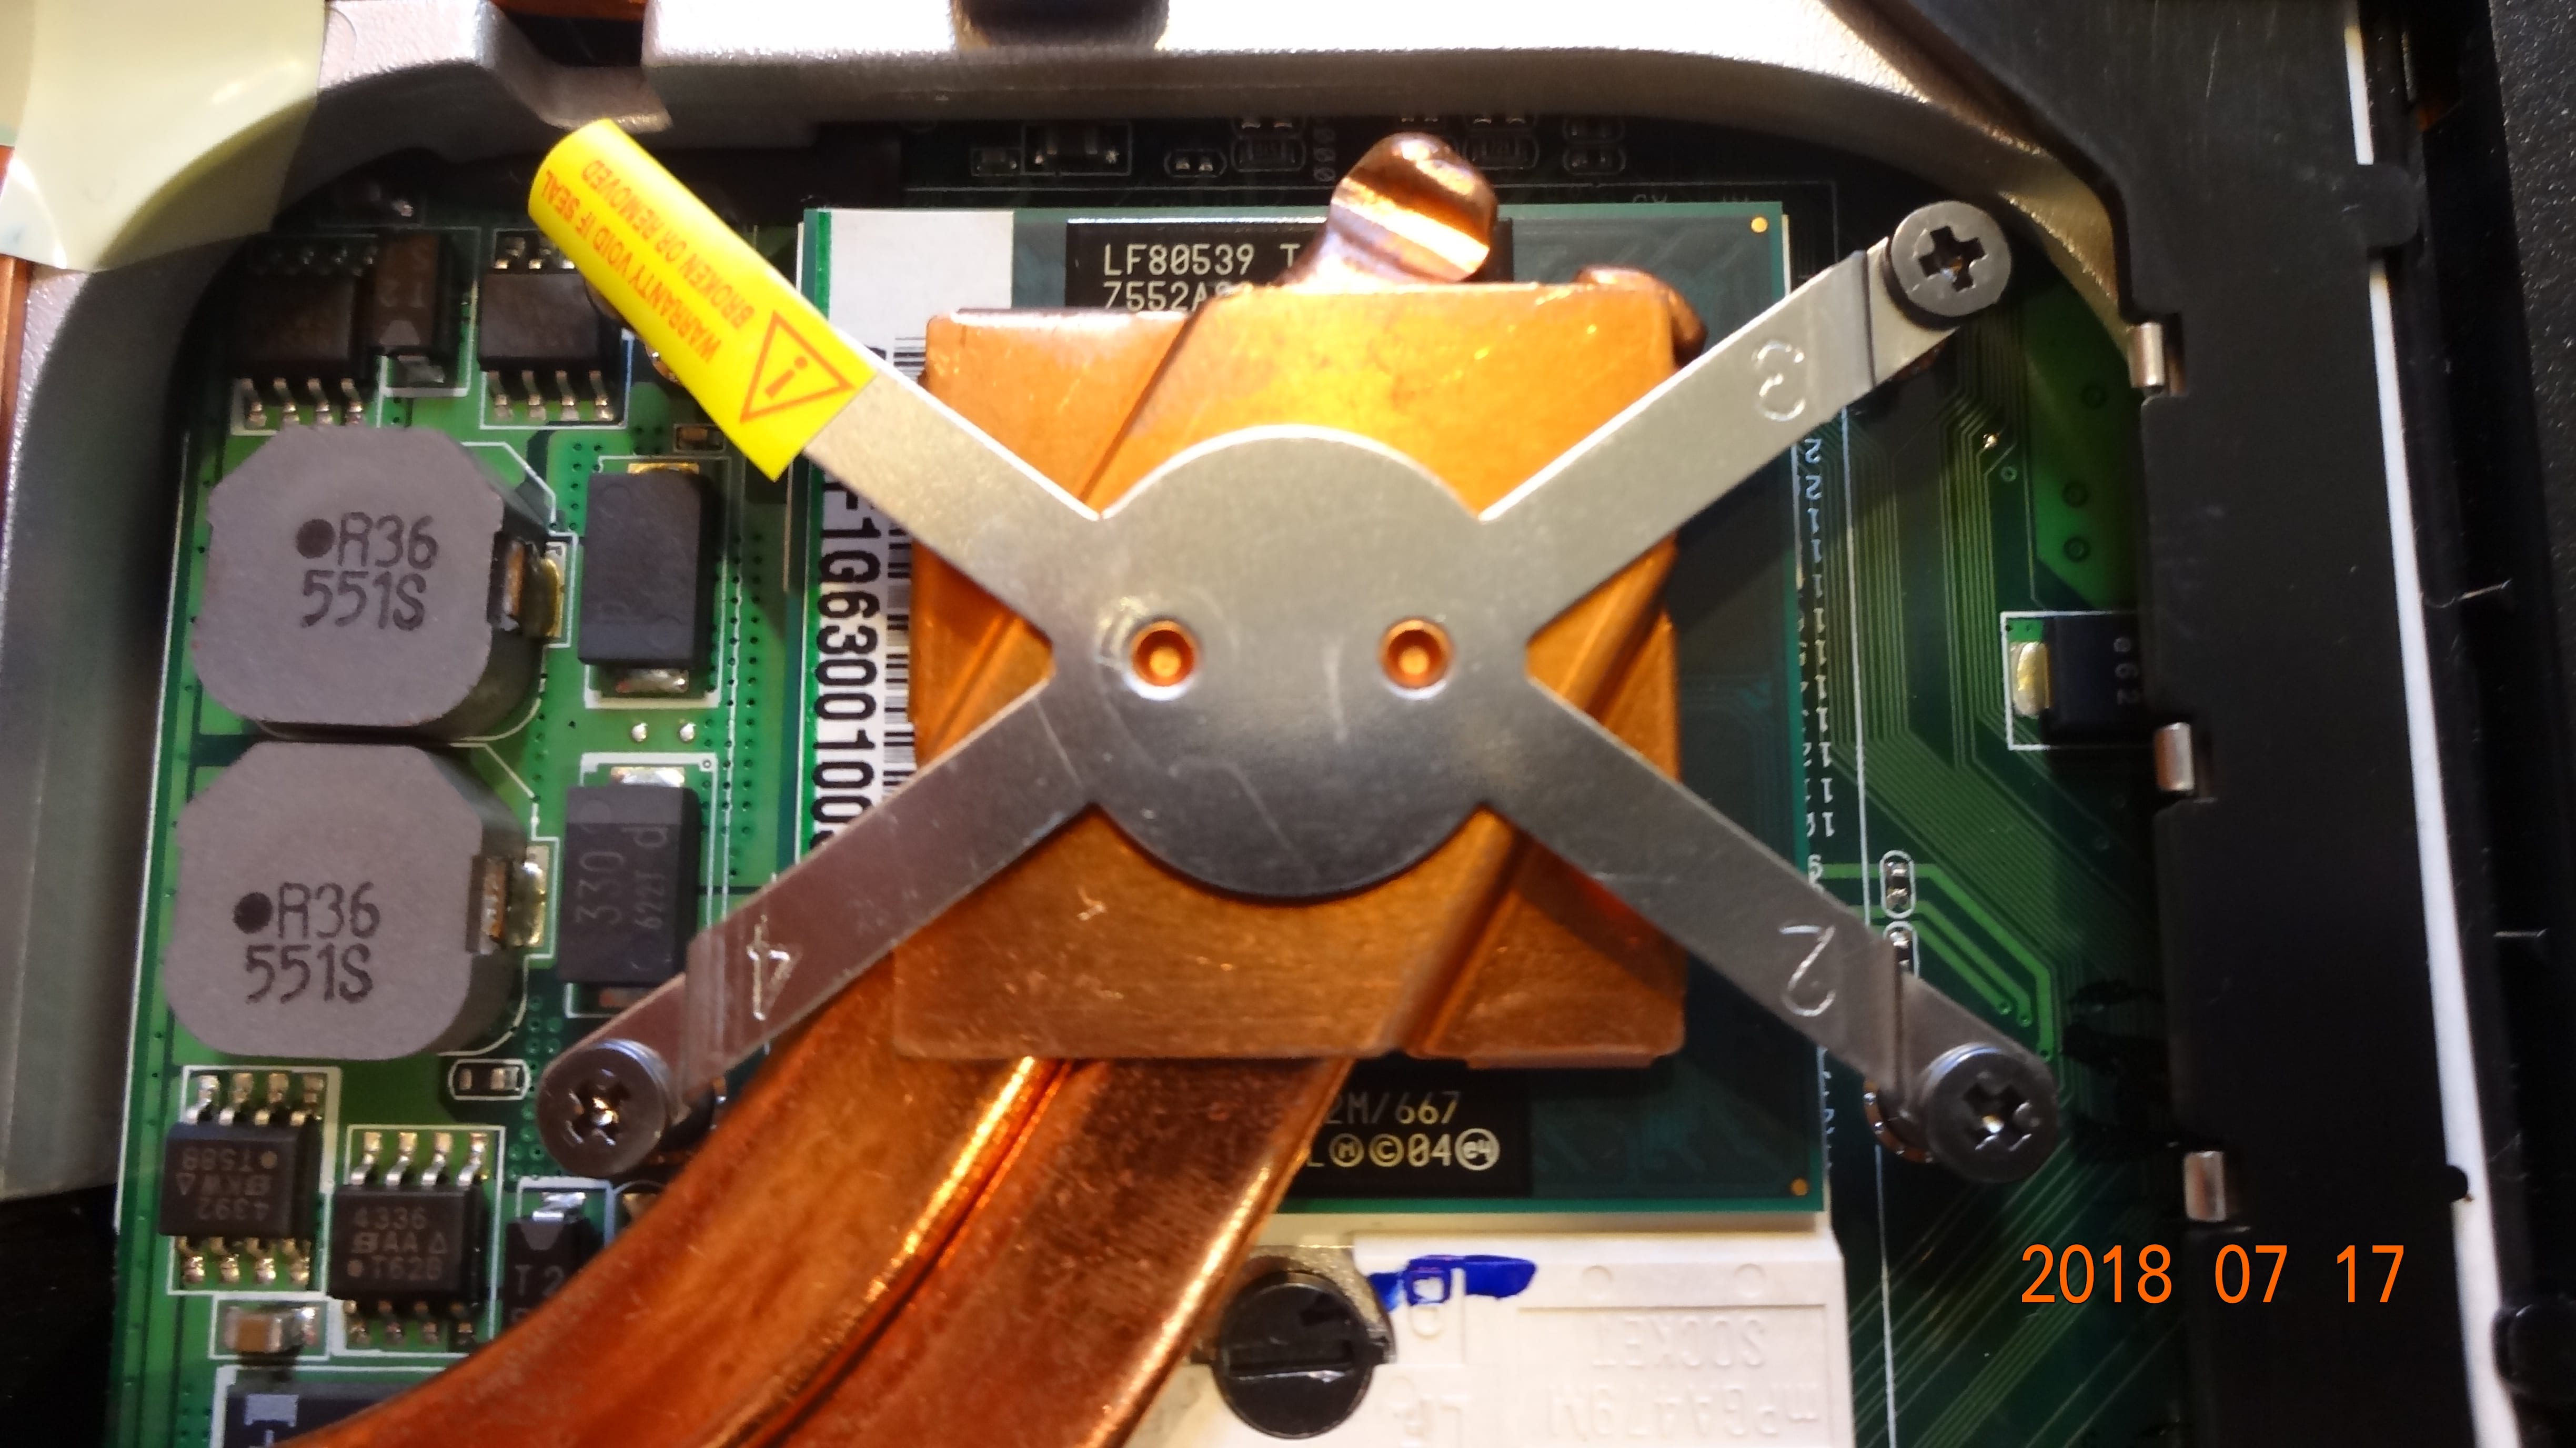 Close-up of CPU and heat pipes. Notice that there are 2 heat pipes combined together — a better design from the HP G62. That’s why this laptop hasn’t encountered any thermal shutdowns!
With the left cover removed, the hard drive can be seen. It’s also user-upgradable. 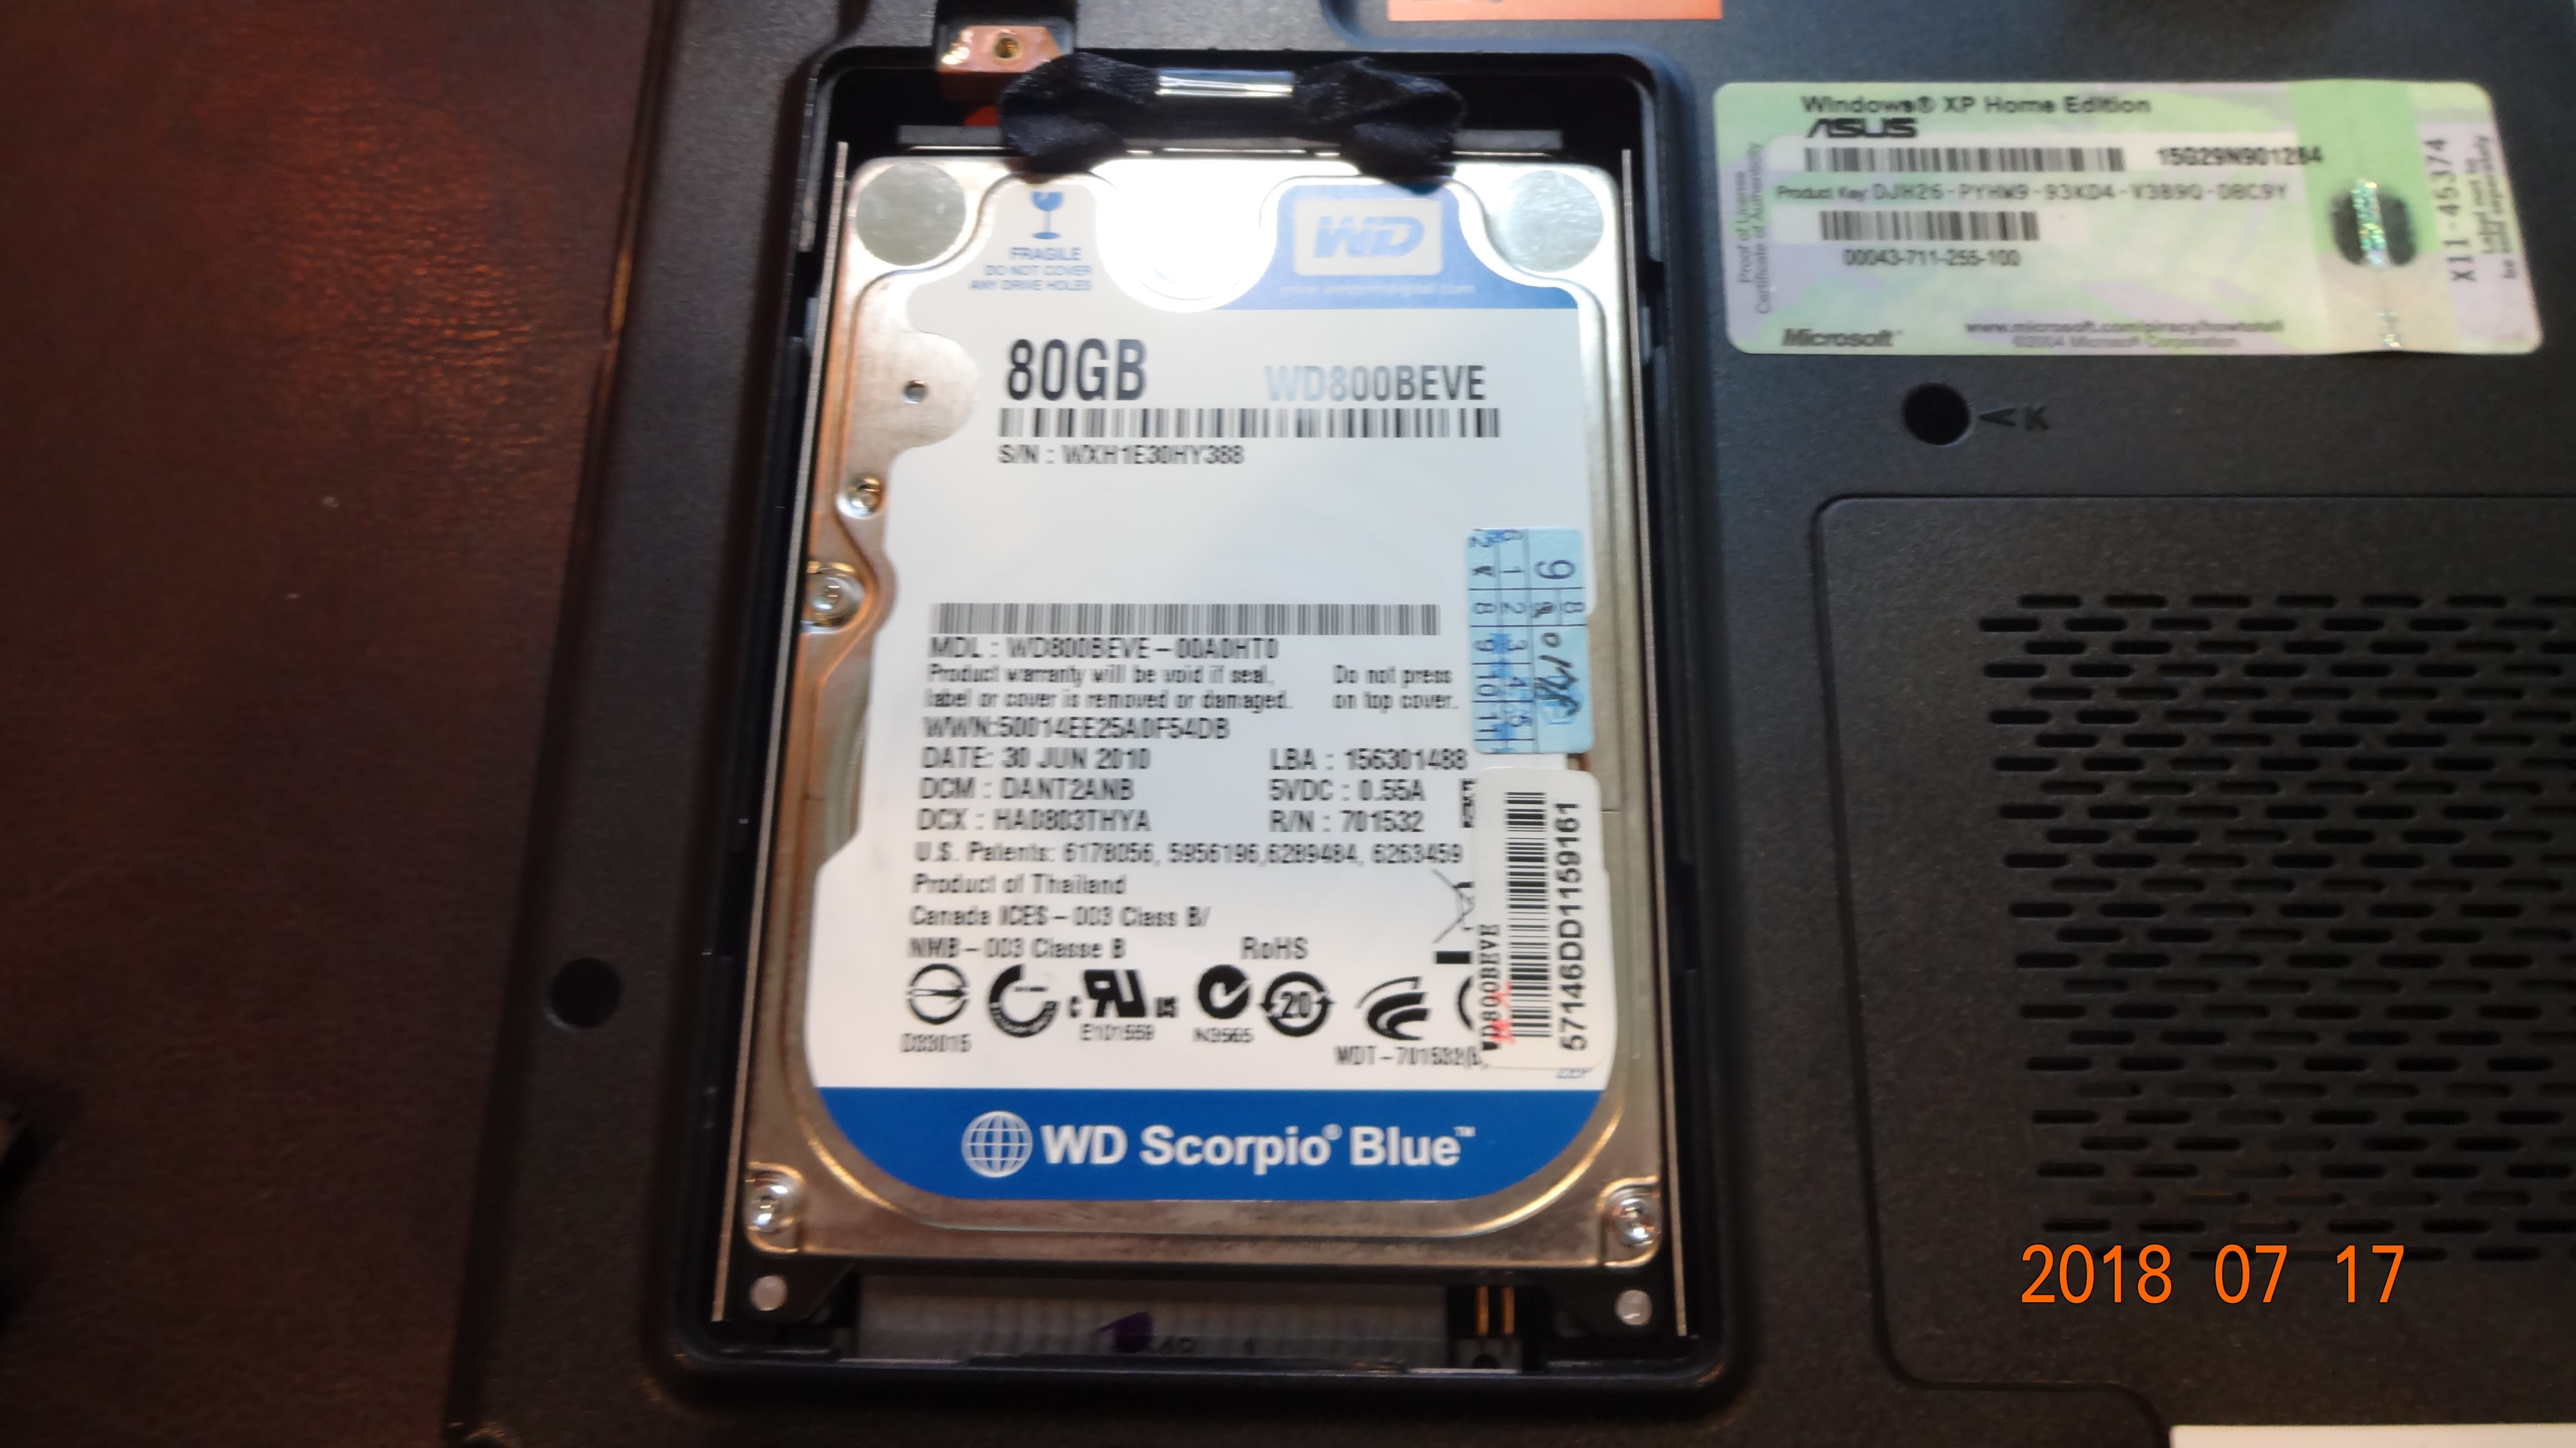 The hard drive is a WD (Western Digital) Scorpio Blue WD800BEVE 2.5″ hard drive with 80GB of storage and spins at 5400 RPM. It connects to the motherboard by a Parallel ATA socket. (WD is the original developer of Parallel ATA along with Compaq, which would later become HP.)
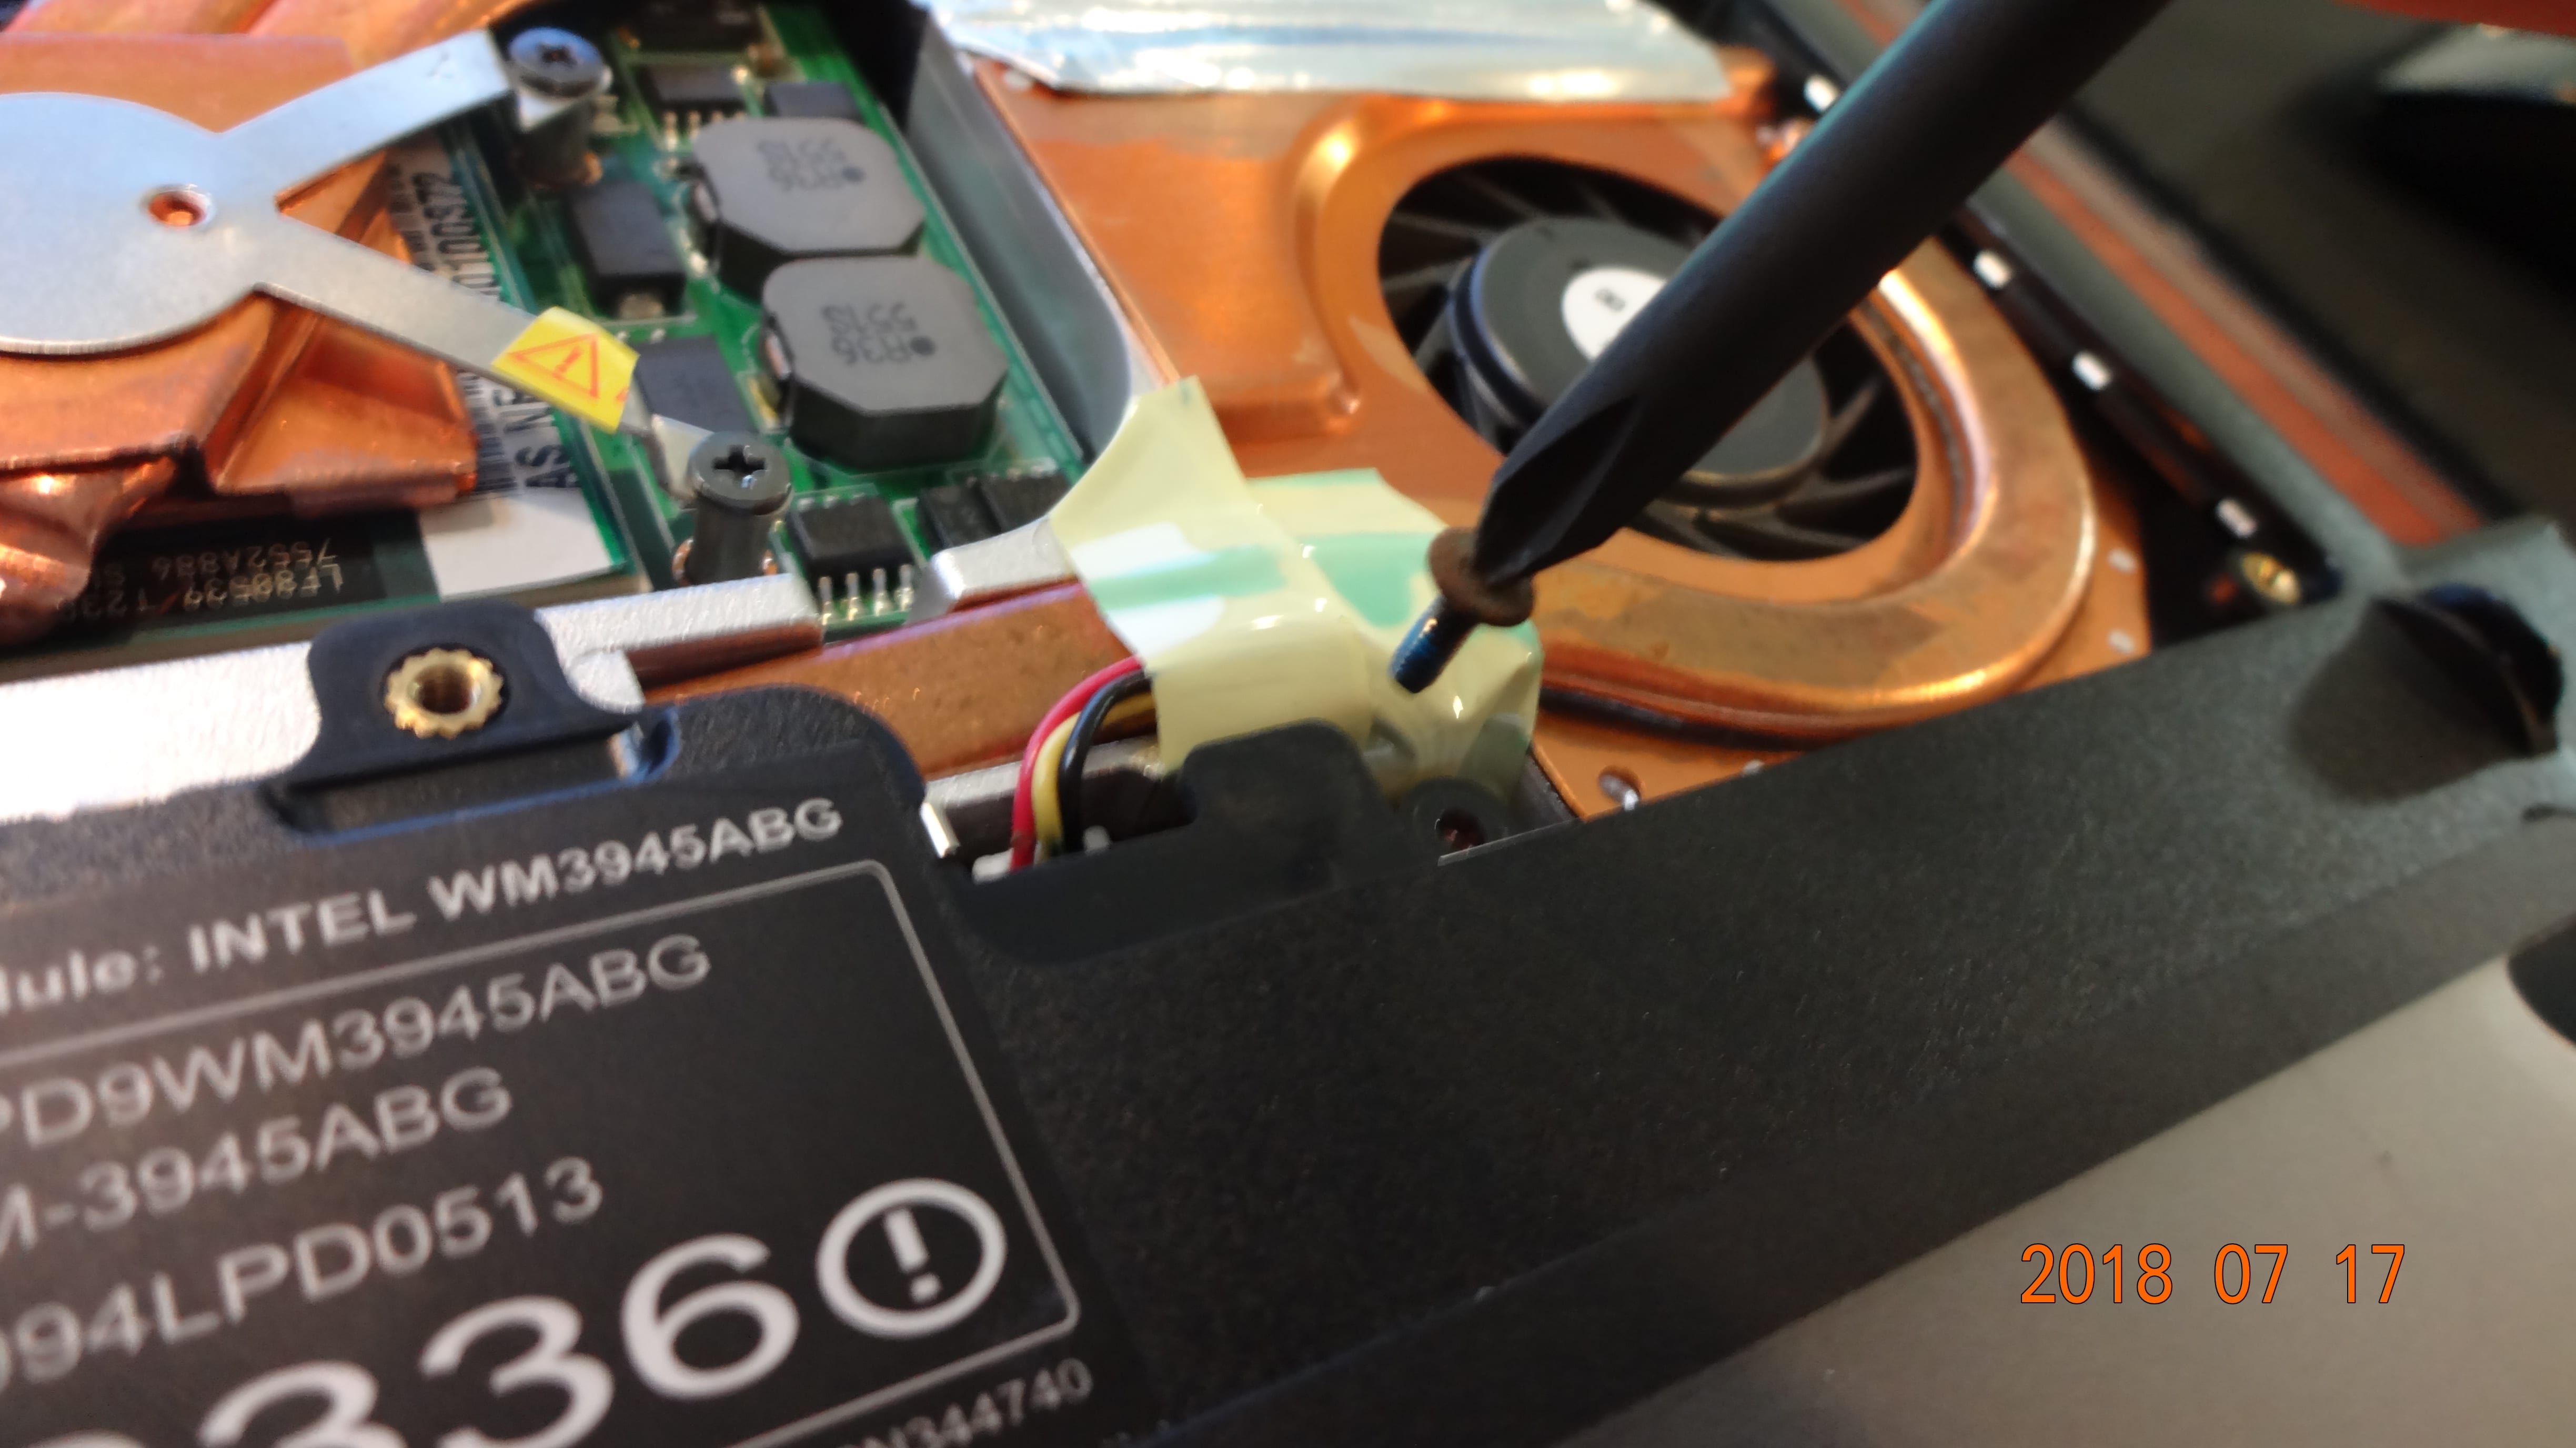
With middle cover removed, 2 memory modules and the wireless card can be seen. The memory modules are from Nanya Technology (according to reliable sources, they are 2 DDR2 1GB modules) and the wireless card is from Intel. The Intel PRO/Wireless 3945ABG wireless card is compatible with 802.11 a/b/g protocols and comes as a PCIe Mini card. Wireless 2.4GHz and 5GHz compatible. 
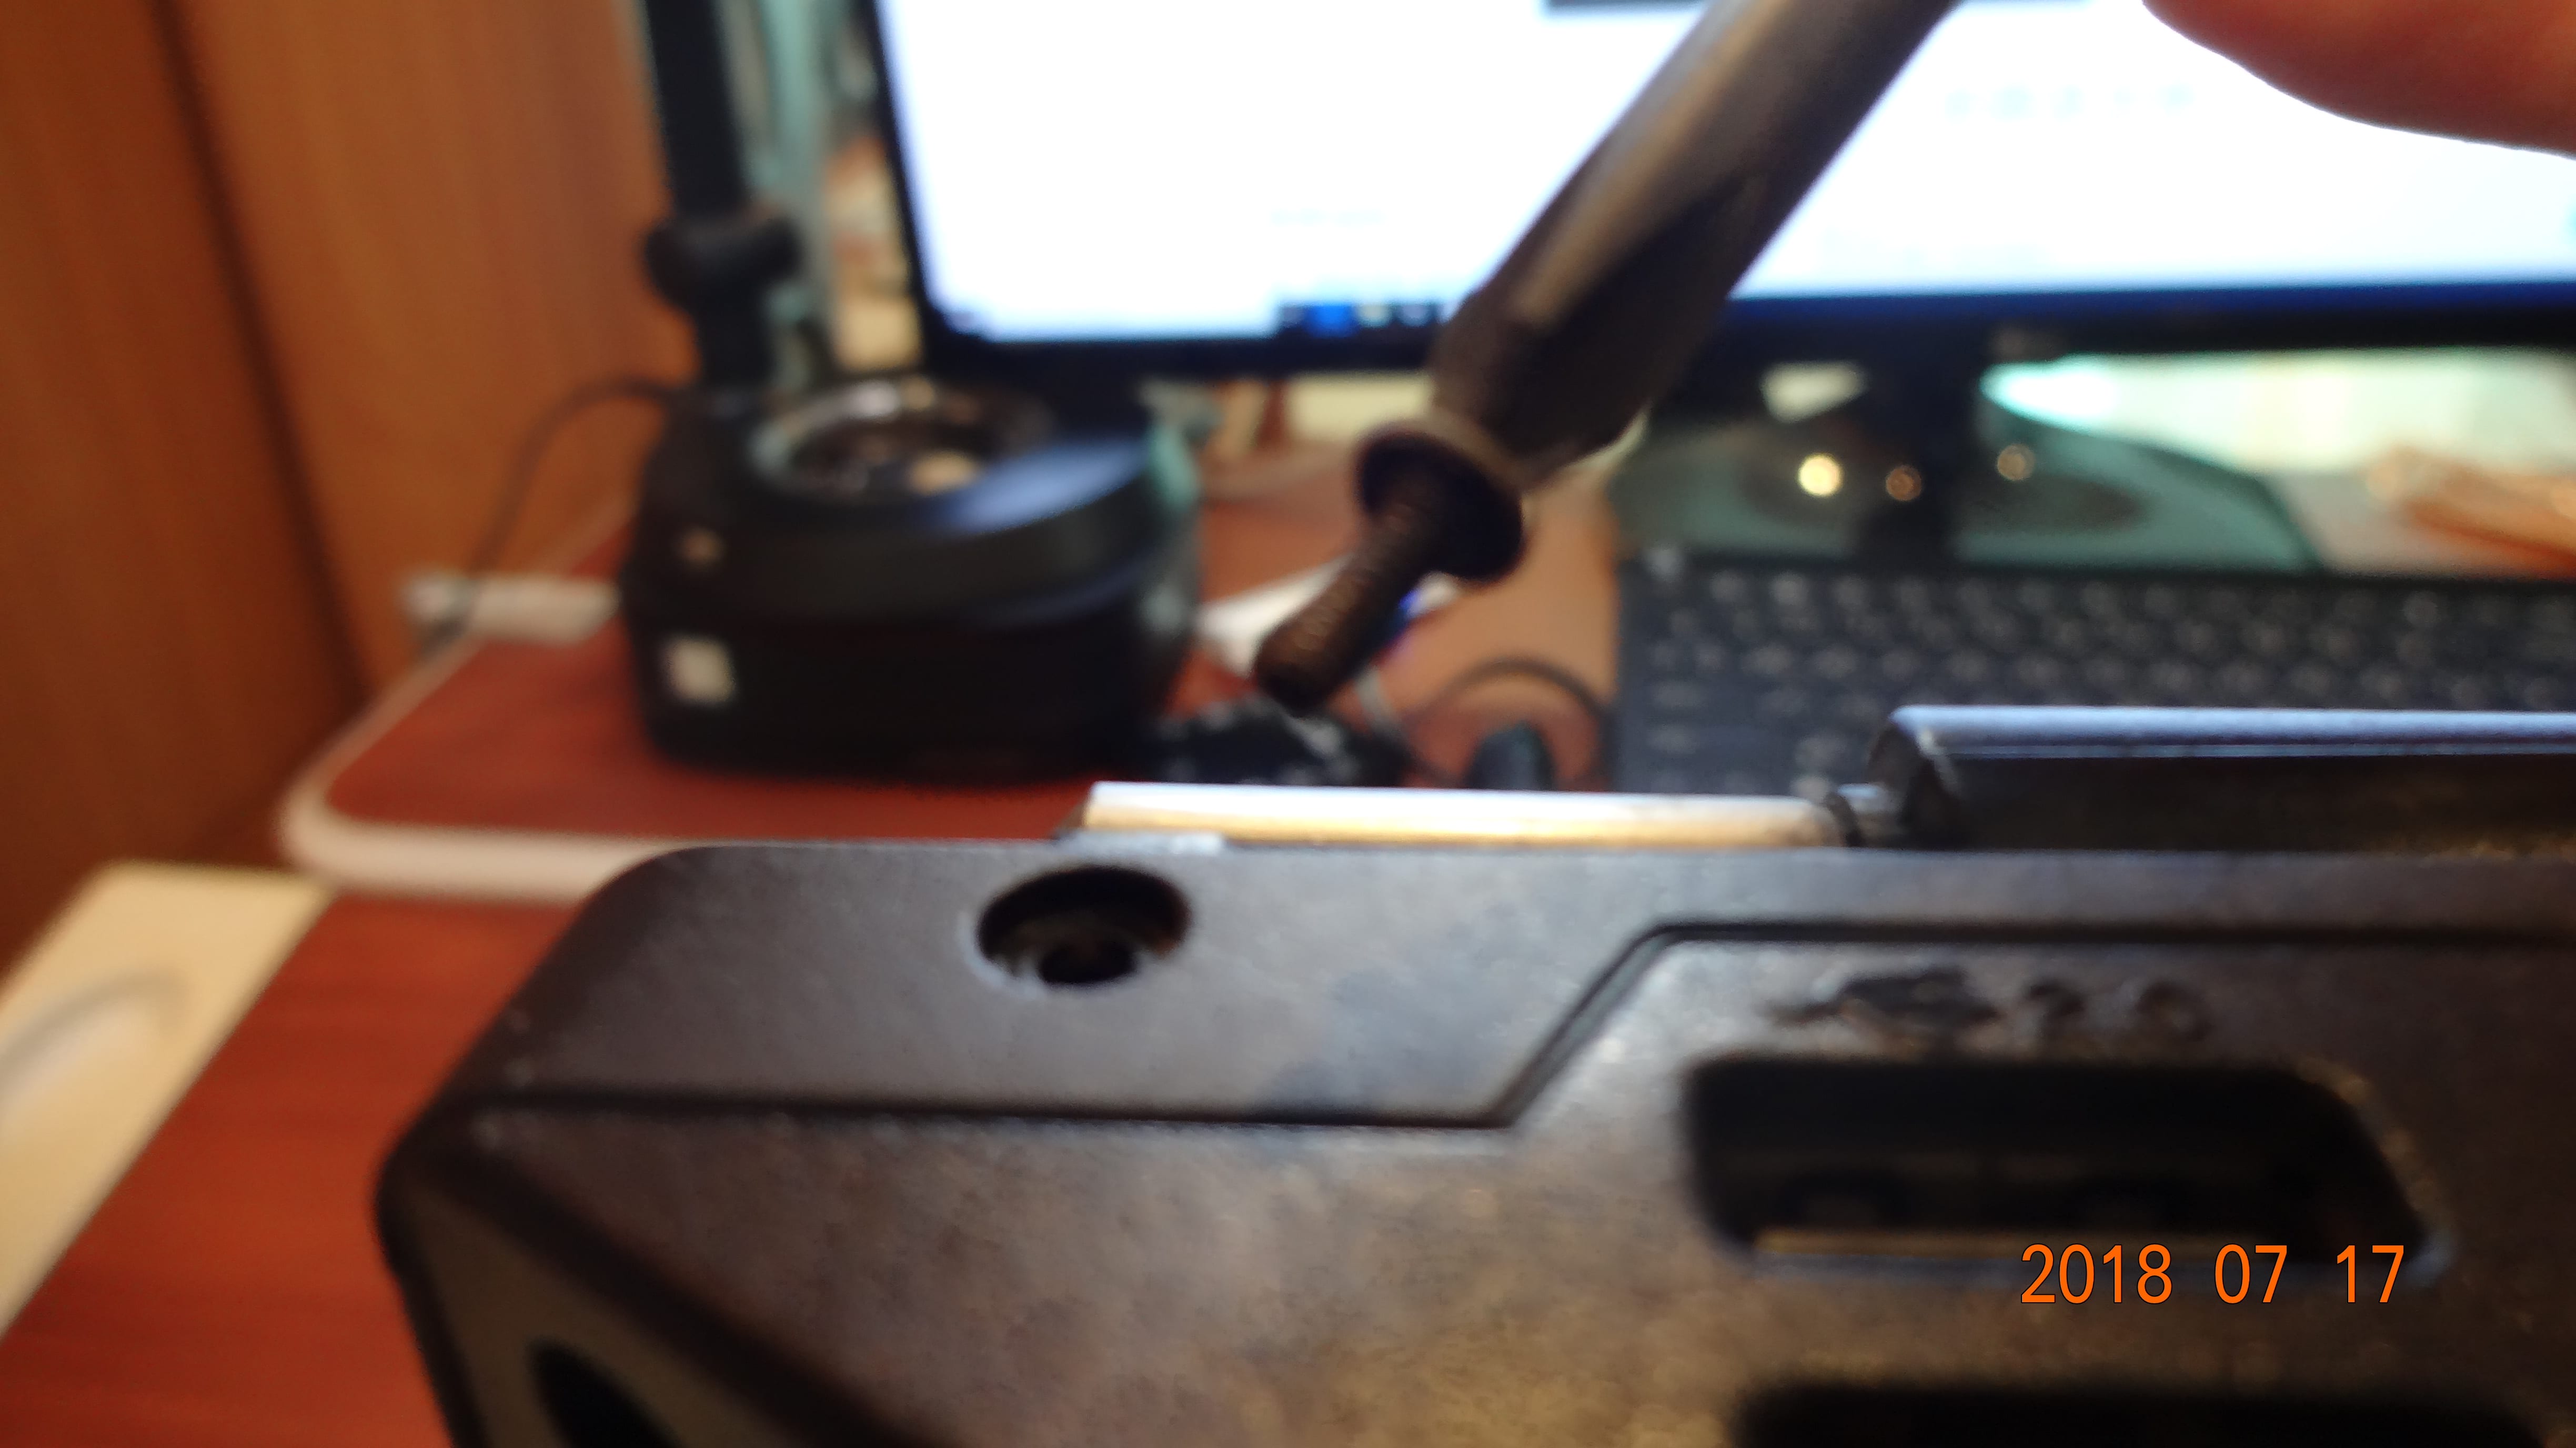

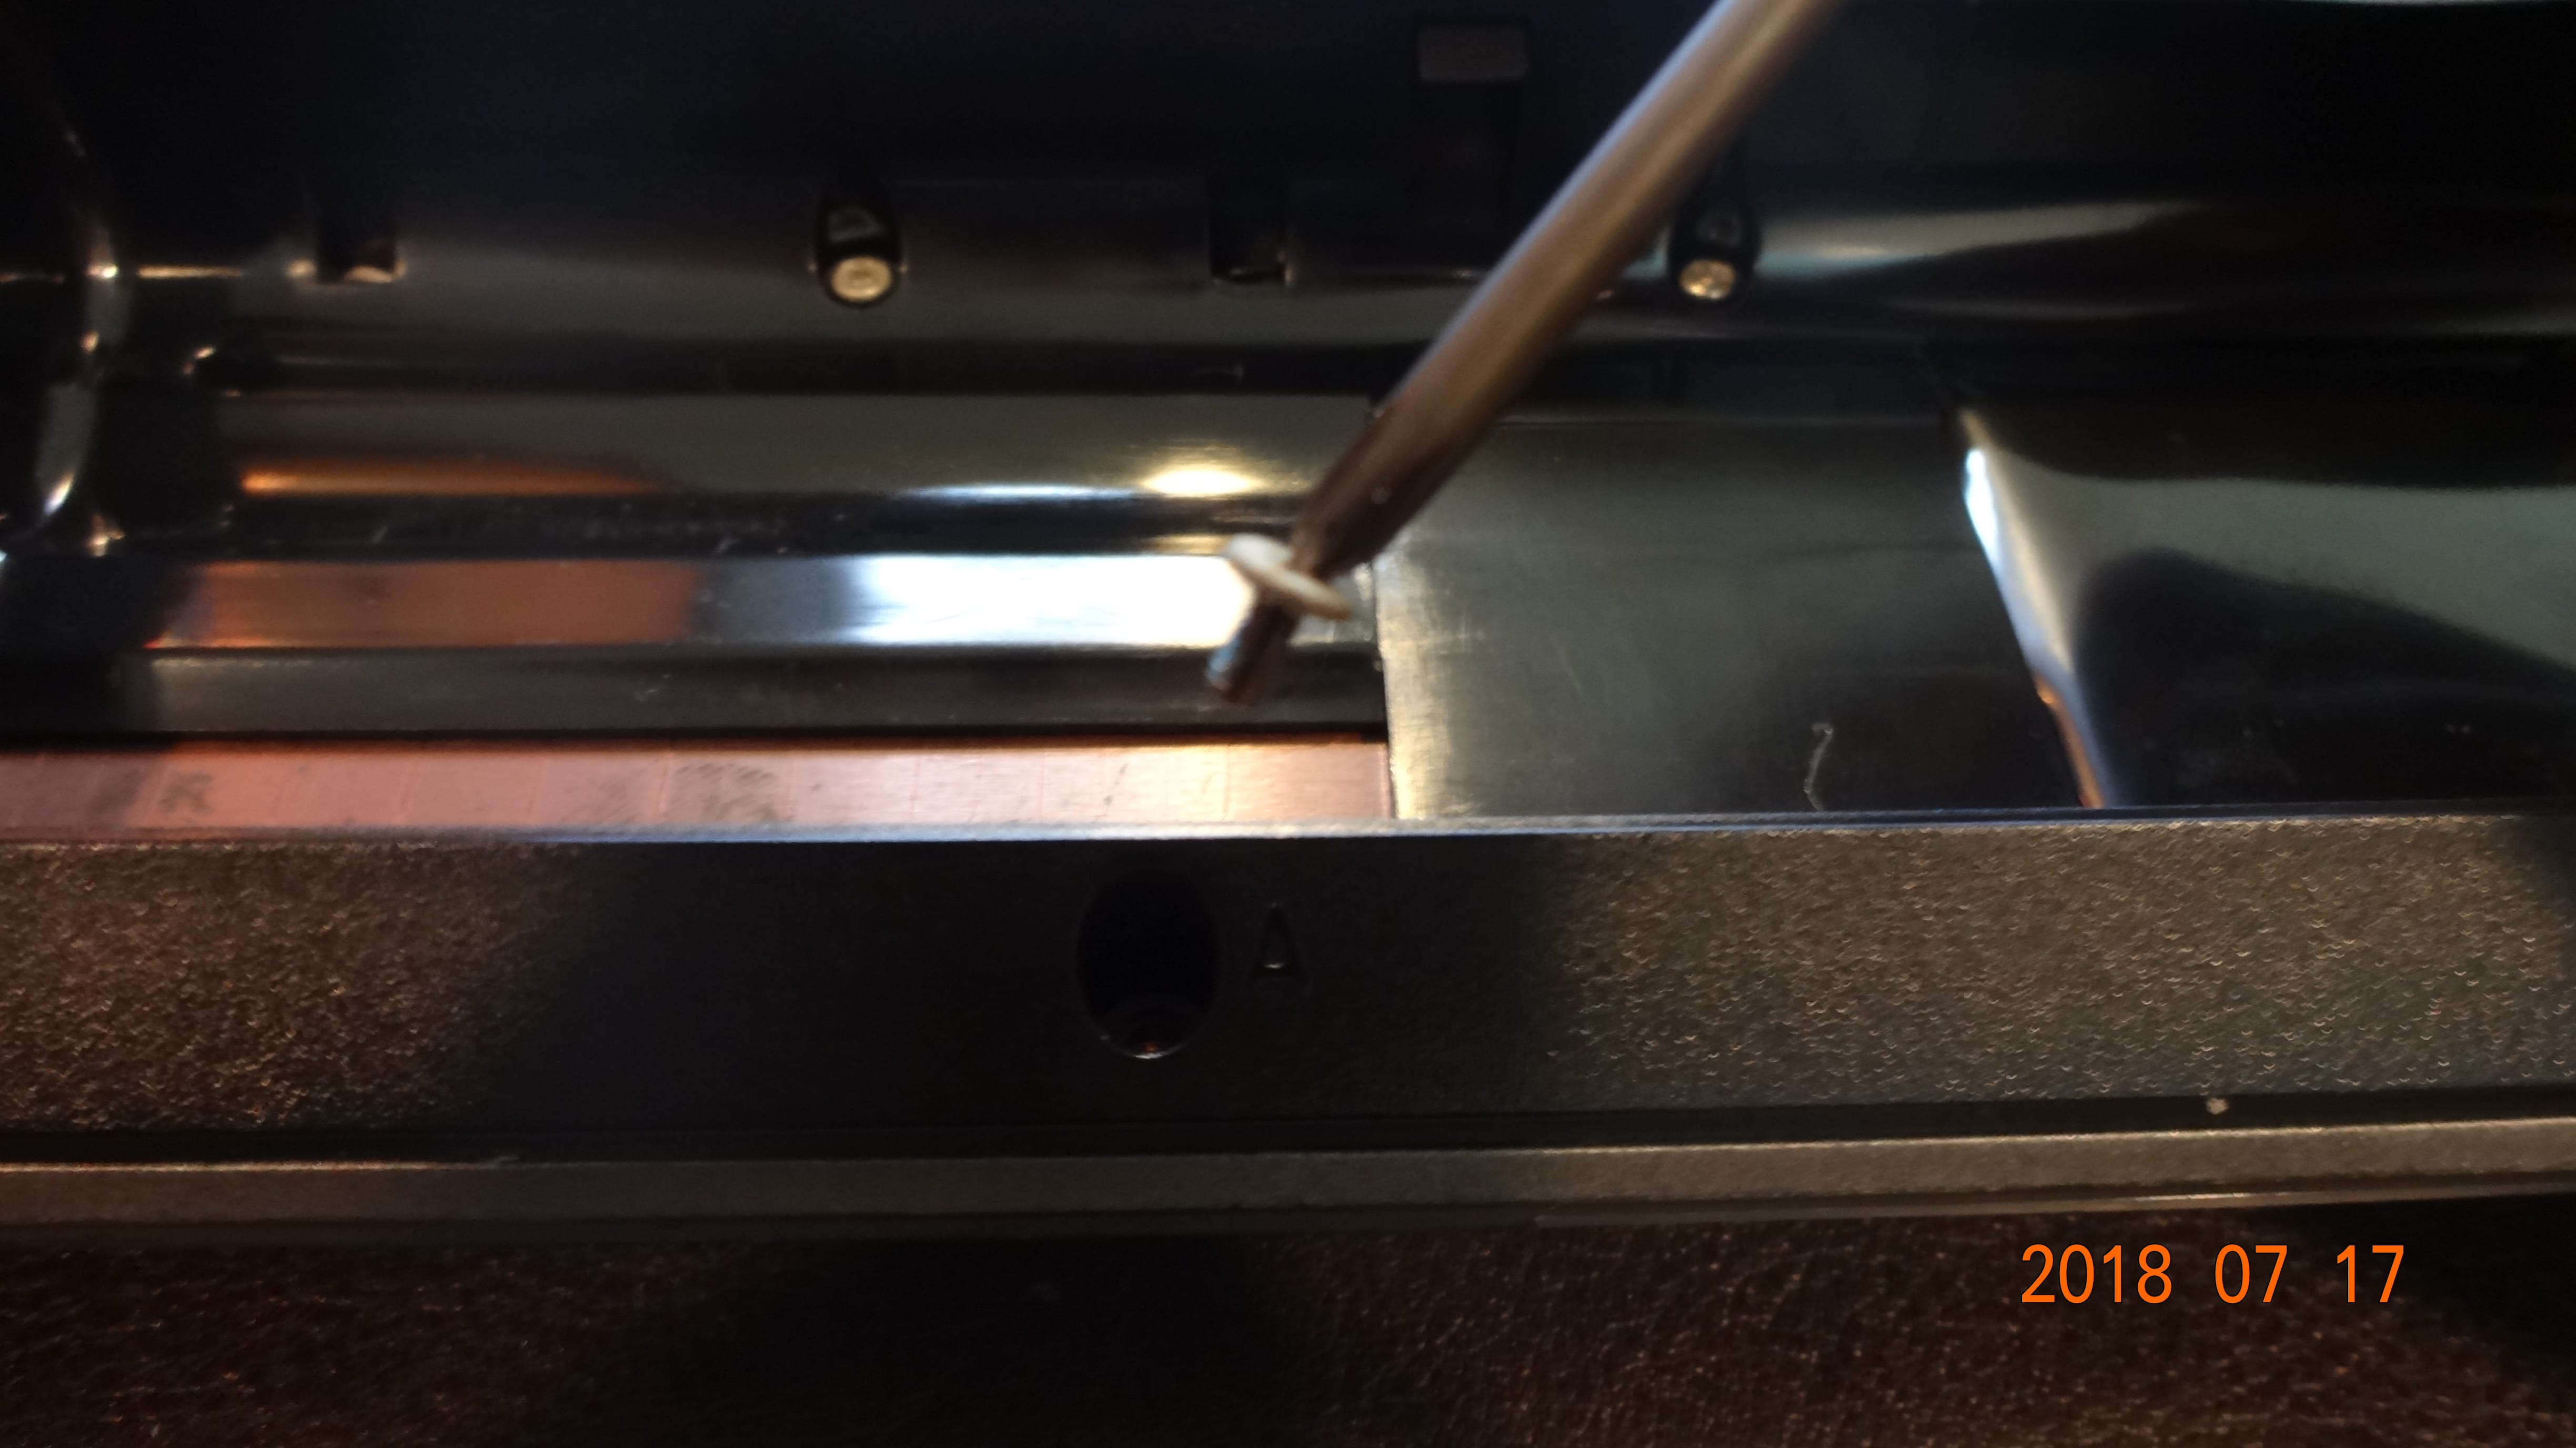
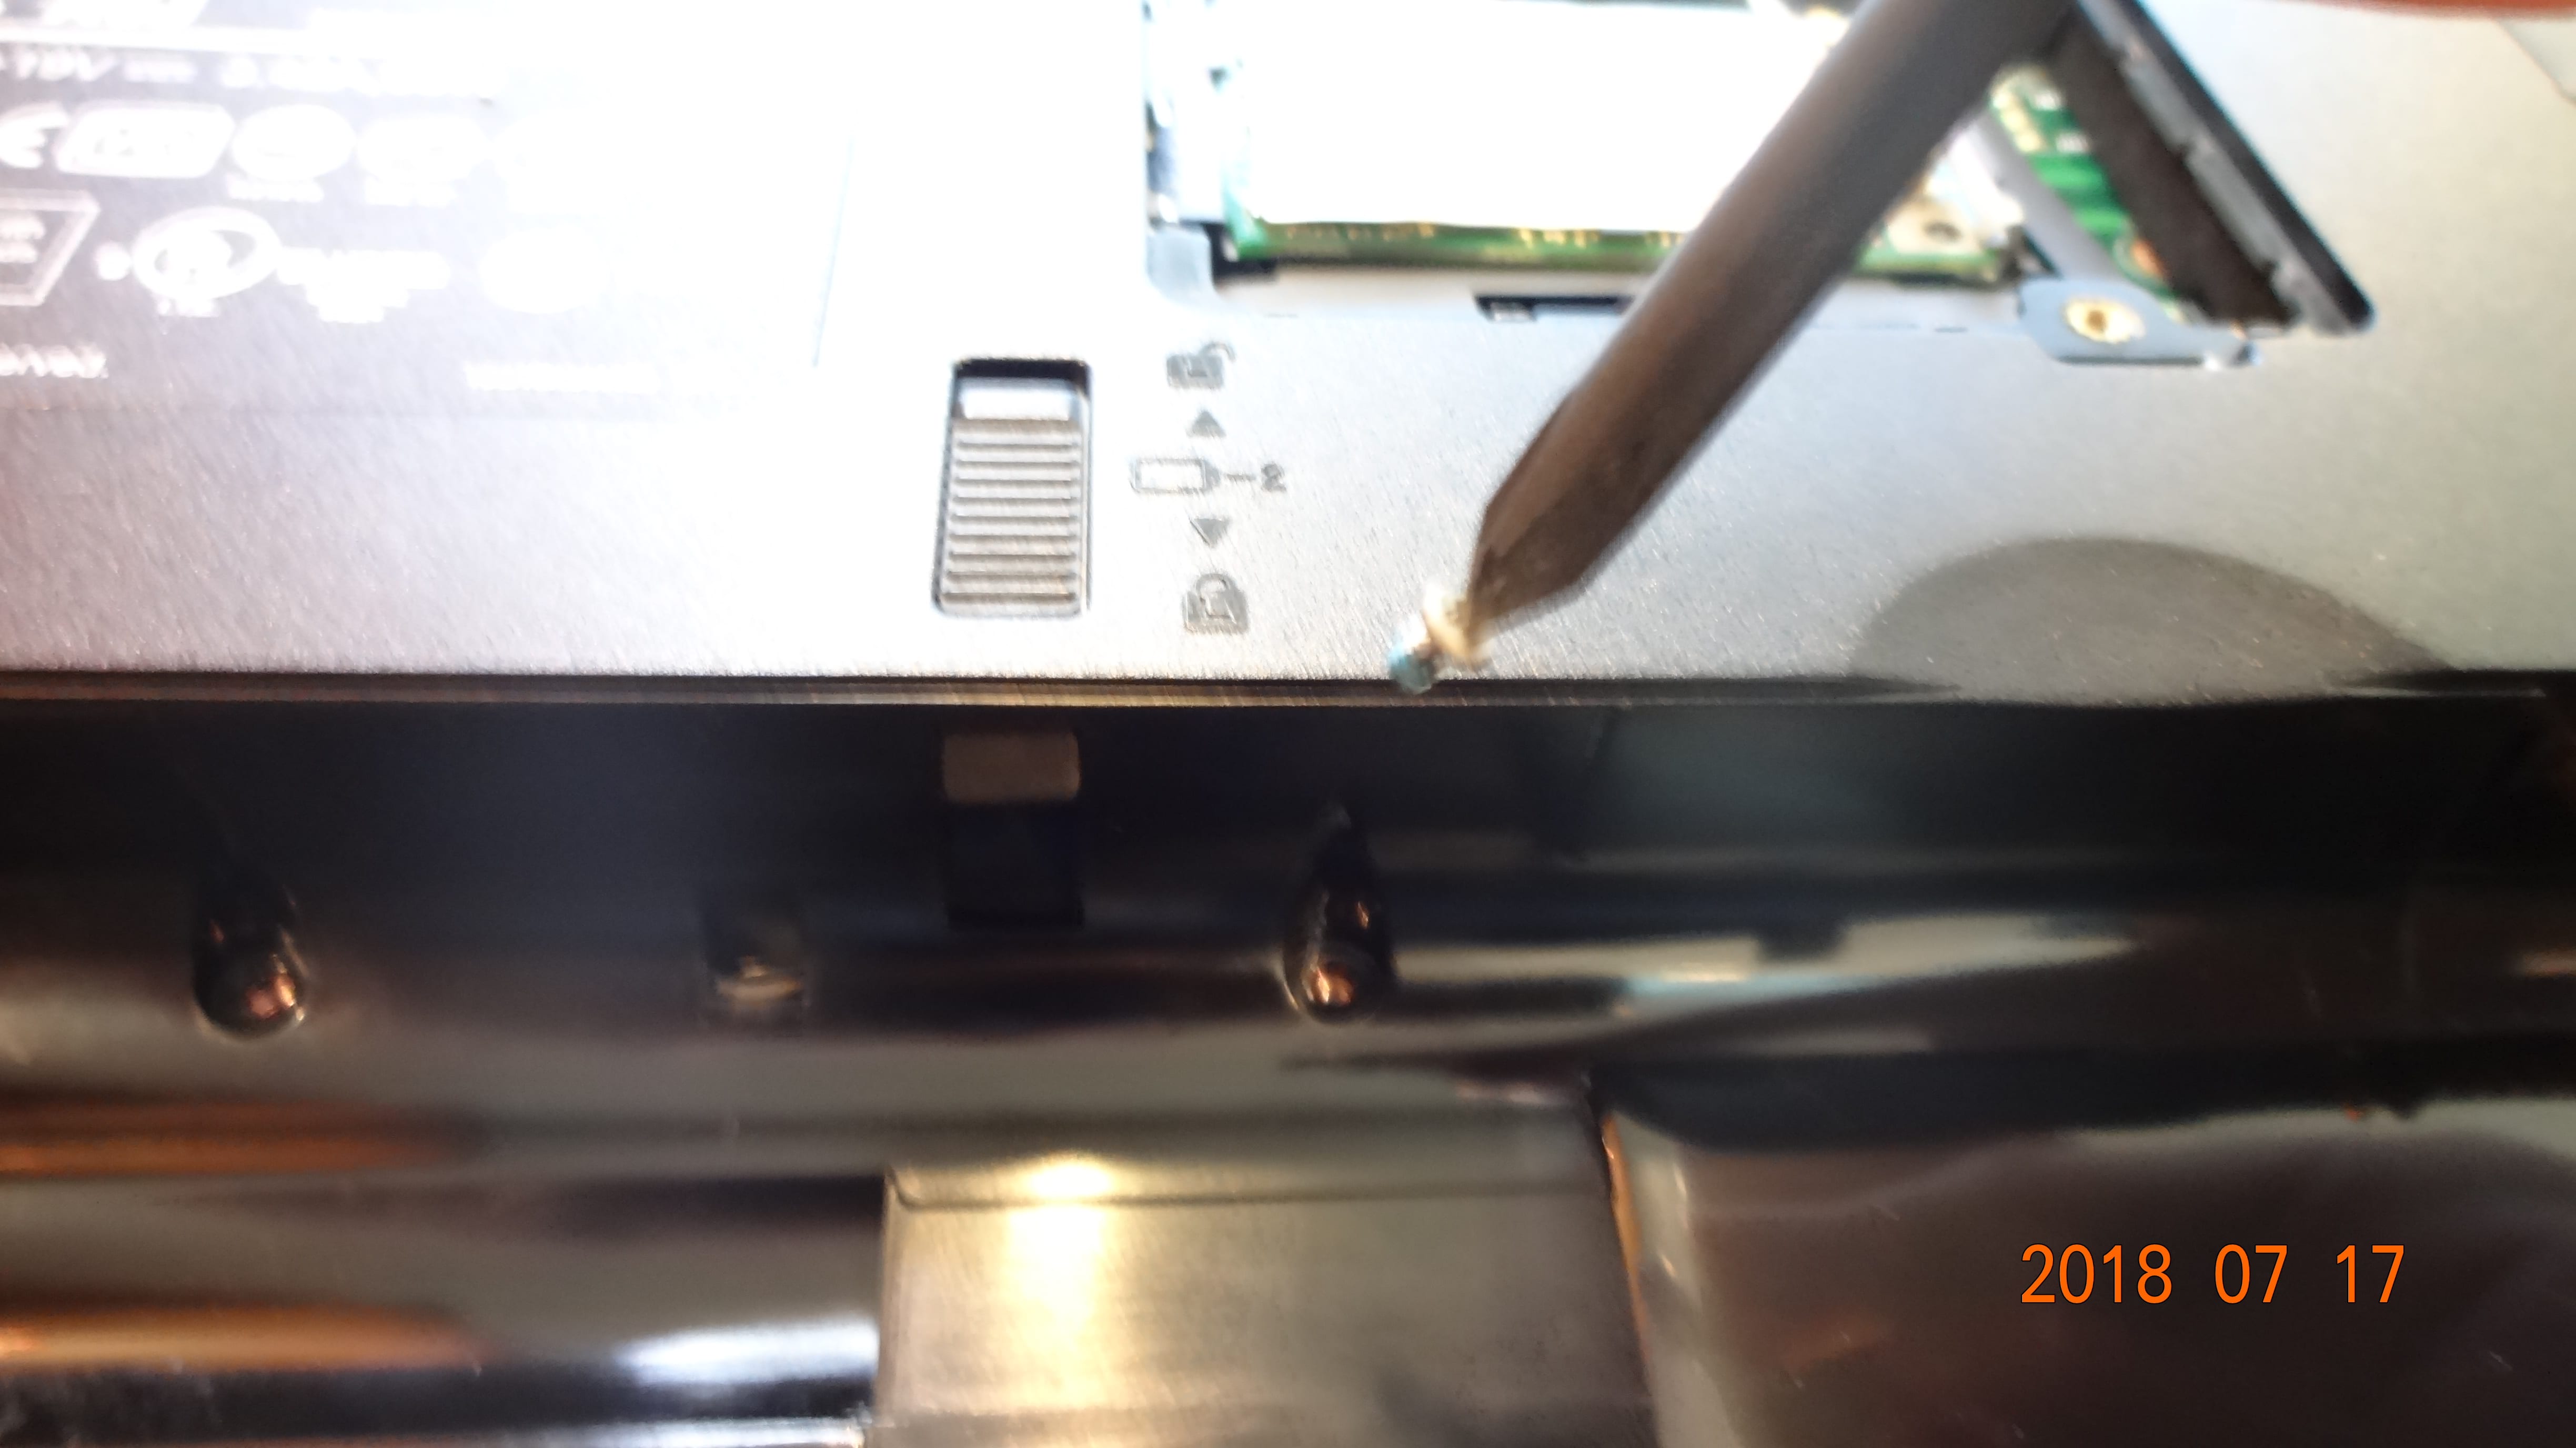 Screws used to secure the computer… Which are all removed along the tear down process.
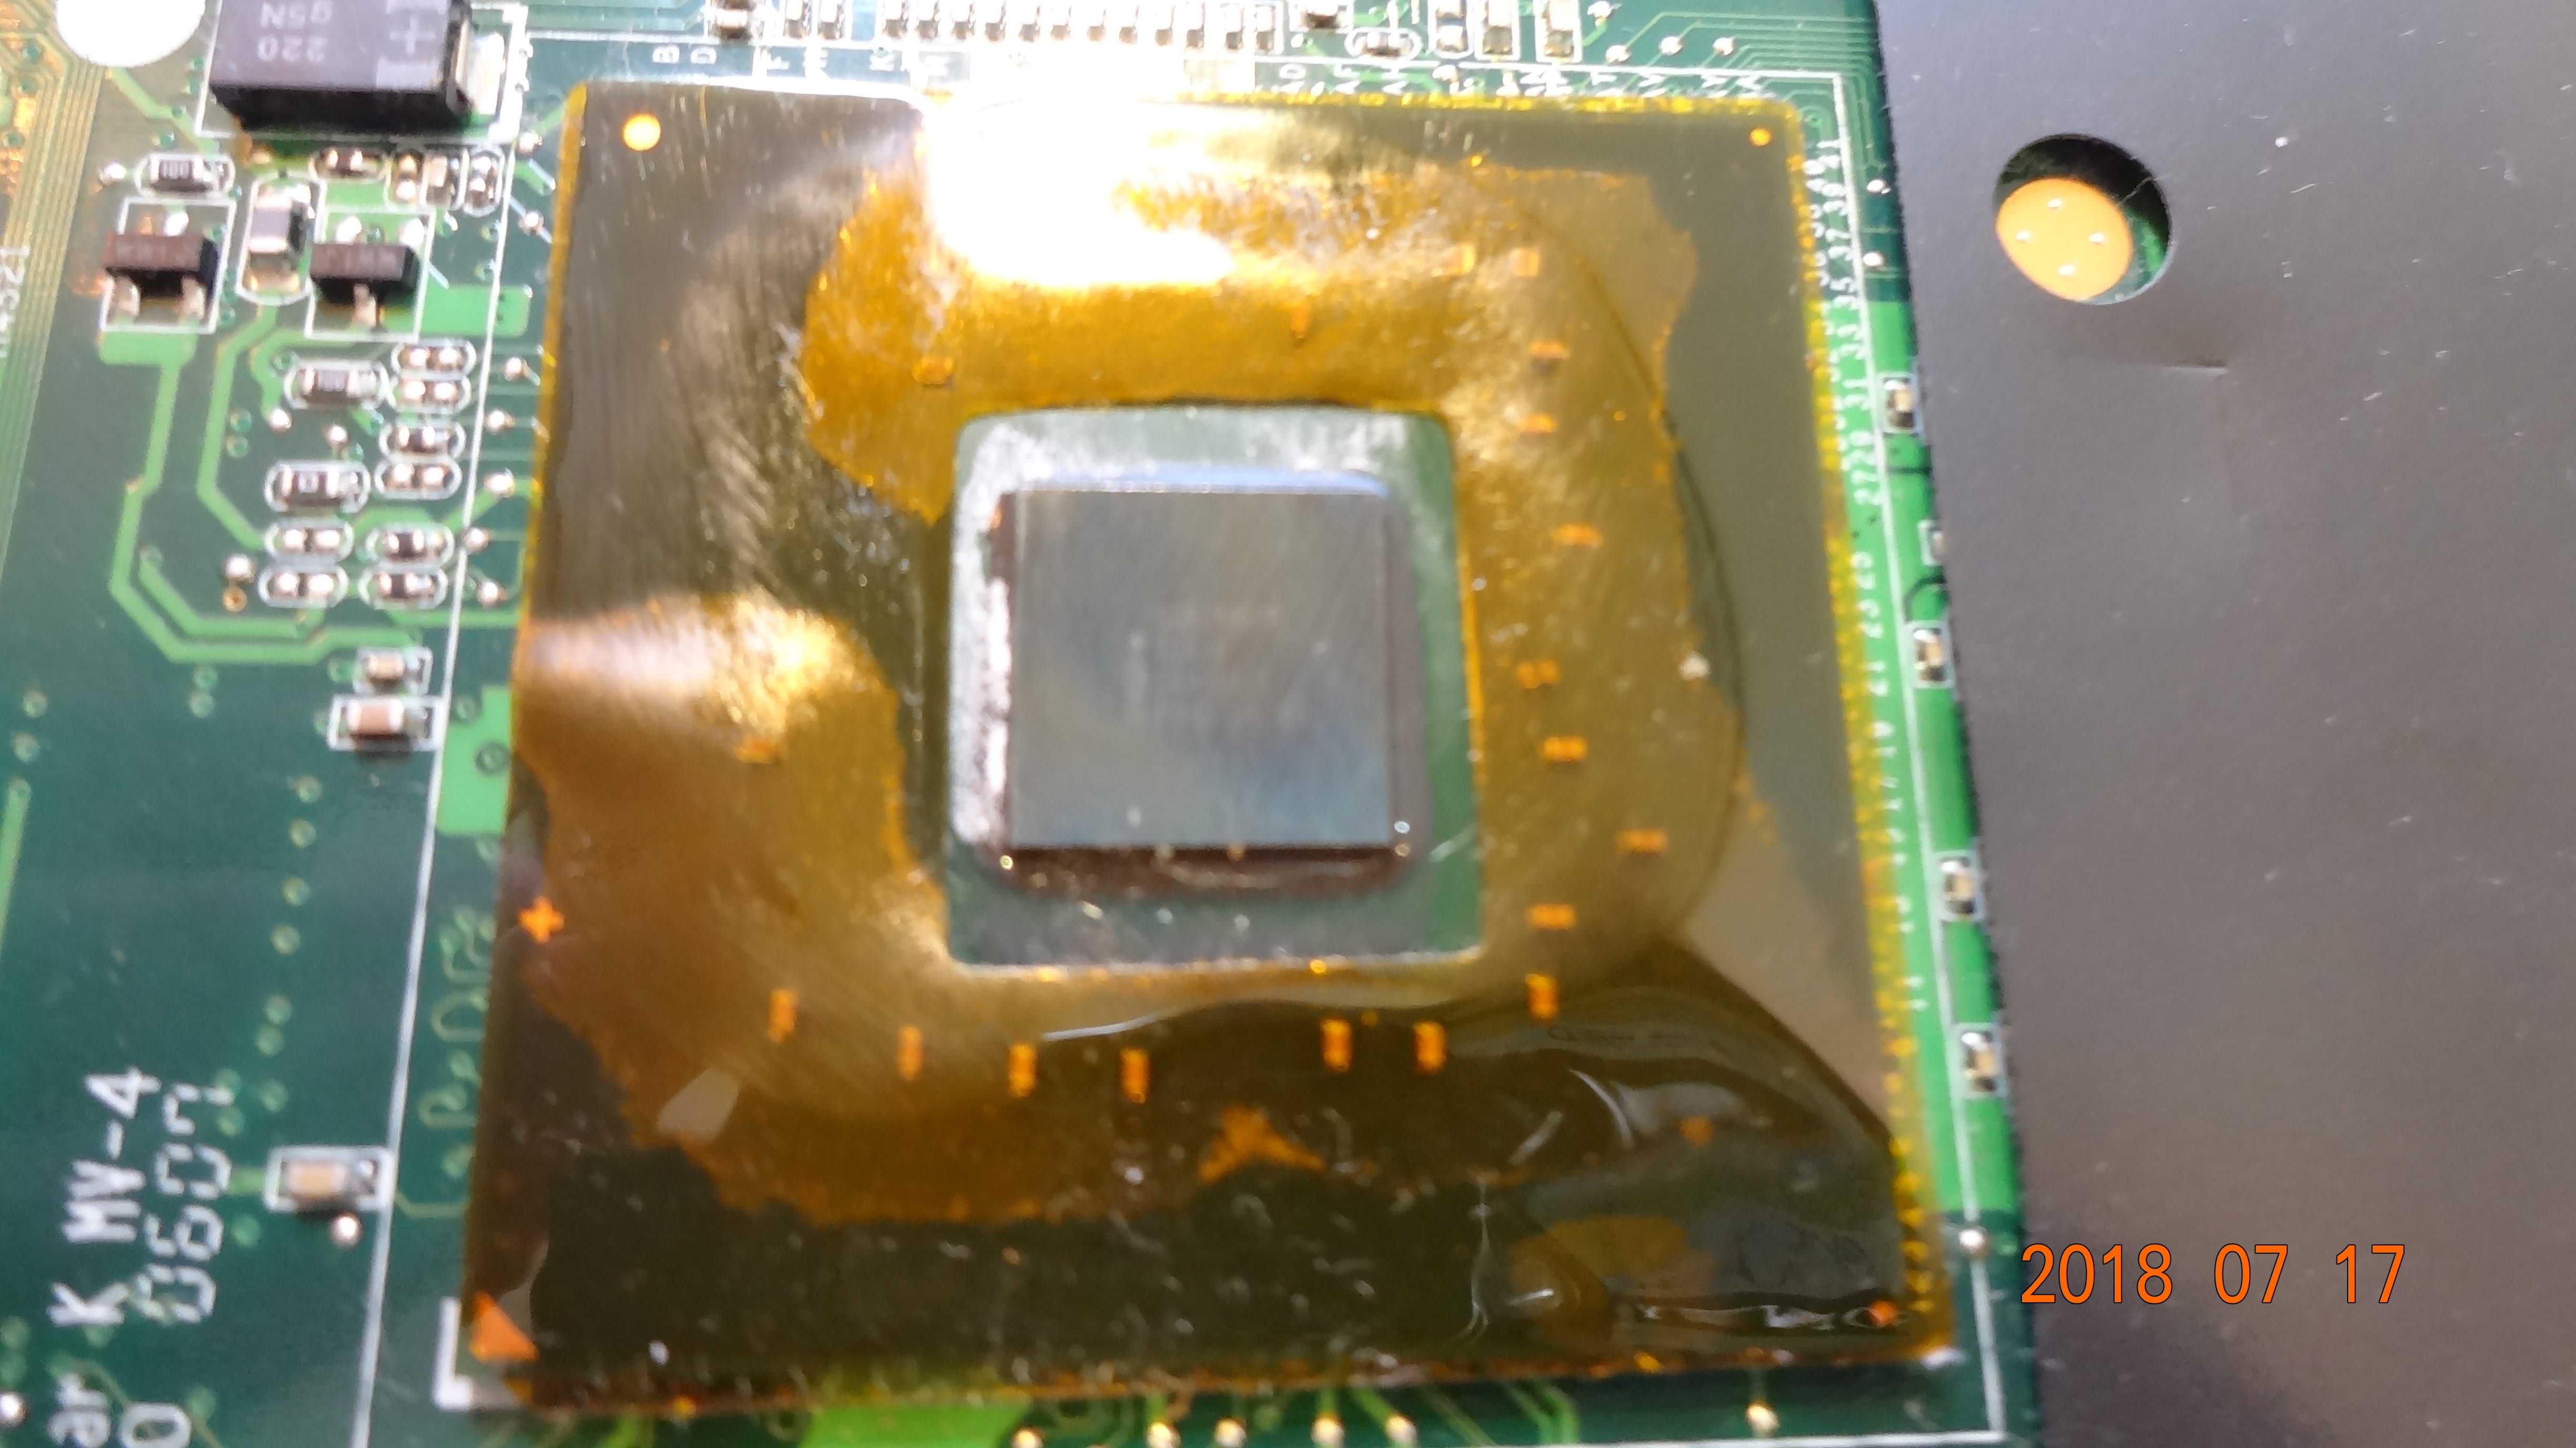
 Removing the cooling system and revealing the motherboard and CPU!
 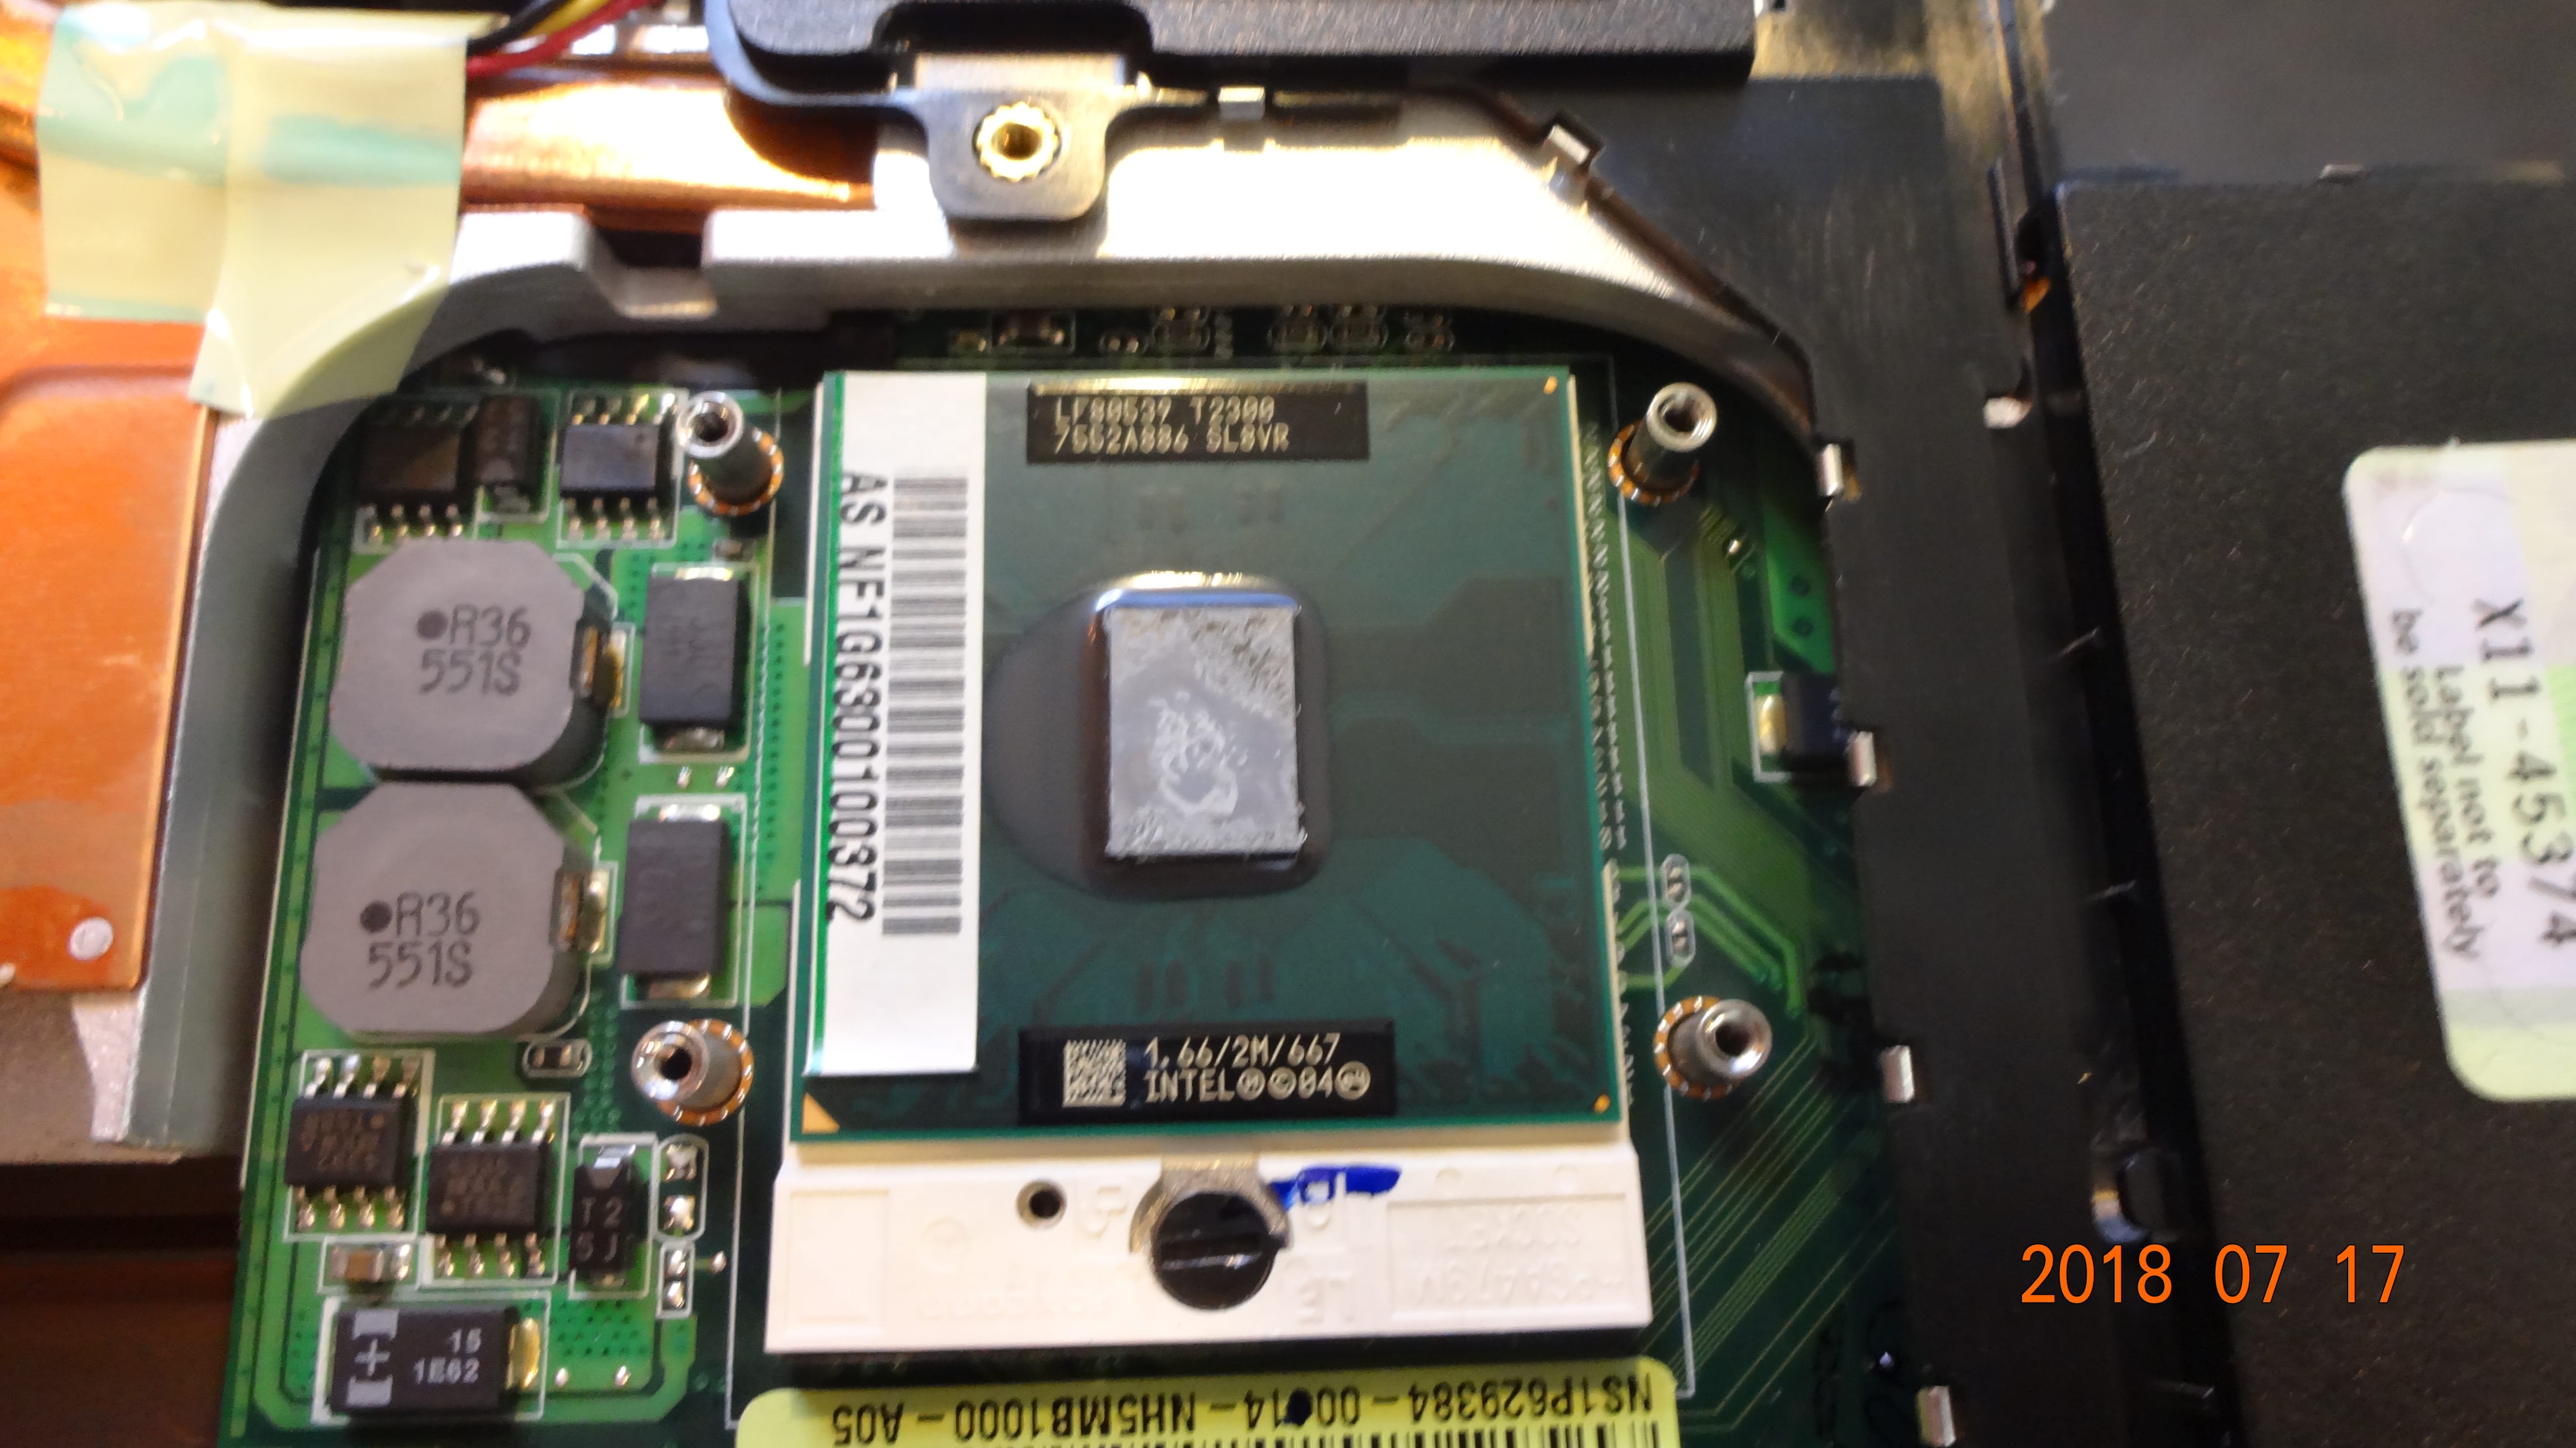 The Intel Core Duo T2300 processor which runs at 1.66GHz and a 667MHz FSB. TDP: 31W. 65nm lithography, C0 stepping. Turbo Boost not compatible. I’m quite surprised that this particular processor (along with other processors in the “Yonah” family) doesn’t support 64-bit processing. (Intel 64 or AMD64) Since the “Yonah” processor series are based on the P6 Enhanced Pentium M architecture, I should refer this processor as “3rd generation Pentium M processor.” lol
 Back side of motherboard. The CD/DVD drive and the northbridge + southbridge can be seen.
 The Intel 82945PM Memory Controller, or the Northbridge, code-named Calistoga. TDP: 7W.
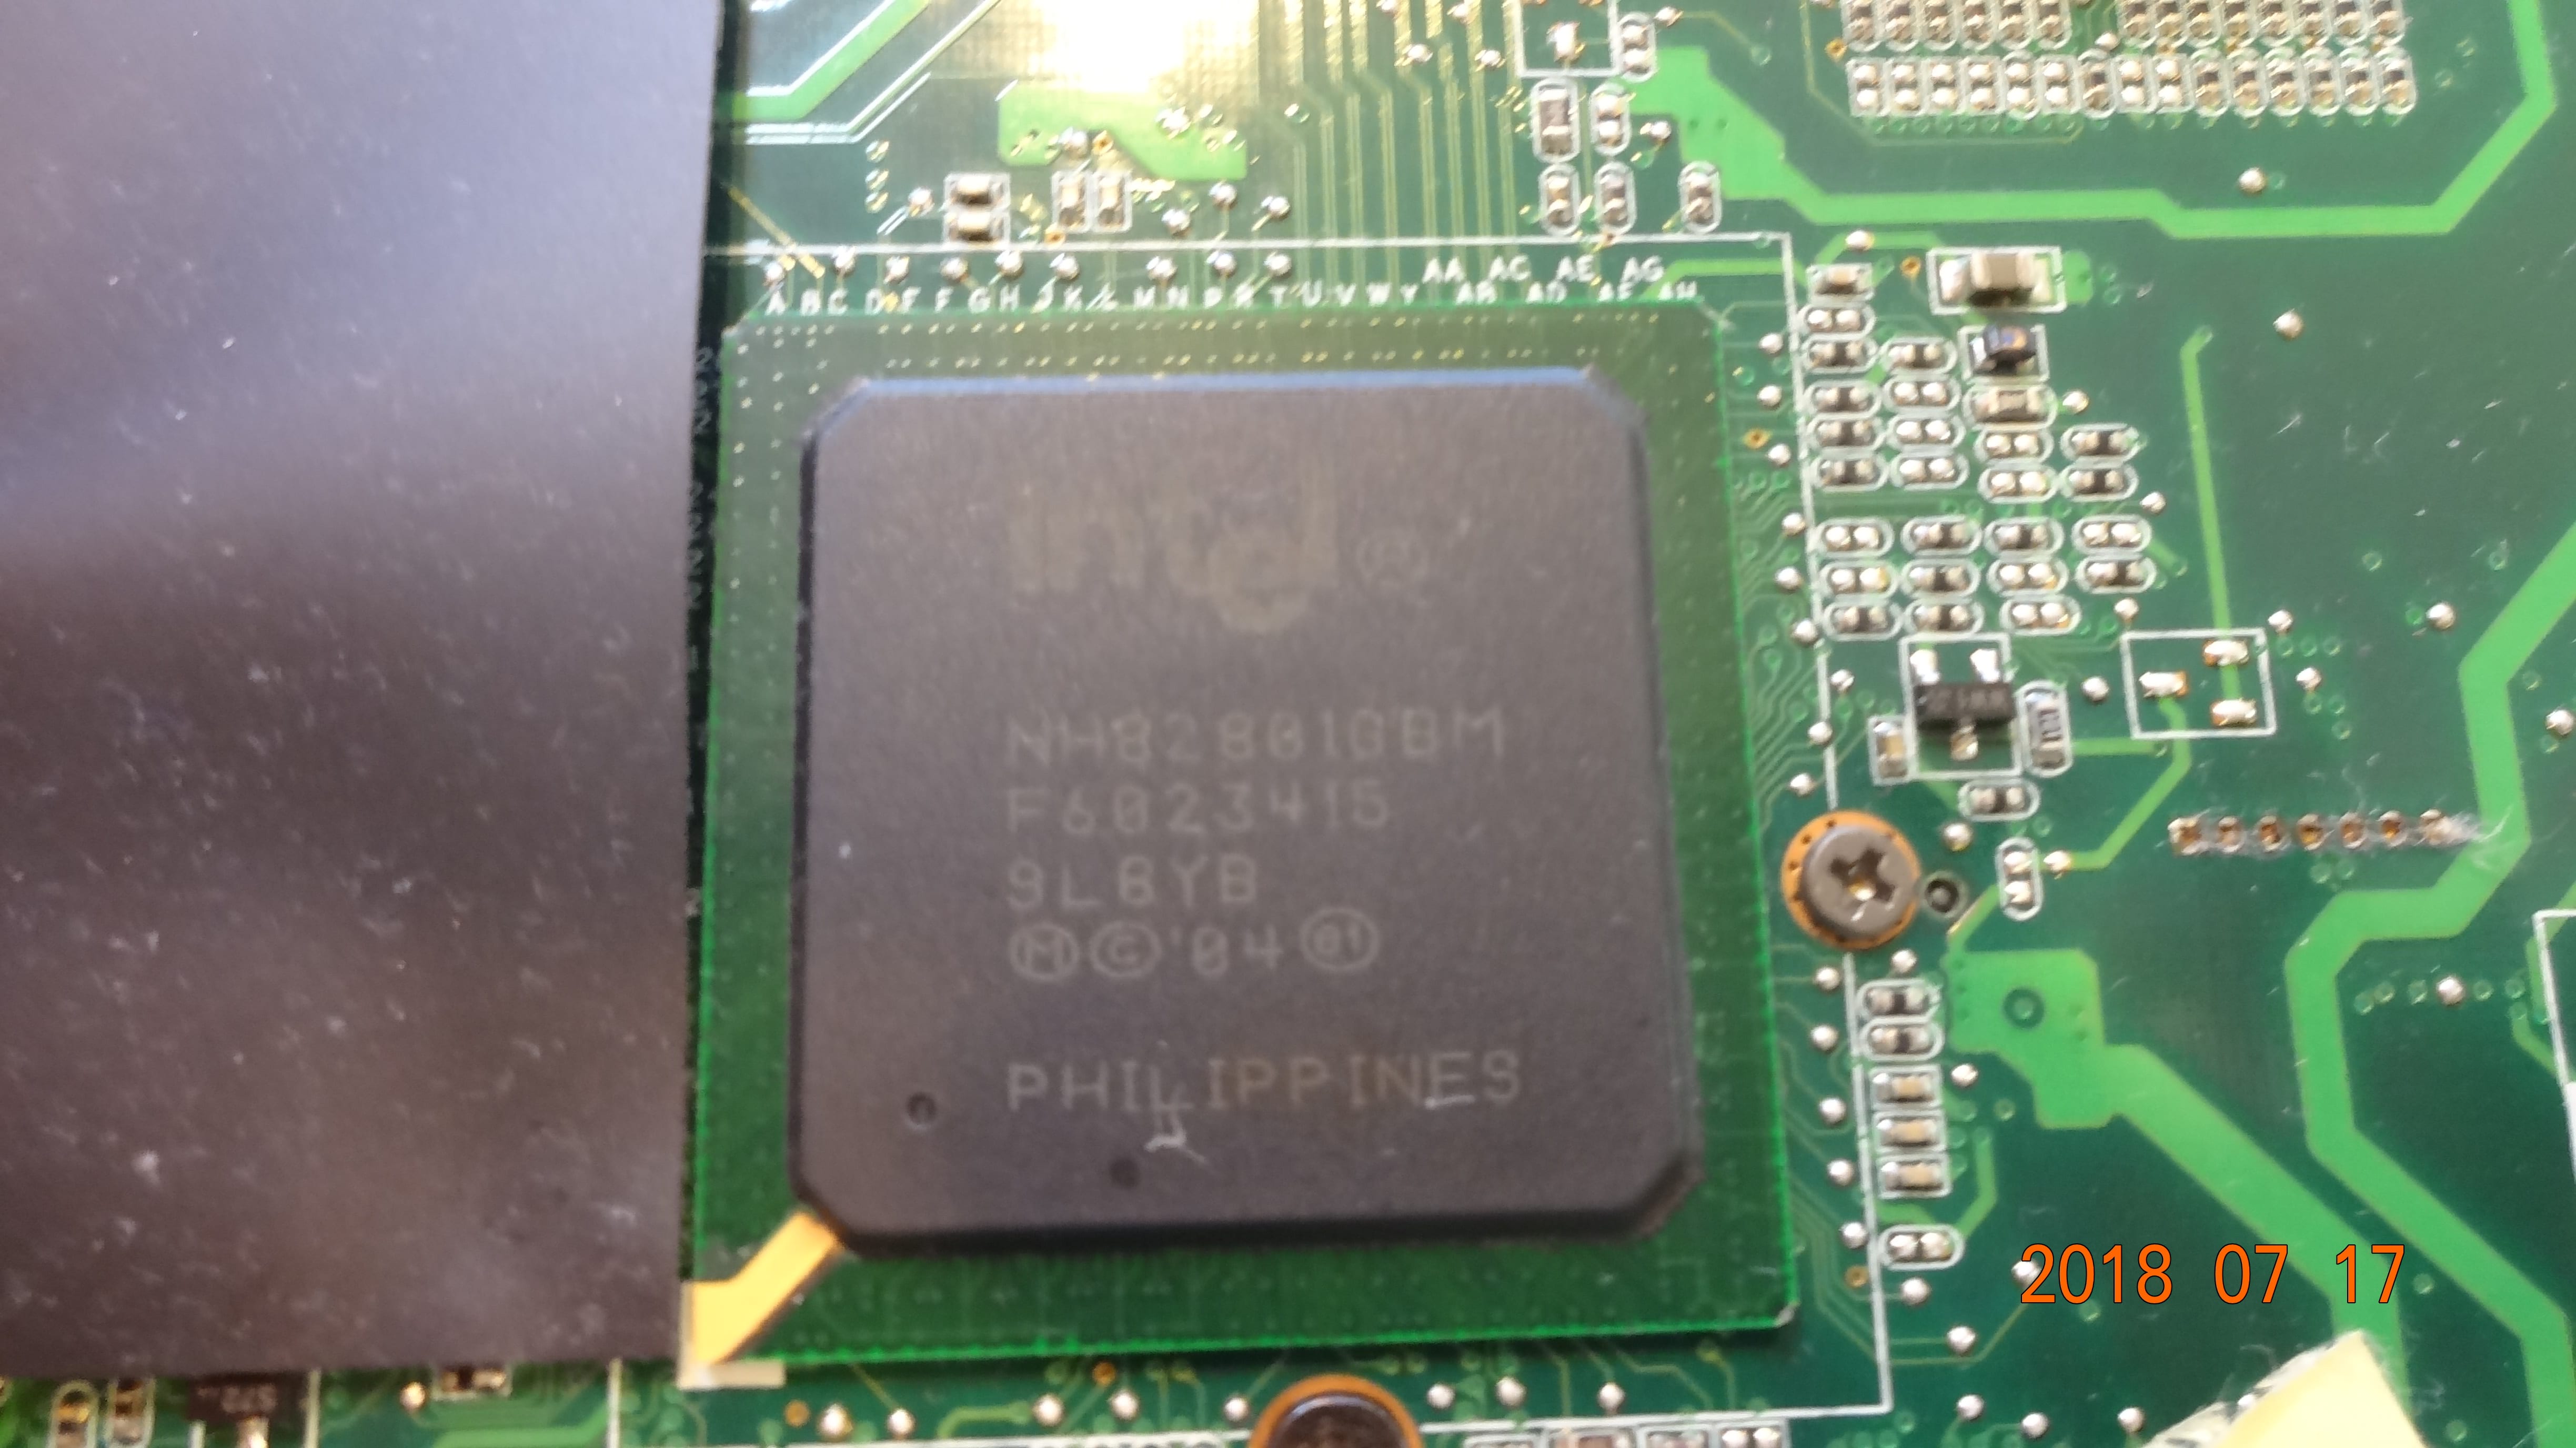 The Intel 82801GBM I/O Controller, or the Southbridge, code-named ICH7. TDP: 3.3W, B0 stepping.
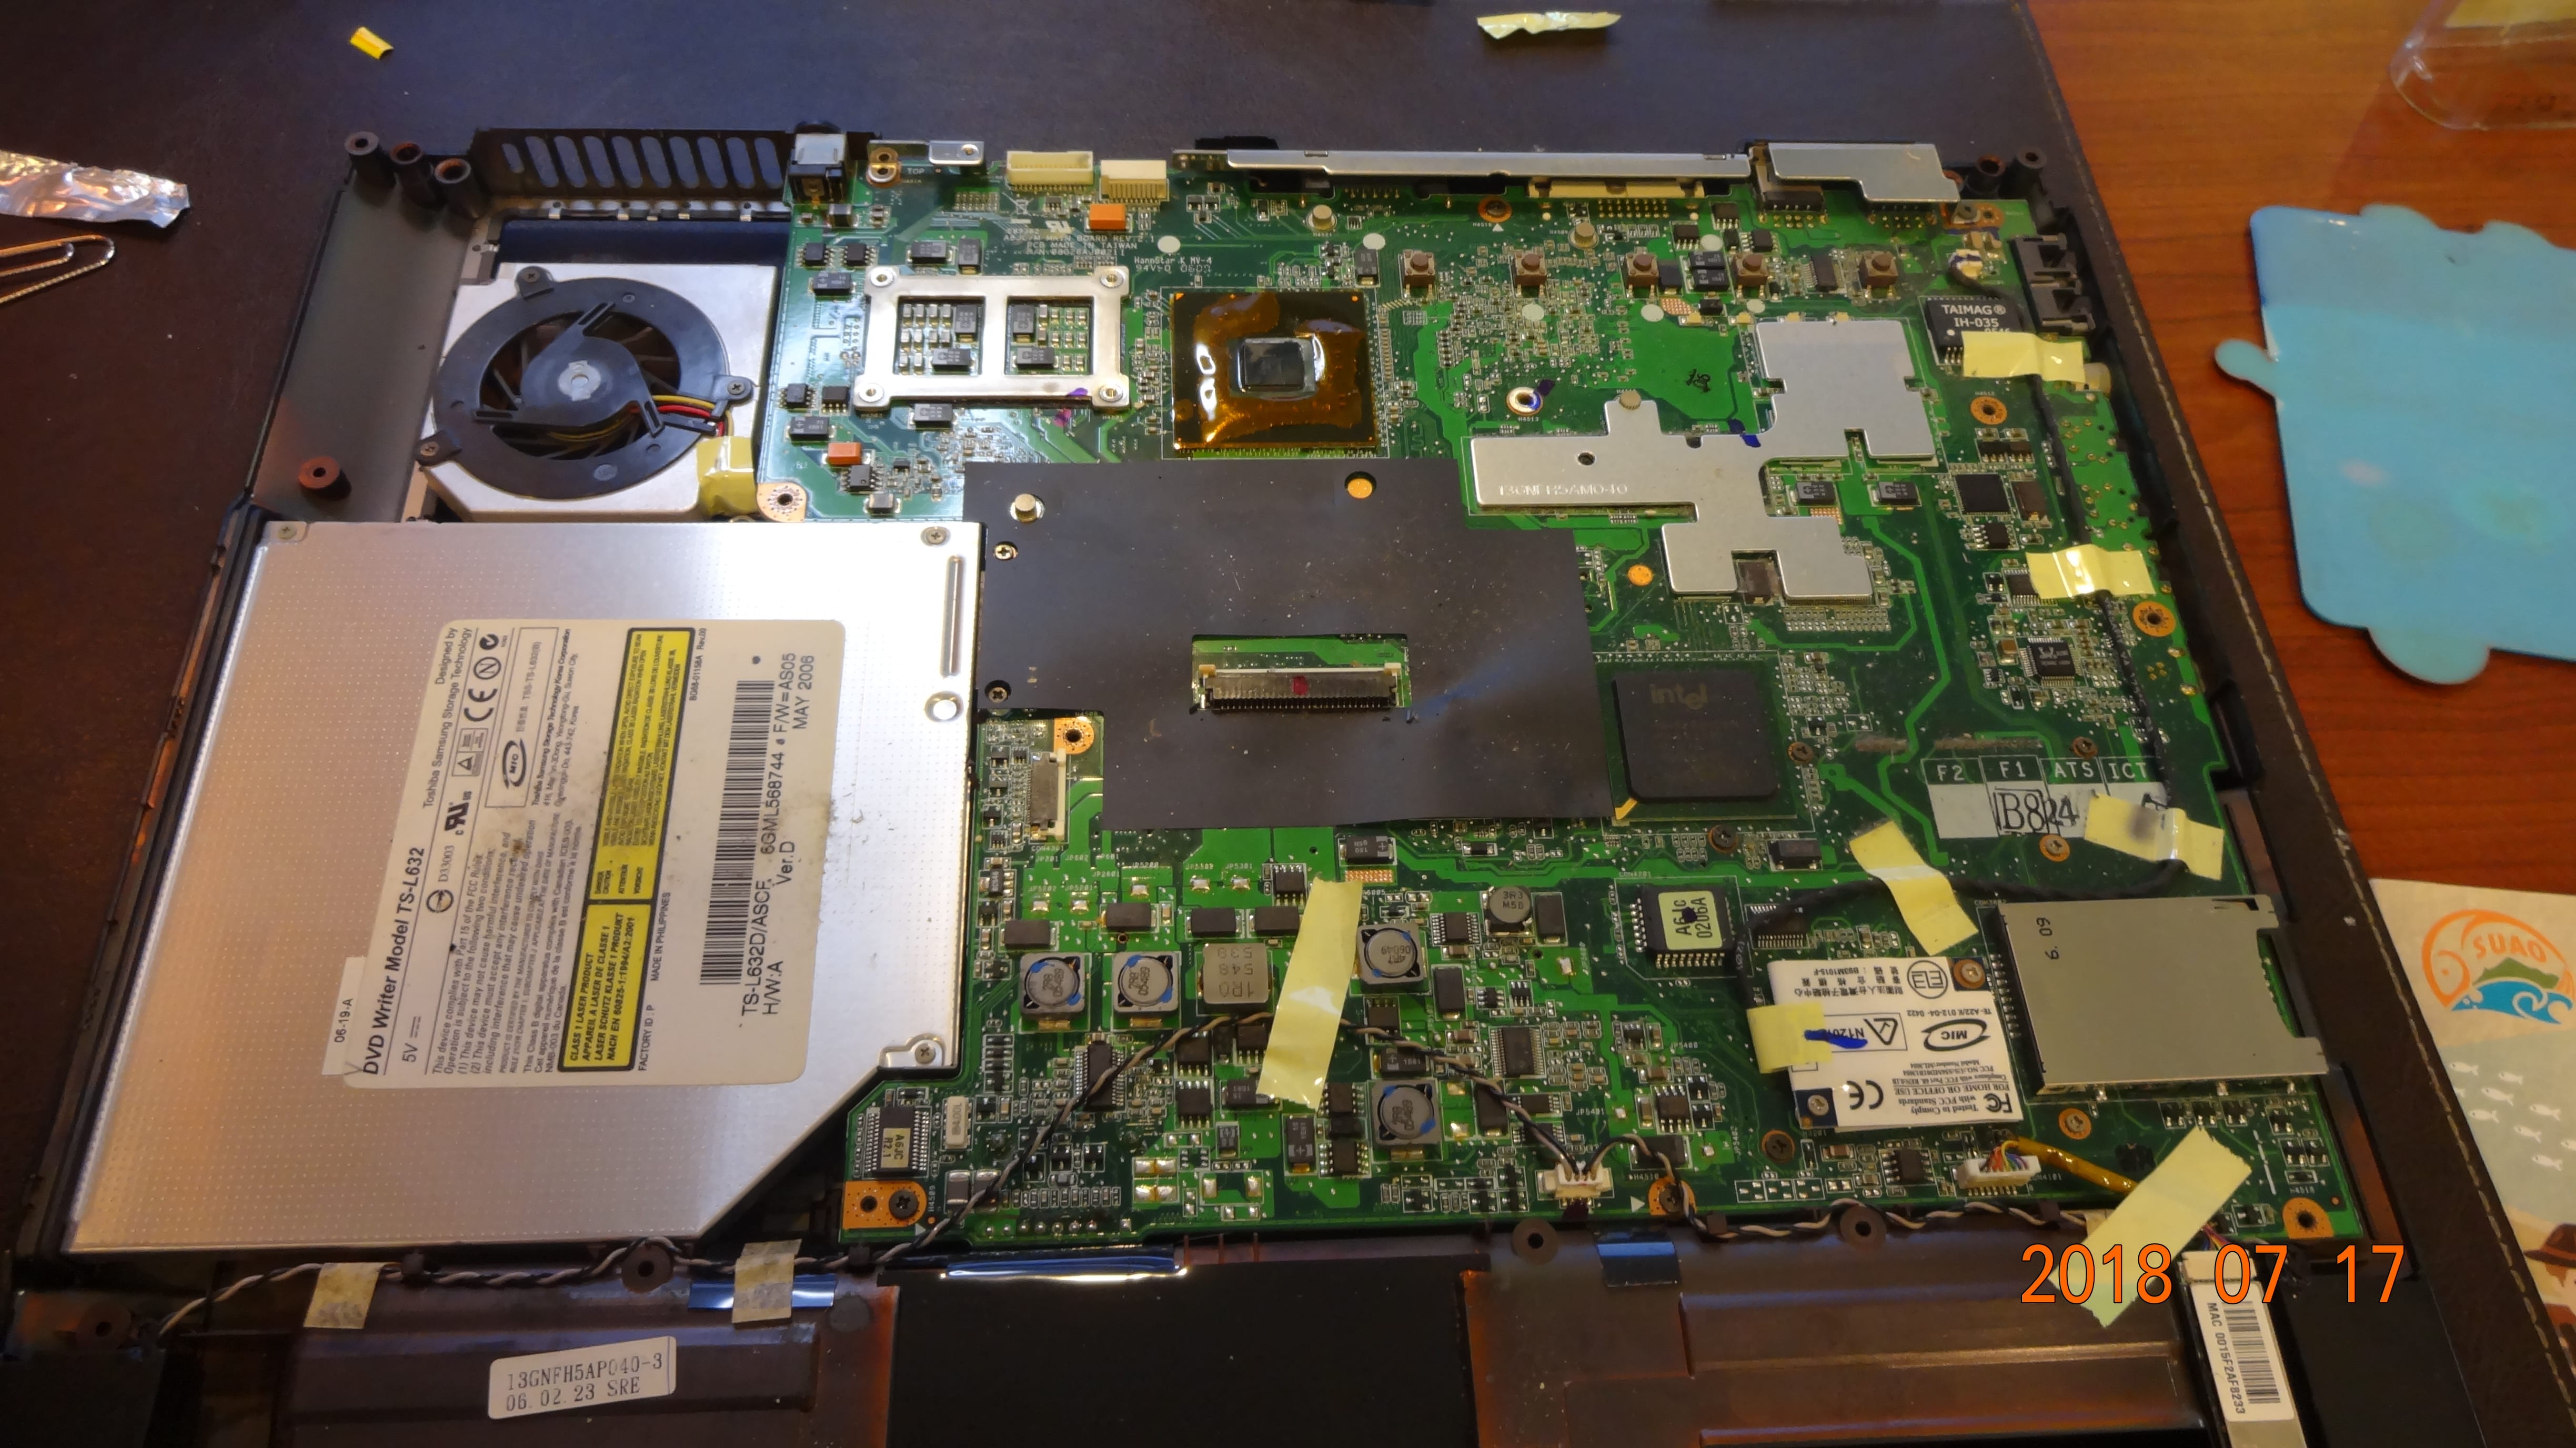
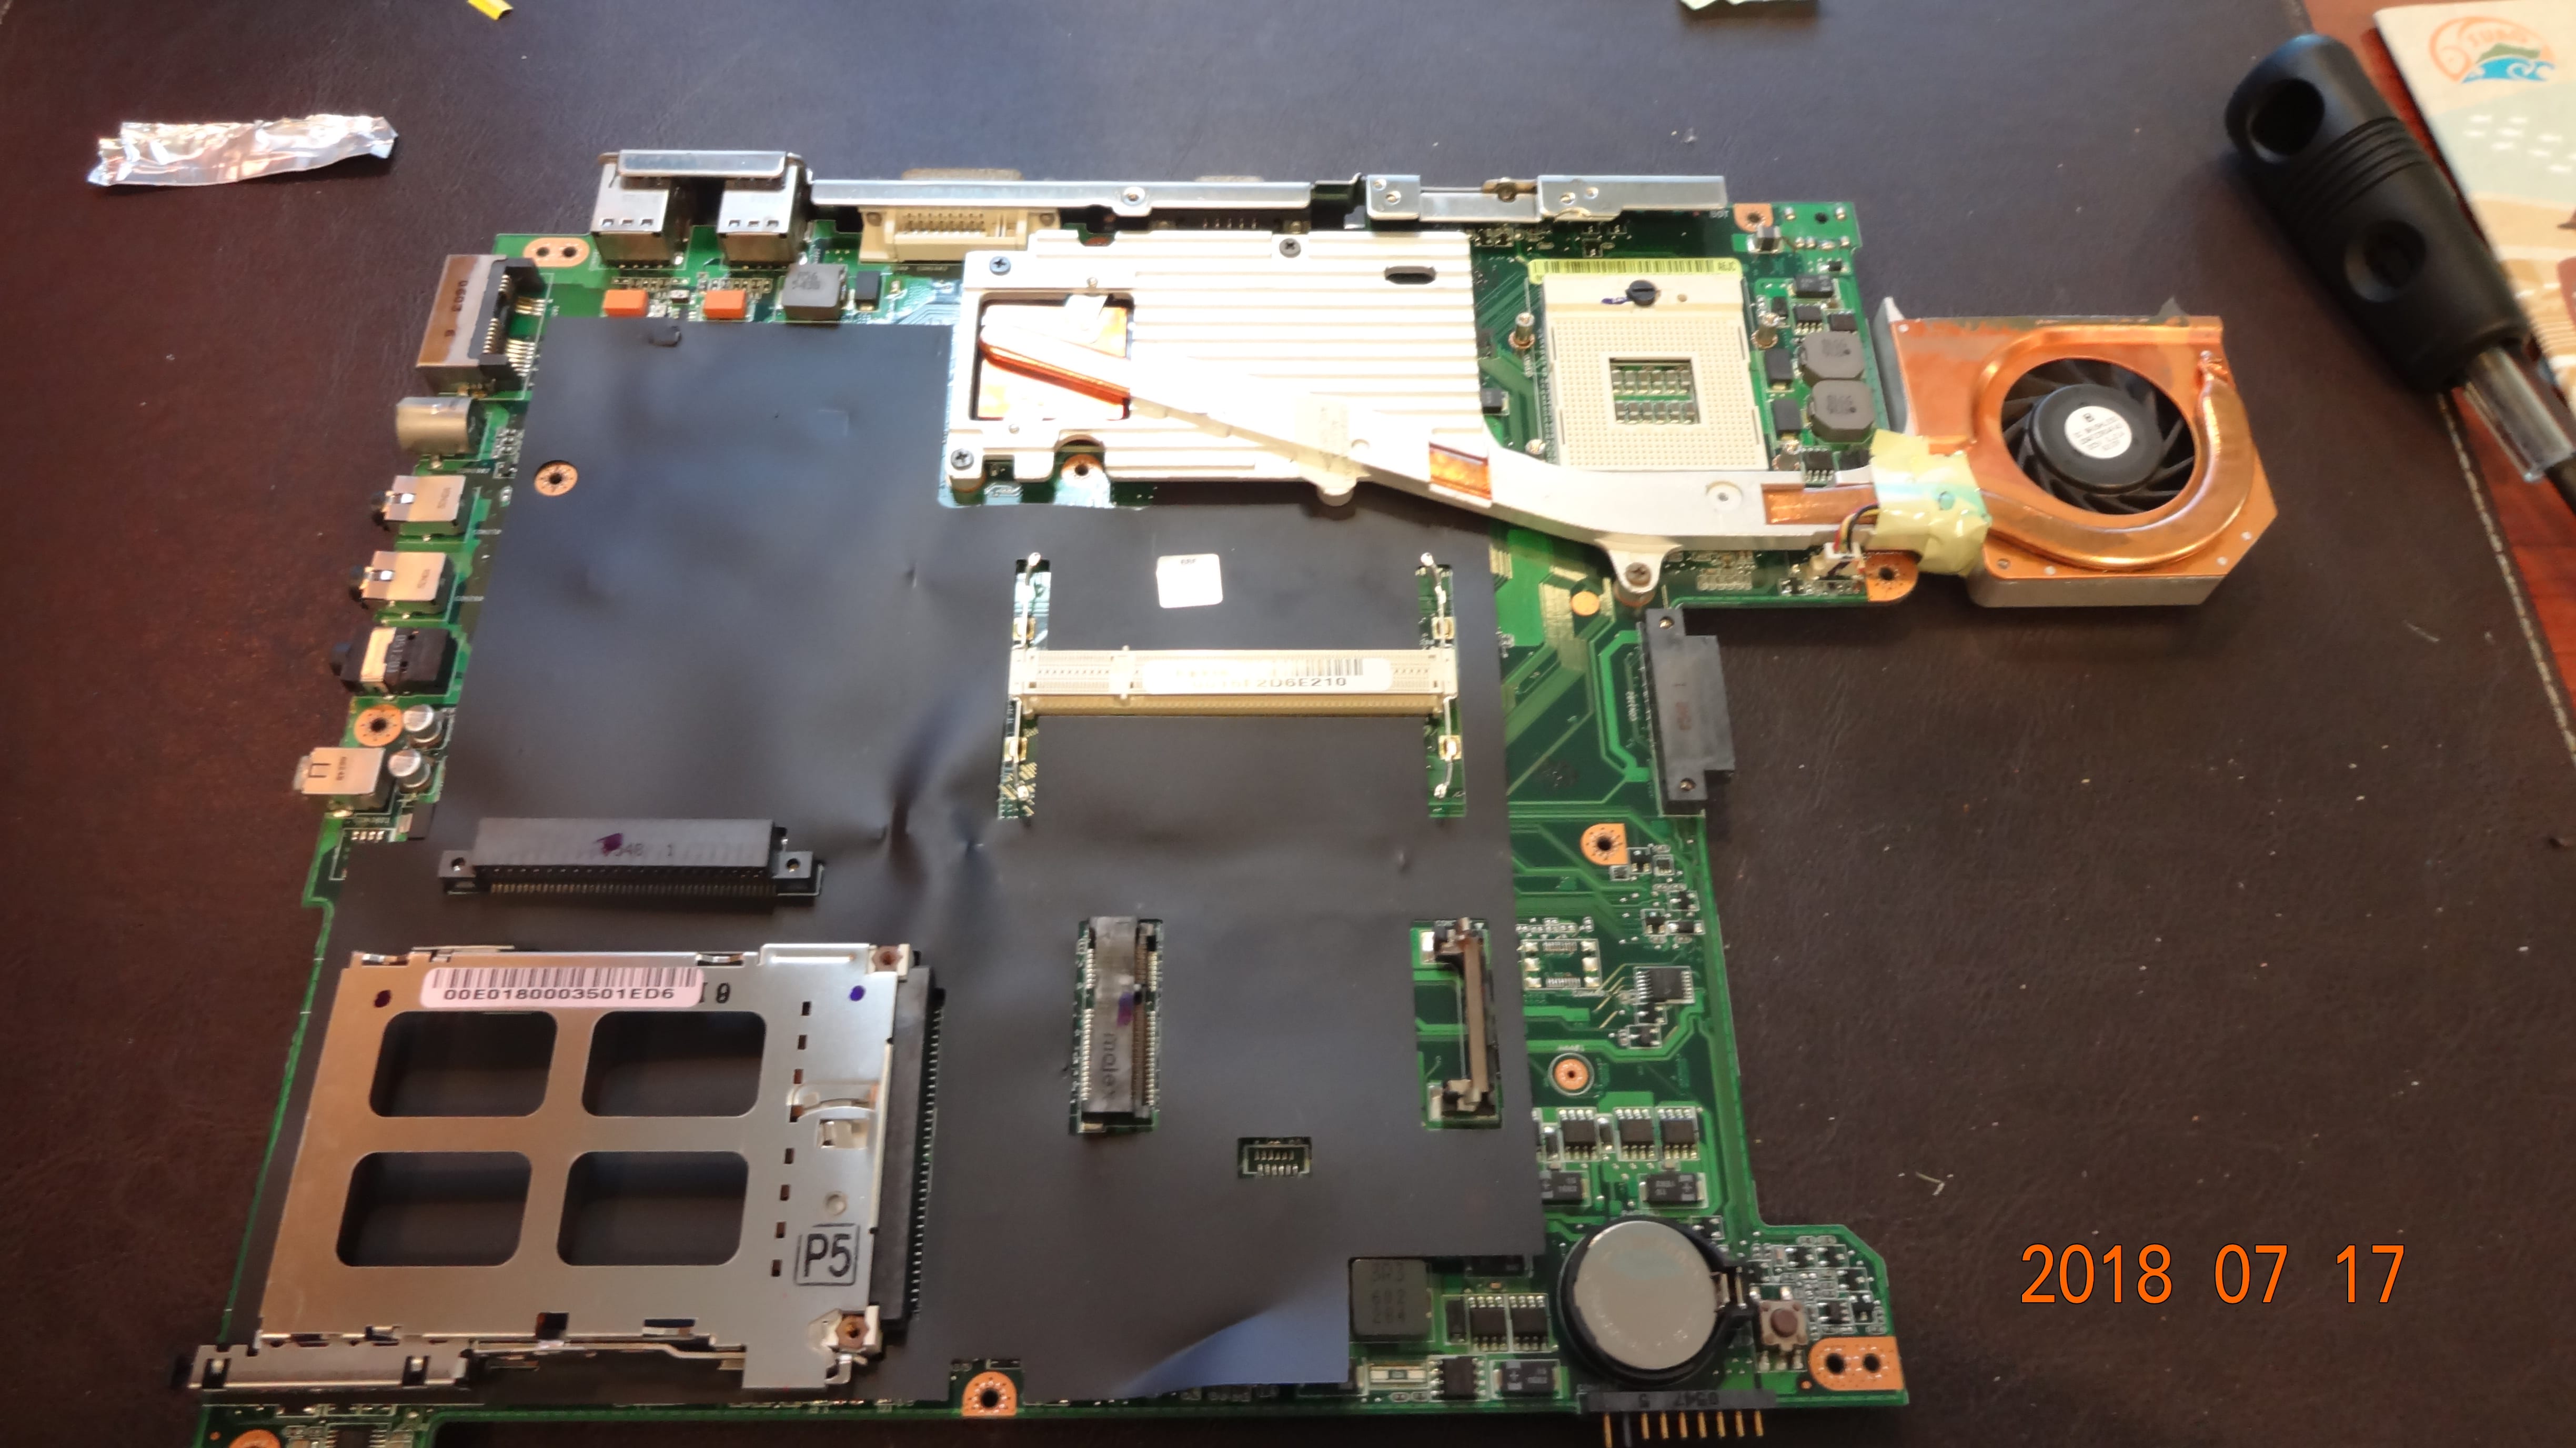 The front side of motherboard with cooling fan still attached. The empty socket can be seen. One thing weird is that the CPU utilized socket M, which has 478 pins, however the motherboard uses Socket 479, which according to Wikipedia, that the 2 sockets aren’t electrically compatible.
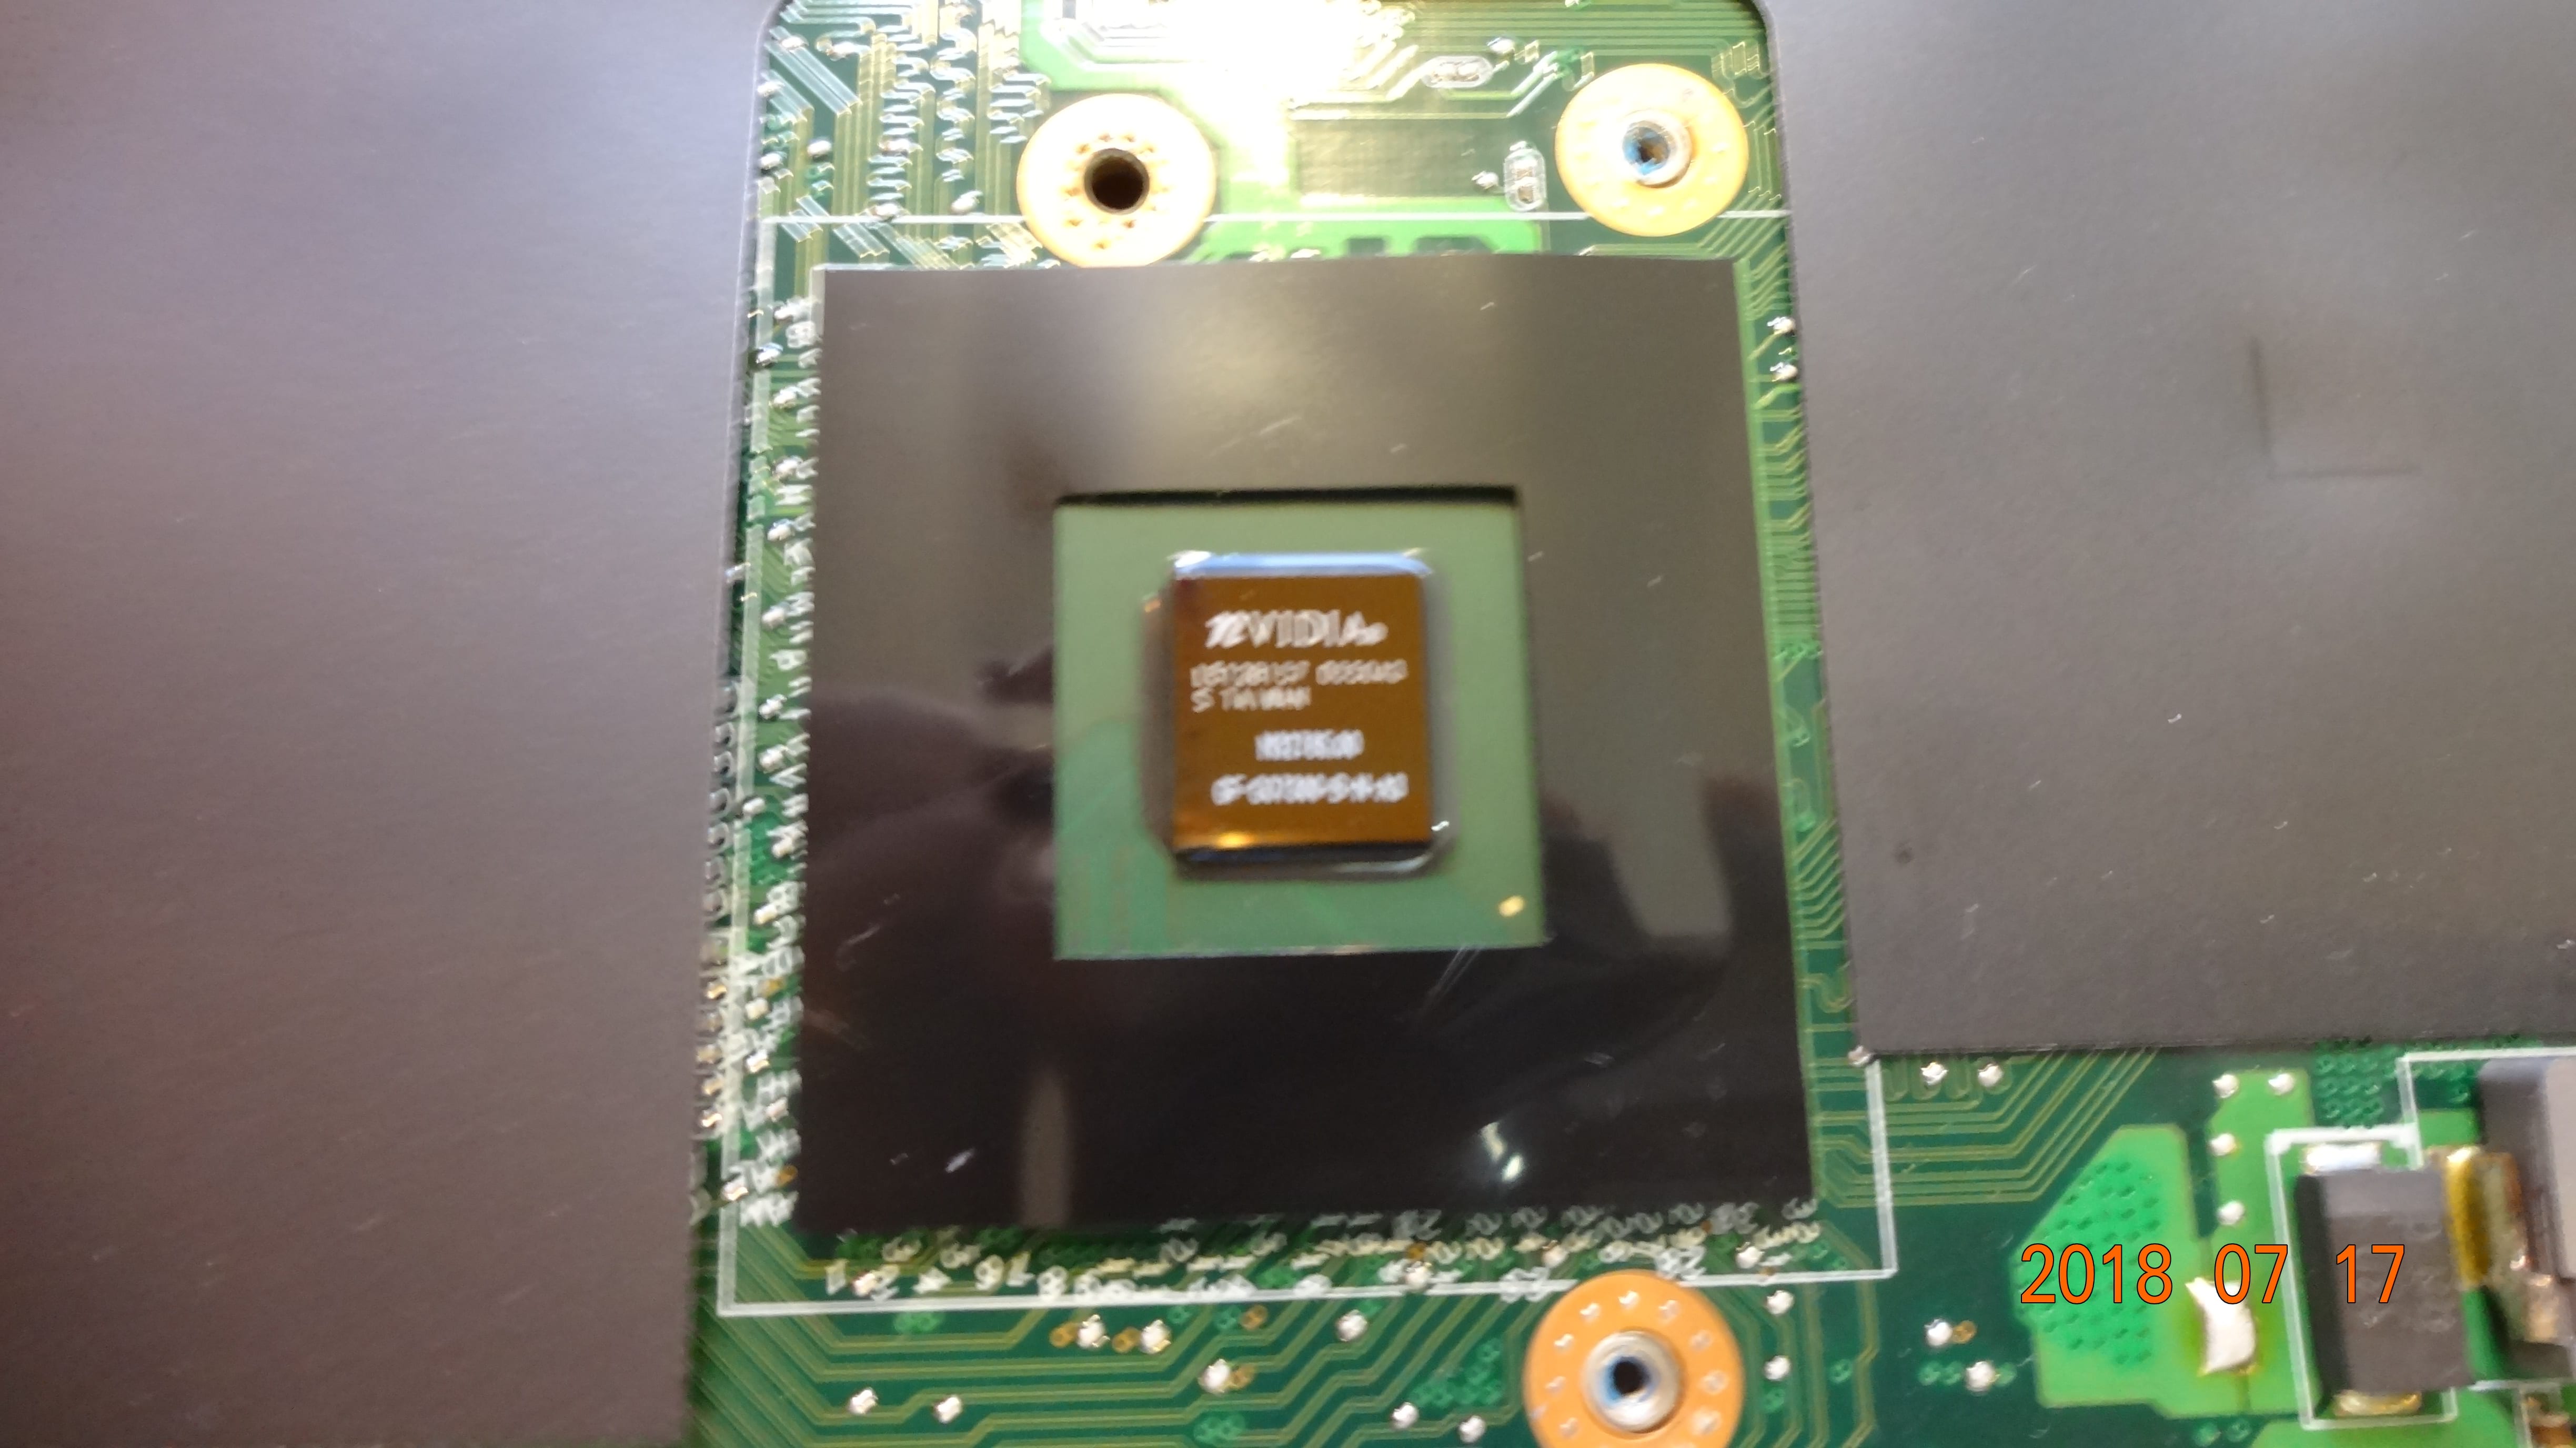 The Nvidia GeForce Go 7300 GPU. 90nm lithography. (Worse than the CPU lithography) TDP unknown. Another weird thing is that the GPU wasn’t coated with thermal compound when the fan heatsink is removed. I put some thermal compound on when rebuilding the computer.
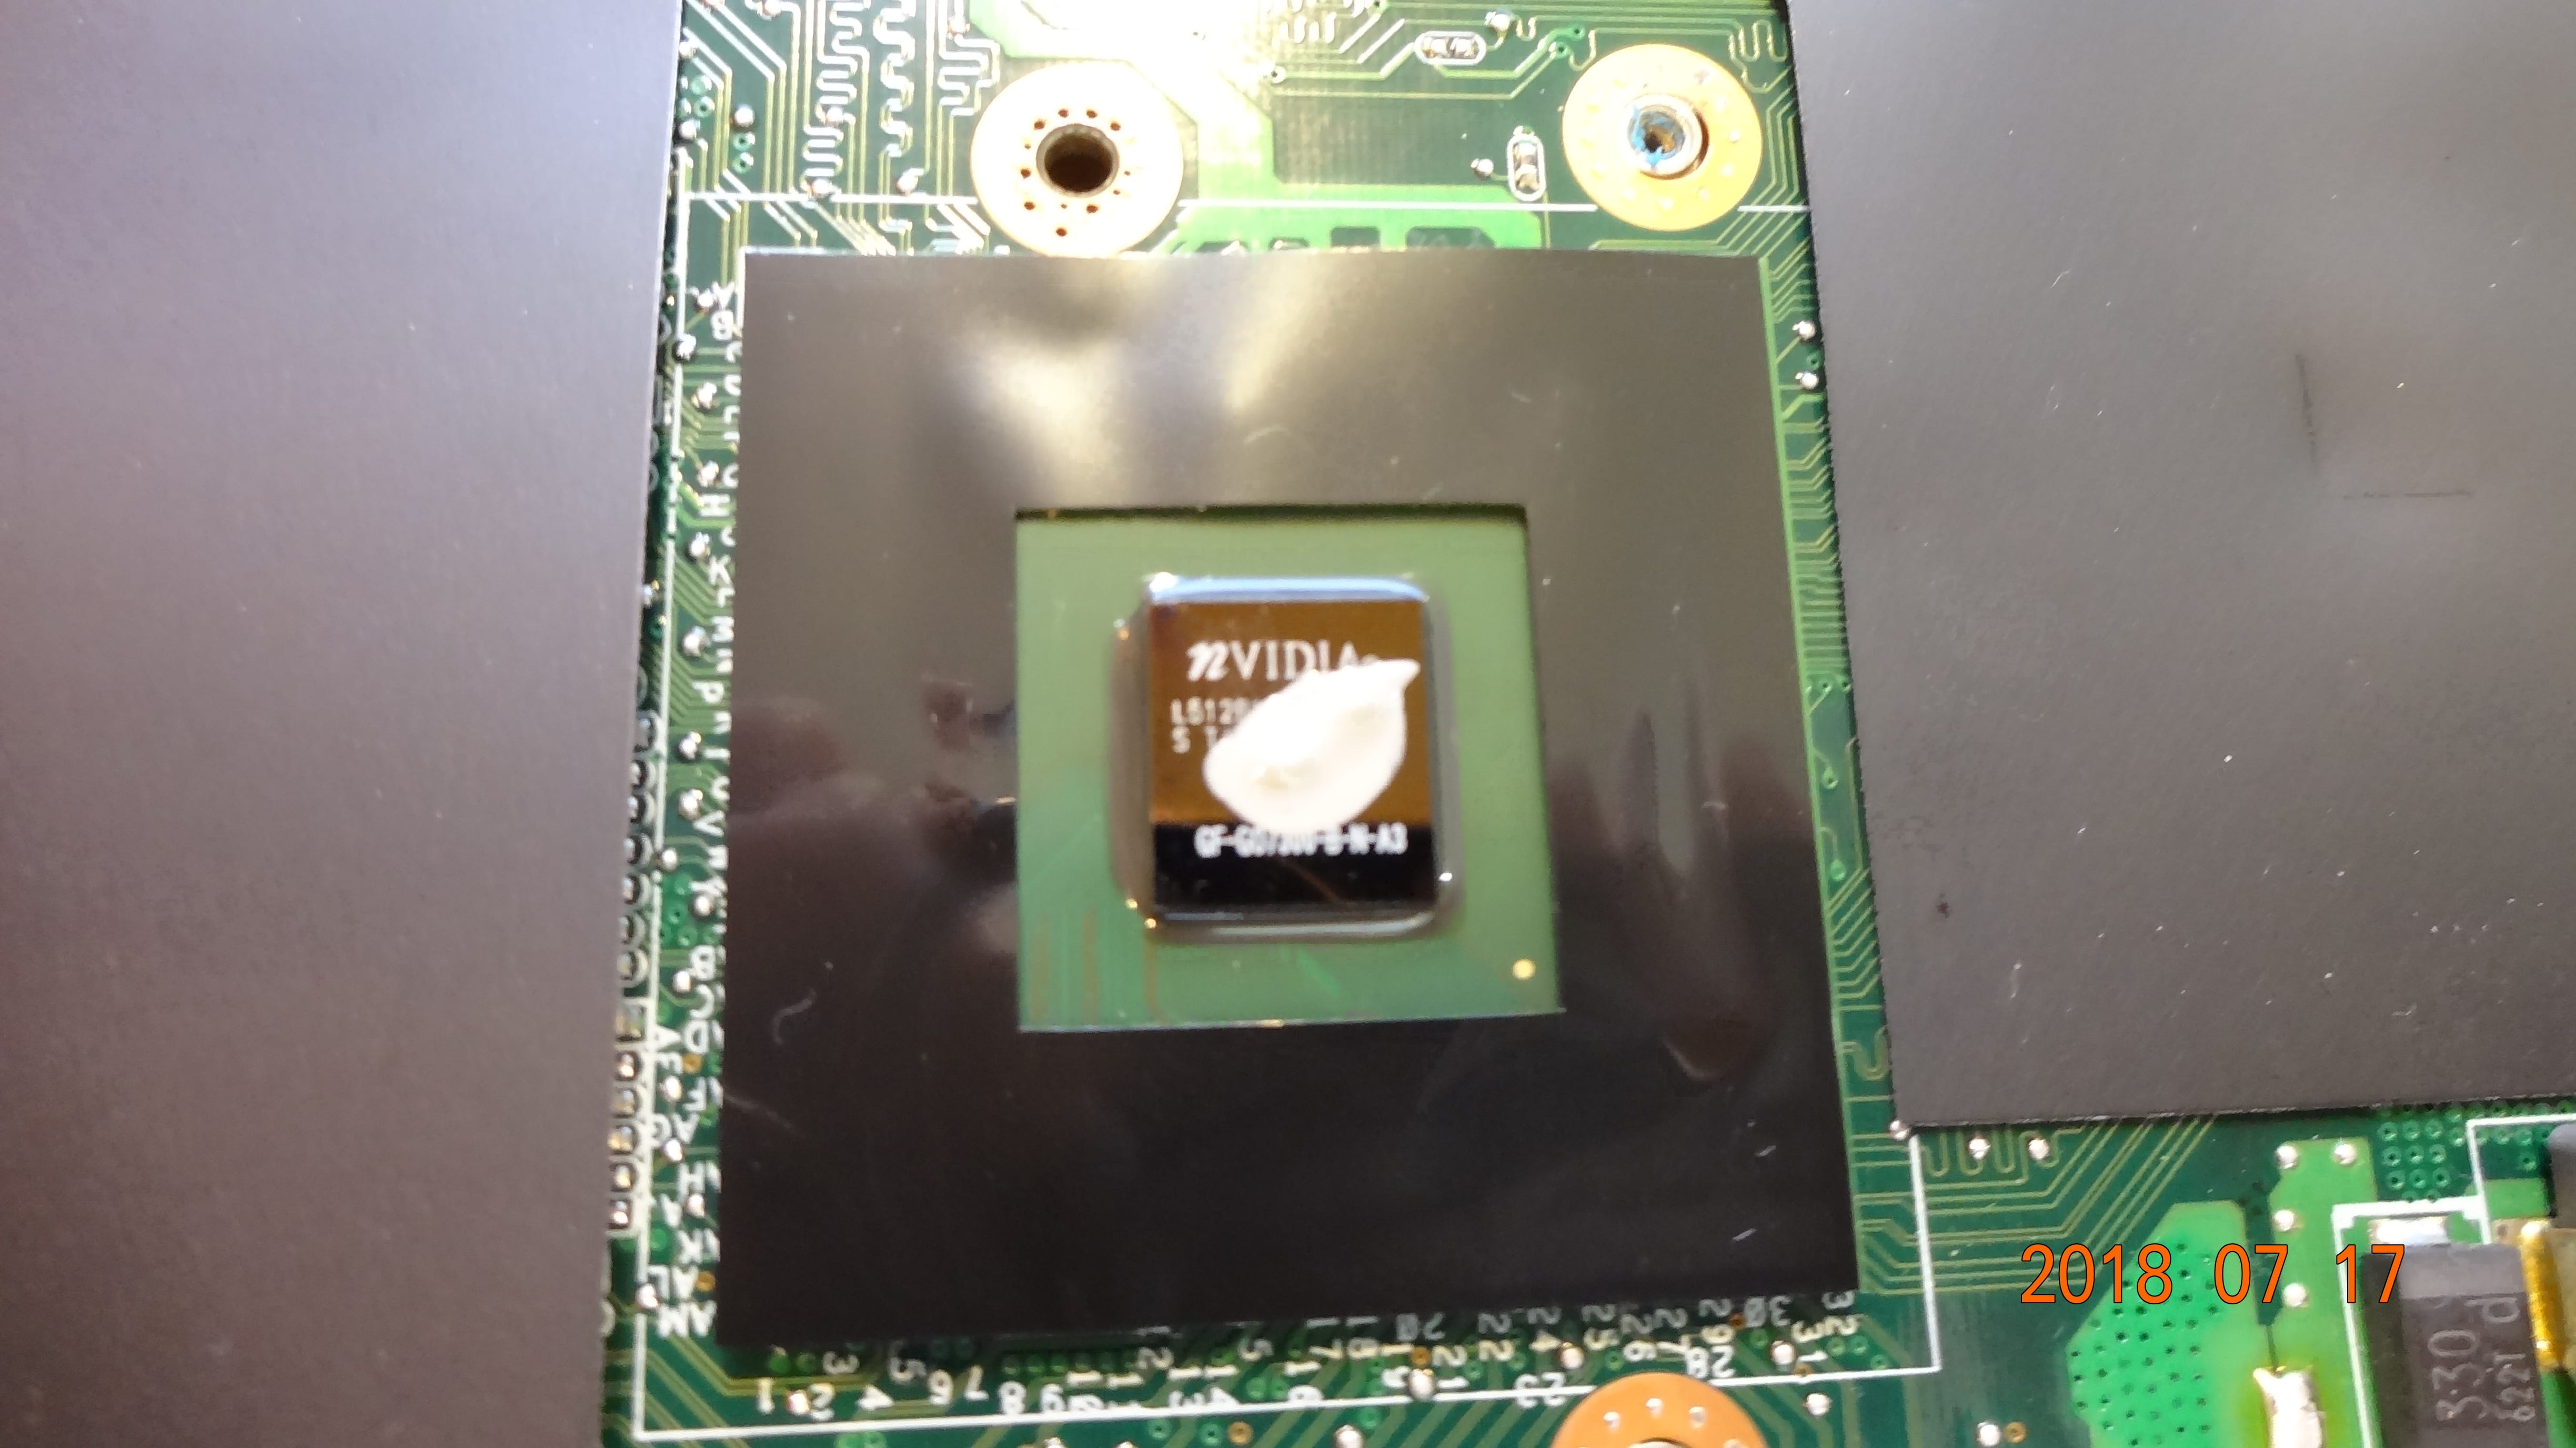
<Final Thoughts>
Asus didn’t provide a service manual for you to tear down and service the laptop yourself; instead, they want you to send your laptop to them for servicing. Because of that, this tear down and rebuilding took me an entire day to complete! I even messed all those screws up…