Slideshows are a great way for students to show their learning. Here are a few ways to make them.
Google Photos
Google Photos is a great way to store your photos, so it goes first.
Google Photos can’t make a slide show, but the storage capability makes this a must-use app. It can also make animated GIFs.
To select an image, click on the check after hovering on the image. To select multiple images, select one image, hold Shift and select multiple images.
To create an animated image,
- Select multiple images
- Click the plus at the top
- On the menu, click Animation


So, why use Google Photos anyway?
Google Photos is a great app to have on your phone because it syncs with the photos, and stores them in the cloud. It really helps if something happens to your phone.
You can also keep images from your hard drive on Google Photos.
YouTube
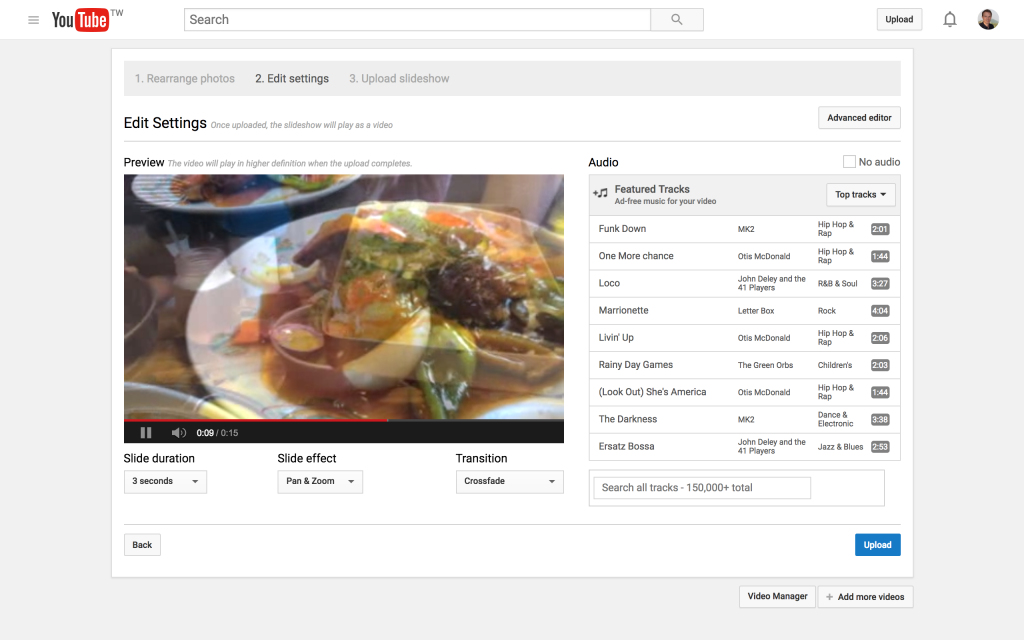
![]() Google Photos can be used in conjunction with YouTube to make a slideshow.
Google Photos can be used in conjunction with YouTube to make a slideshow.
On the upload page, click create slideshow.
Log in if asked to.

Select photos.

Press select when finished.

Rearrange your photos and press next.

Add music, filters, and transitions.
Apple Photos
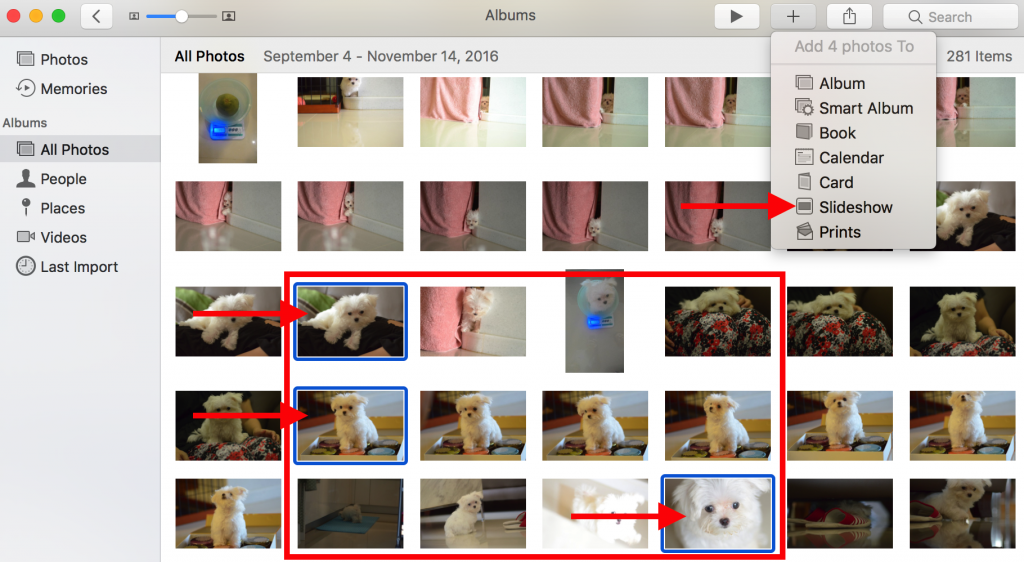
![]() Apple’s built-in photos app is an easy way to put slideshows together. Note that these slideshows are easiest done without narration.
Apple’s built-in photos app is an easy way to put slideshows together. Note that these slideshows are easiest done without narration.
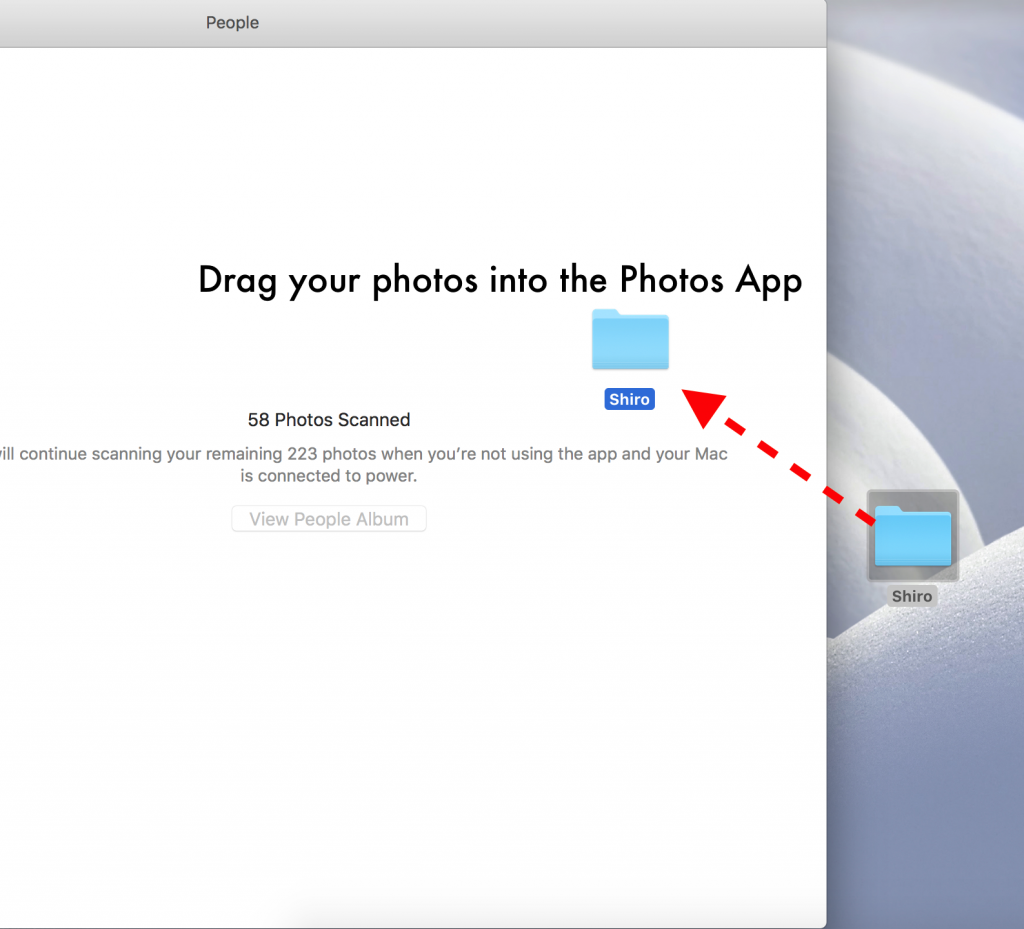
- Import your photos by dragging them into the app.
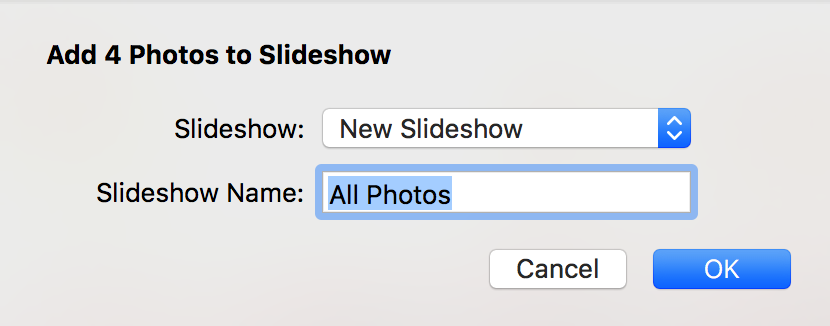
- Select the pictures you want in your album. To select multiple pictures, hold command and click each picture. (Selected pictures are outlined in blue.) Next, click the plus (+) at the top of the app, and select Slideshow.
- Name your slideshow
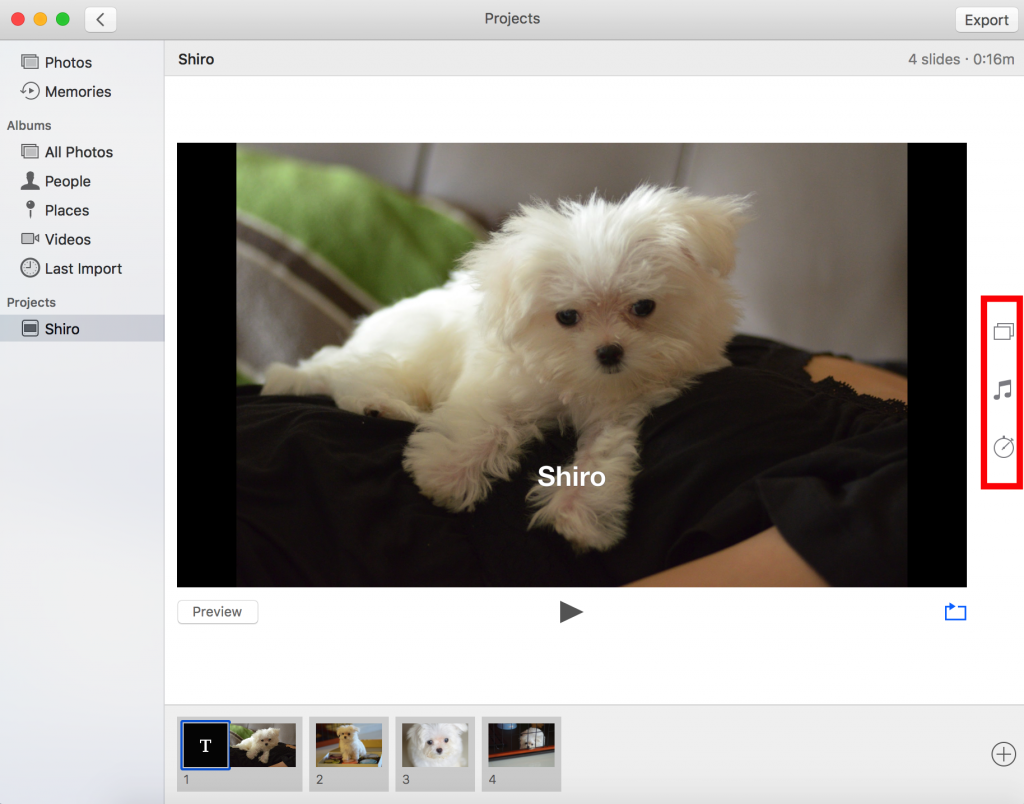
- Move pictures around by clicking on them and dragging them to the position you want. The plus (+) at the end of the slideshow allows you to add more pictures.After selecting them, click the blue “Add” button at the top of the screen.
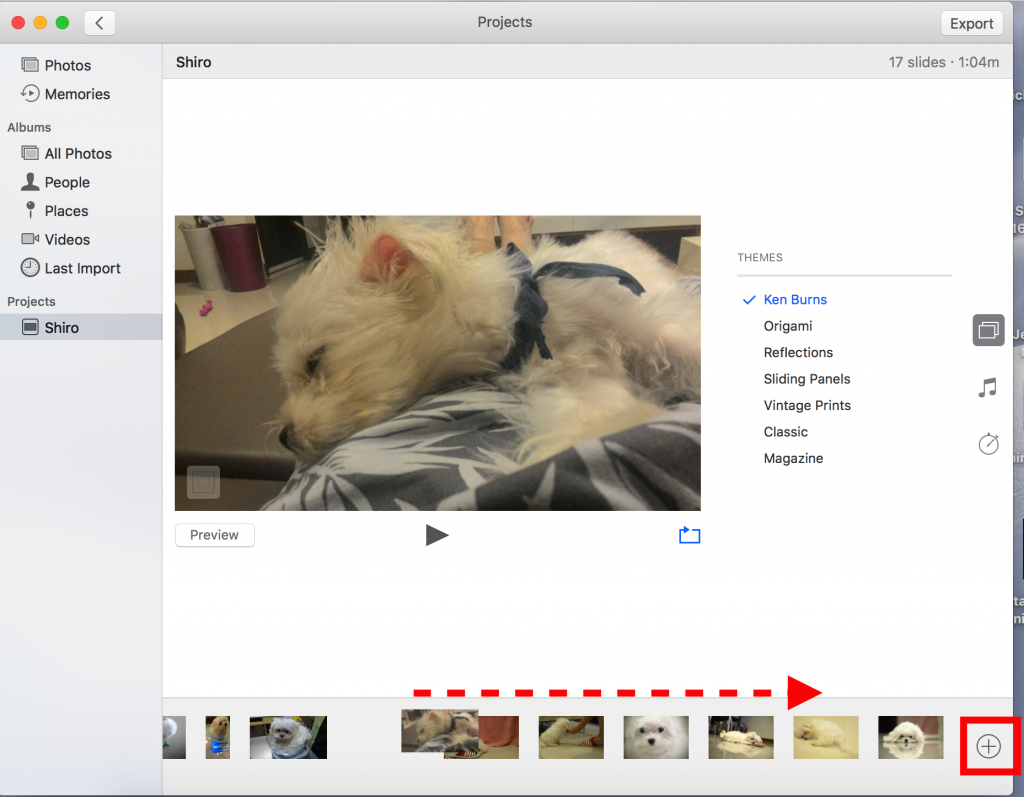

- On the right side, you can change the theme, add music, and adjust the time each image is shown.
- Click export at the top of the program. Save the movie file to your desktop.


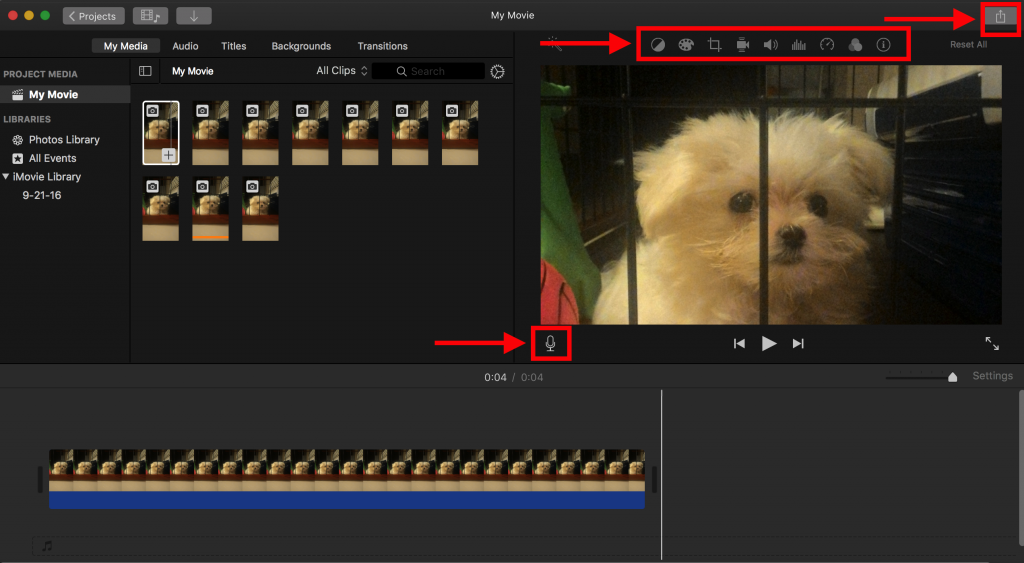
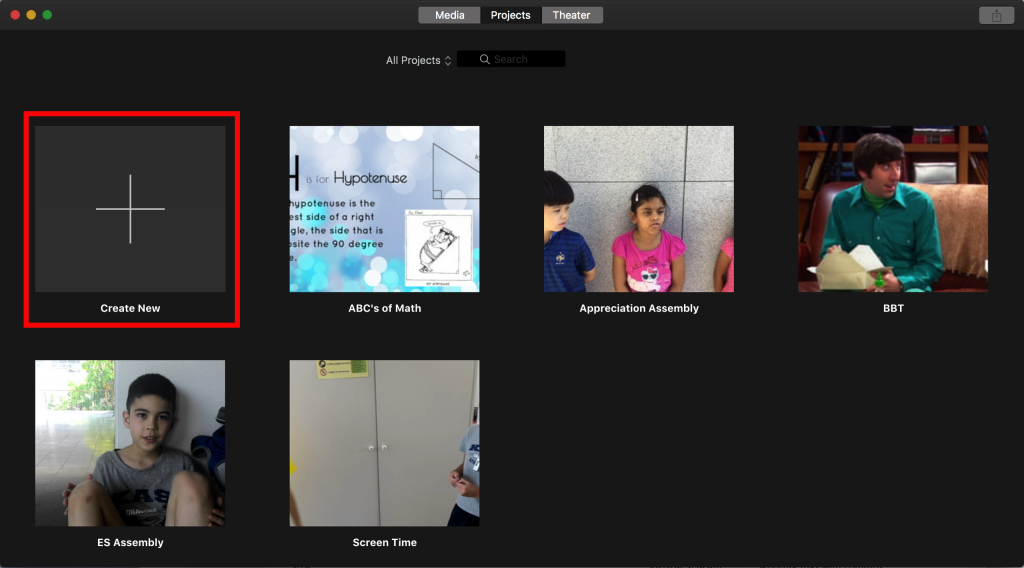
iMovie
![]()
iMovie is a powerful tool and can be a little easier to use than Photos. Plus, you can add narration to your videos within the app.
- When you start the program, go to the project tab in the middle of the menu at the top of the program.

- Click the (+) New Project button.
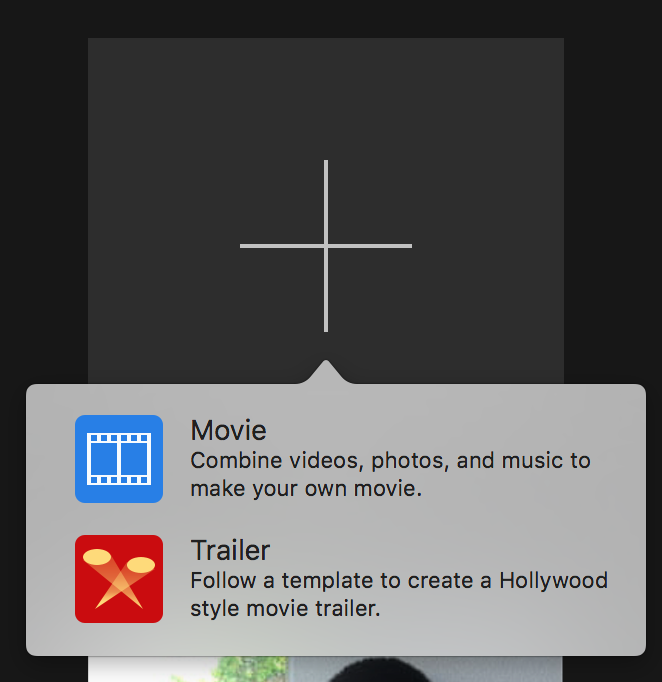
- Select “Movie”
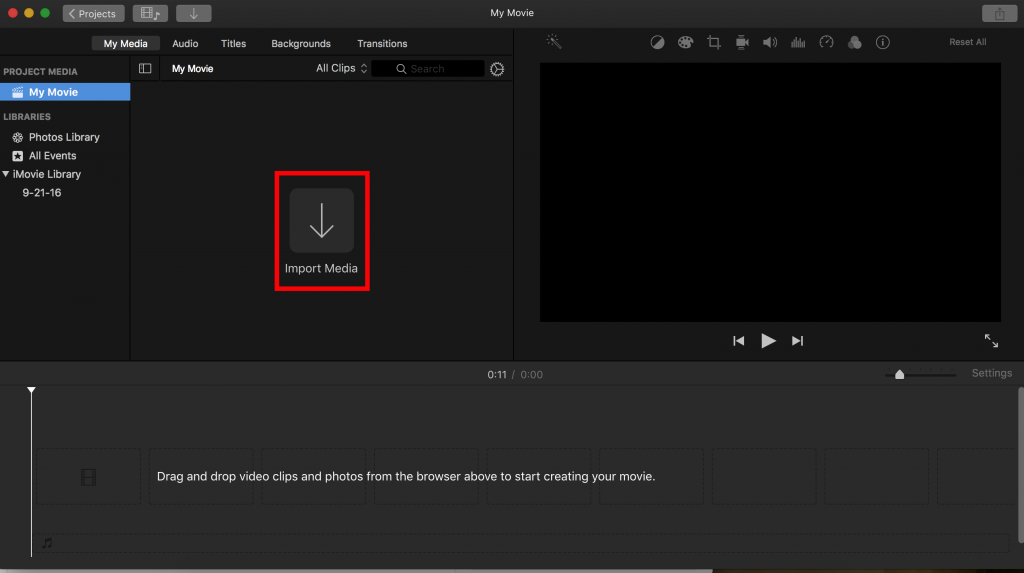
- Import images and music using the downward arrow.
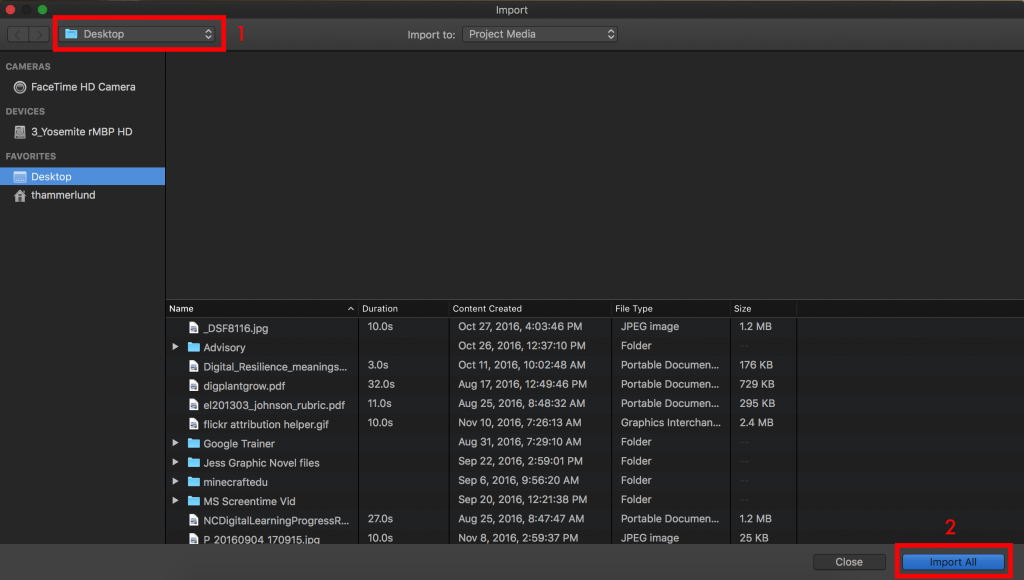
- Select the folder where your media is, and click the blue button labeled “Import selected”.
- From here you can drag images down and arrange them how you want.
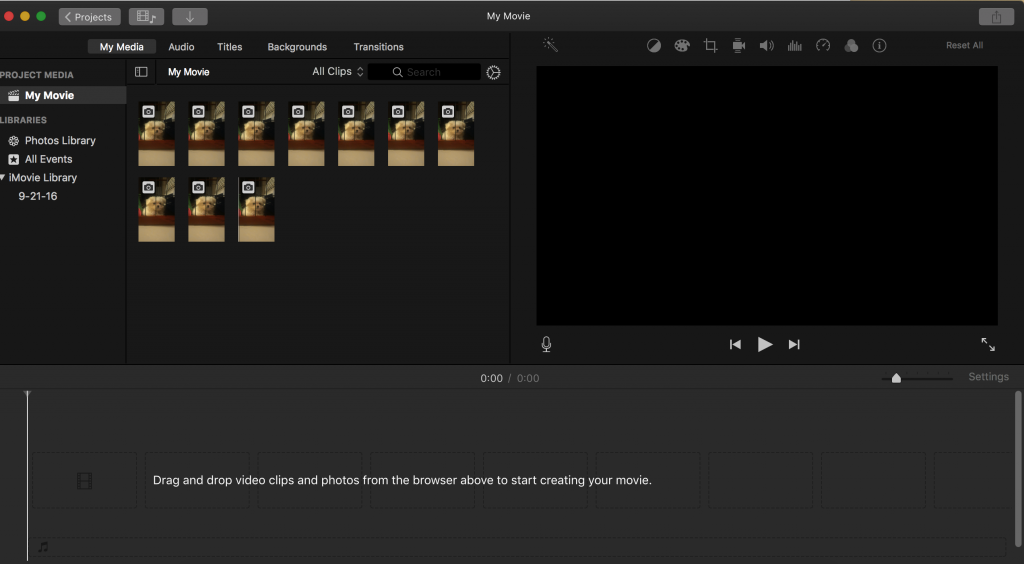
- Add narration by clicking on the mic. Other options are located above the preview pane. When you are finished, click the upload button in the upper-left corner.